

Project UI
Business Background
You can use the project UI node to configure the header and footer behavior.
Titan Solution
Show, hide, or toggle the header and/or footer in a few clicks with no code.
How to Guide
Note:
Prerequisite:
Make sure that you have enabled a header and/or footer for your project.

You can configure the behavior of the header and/or footer as follows:
- Add conditions to an element, such as a text element or a form.
- Alternatively, add an On Click Action to an element, such as a button or shape.
Path:
1. Add Conditions
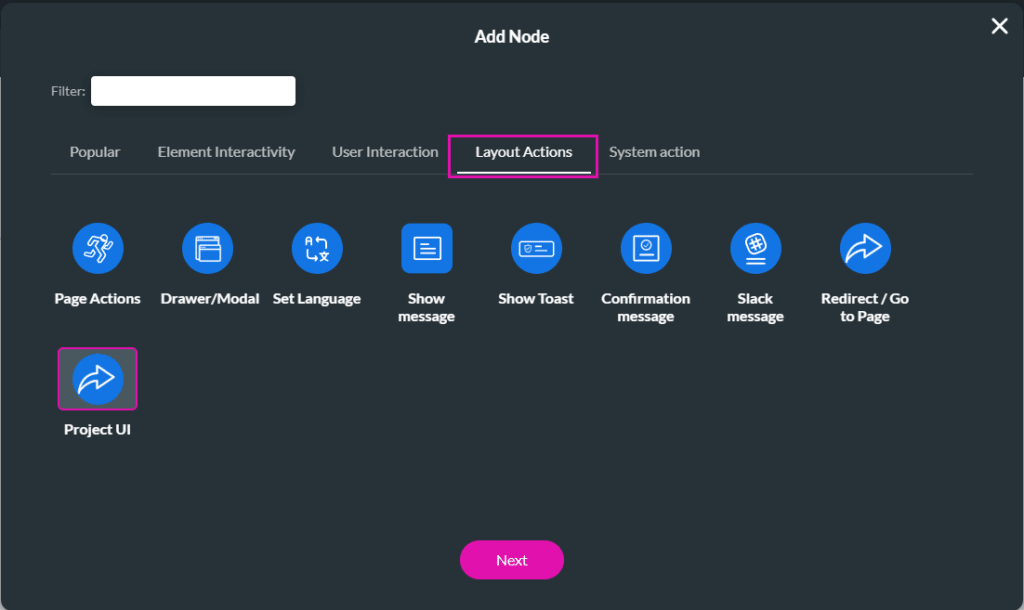
- Text element settings > Conditions > Configure Conditions button > Set Conditions screen > + icon > Layout Actions > Project UI
2. Add On Click Action
- Text element > On Click Action icon > On Click Action screen> + icon > Layout Actions > Project UI
- Select the Header or Footer option.
- Use the toggle switch to enable the option.
- Select a radio button.
- None: Nothing will happen to the header or footer.
- Show: The header or footer will be shown.
- Hide: The header or footer will be hidden.
- Toggle:
- If the header or footer is shown, and a user selects the element, the header or footer will be hidden.
- If the header or footer is hidden and a user selects the element, the header or footer will be shown.

- Select the Next button.
- Add a tag, if necessary, and select the Insert button.
- Save the project.
Hidden Title
Was this information helpful?
Let us know so we can improve!
Need more help?
Book Demo