

Project Status
Business Background
You can easily view the project status and publish the project with a few clicks. The date and time that the project was published will be visible. You can also add a time period for the web page to be available and a redirect page when it expires.
How to Guide
Publish a project
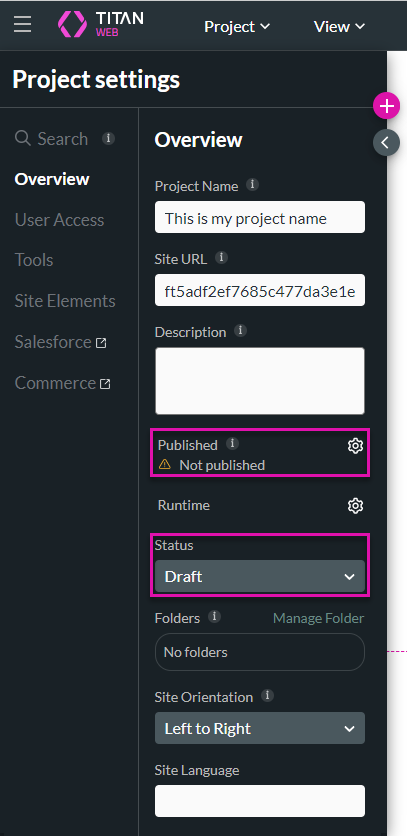
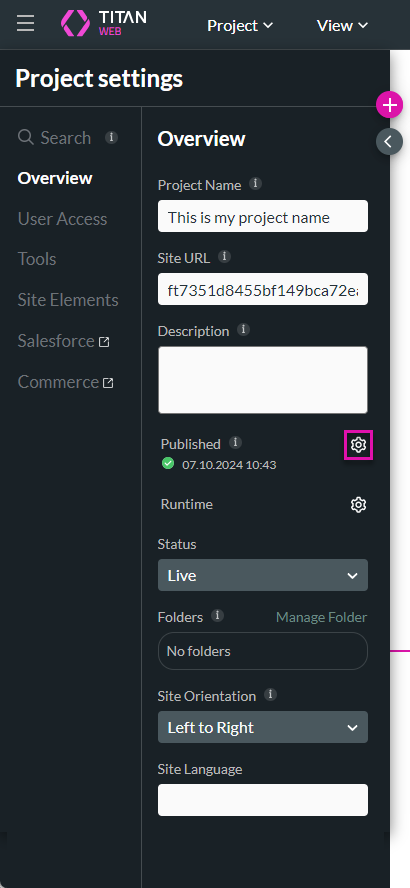
- Click the Gear icon below the + icon in Titan Web. The Project settings screen opens, and the Overview list is shown by default.
Note:
If the project has not been published, you will see “Not published” and the Status is “Draft.”
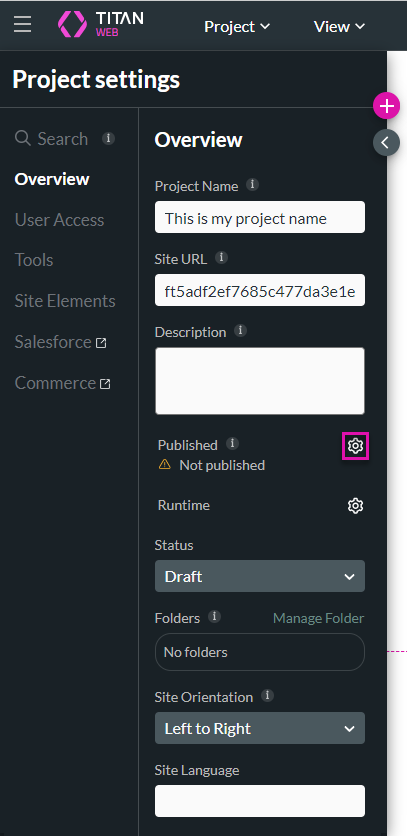
You can publish the project by clicking the Publish button in the top right corner of the screen.

As an alternative, do the steps that follow below.
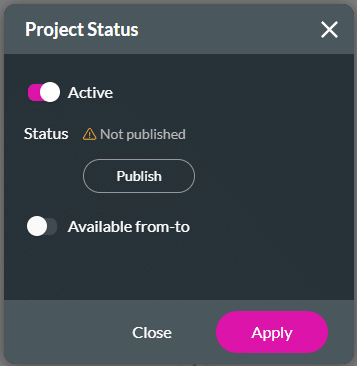
- Click the Gear icon next to Not Published. The Project Status modal opens.
- Click the Publish button. The Publish Project pop-up opens, and the project opens in a new tab.
- Click the Close button.
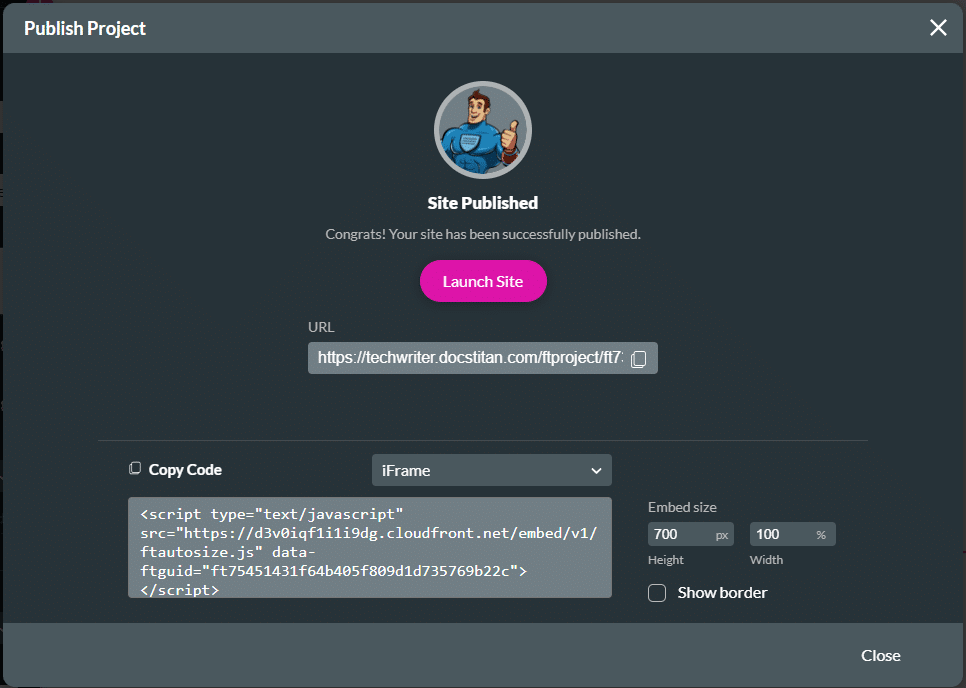
The Published toggle switch automatically shows that the project is now published.

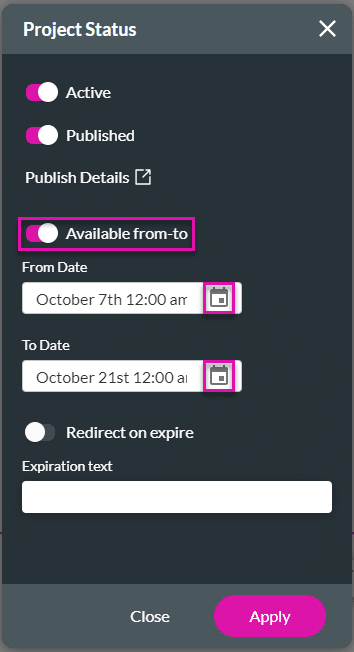
Add availability dates
- If necessary, use the Available from-to toggle switch to add the dates when the website will be available.
- Click the From Date Range icon to select a date and time.
- Click the To Date Range icon to select a date and time. The web page will only be available for the period that you configured.
- Type a message that will be shown on the expired web page in the Expiration text field.
- Alternatively, use the Redirect on expire toggle switch. You can add a web page where the user will be redirected from the expired web page.
- Add the redirect URL in the field.
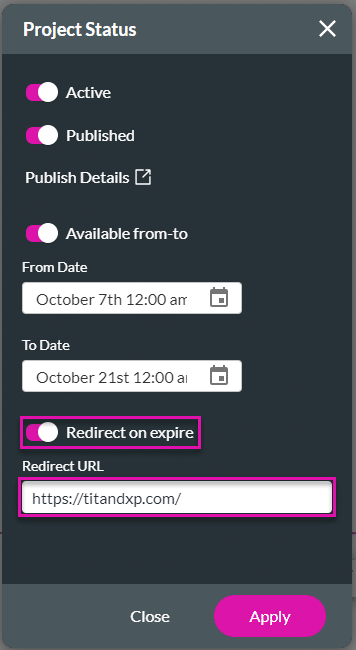
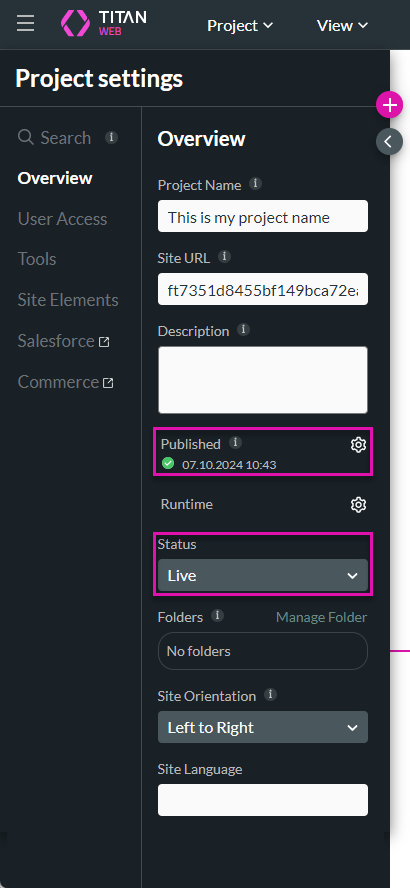
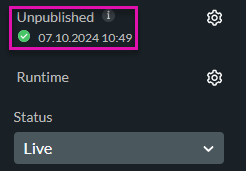
- Click the Apply button. The project is now “Published” with the publish date and time, and the Status is “Live.”
Change the project status
- Click the Gear icon to open the Project Status modal.
- Use the enabled Active toggle switch to disable the project, if necessary.
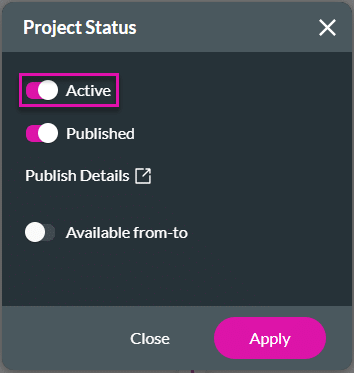
Note:
The status of the project changes to Disabled.

- Alternatively, use the enabled Published toggle switch to unpublish the project.
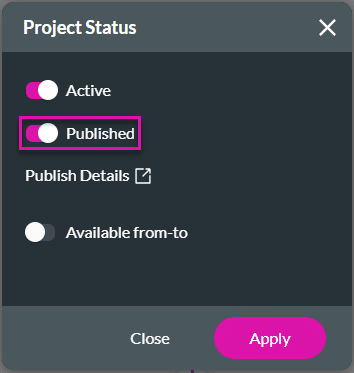
Note:
The status of the project changes to Unpublished.
- Click the Project Details icon to see the project details. The Publish Project screen opens.
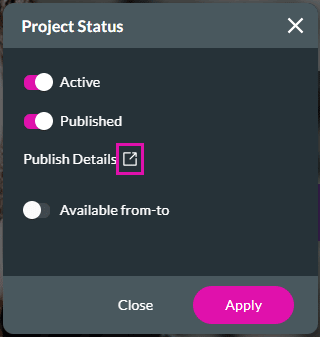
- Click the Close button.

Hidden Title
Was this information helpful?
Let us know so we can improve!
Need more help?
Book Demo