

Position Styling
Business Background
Change the position of the root of an element.
Use the Position option to customize elements in Web projects.
| # | Option | Function | Available in Project or Element 
|
|---|---|---|---|
| 1 | Position | Use the position fields to specify the element’s position on the canvas. | 
|
| 2 | Float | You can float the element over the parent strip, the page, or not at all. |
|
| 3 | Inline position | Use the inline position to control how elements are displayed or interact with other elements on a webpage. This option is especially useful when using mobile device layouts. |
|
Real-Life Example of How to Configure Position
Join us as we examine one of the many ways you can style an input element using the Position setting. Alternatively, contact us today if you have a specific business use case in mind.
The example below shows how to change the position of the root.
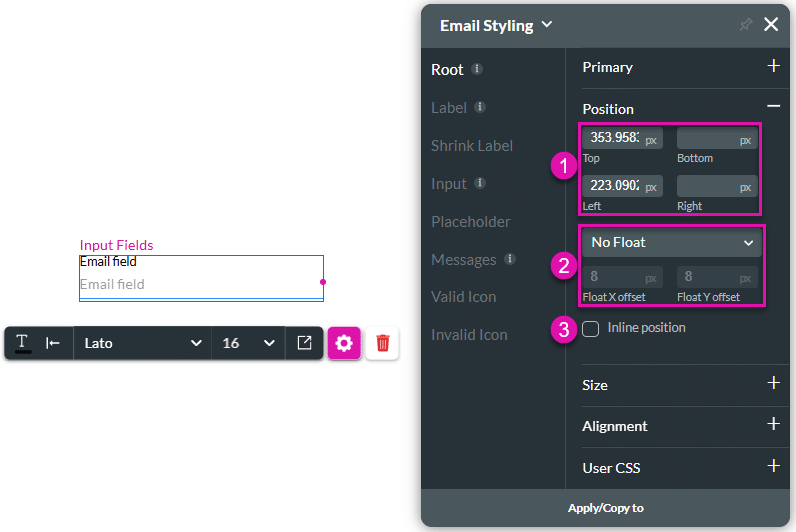
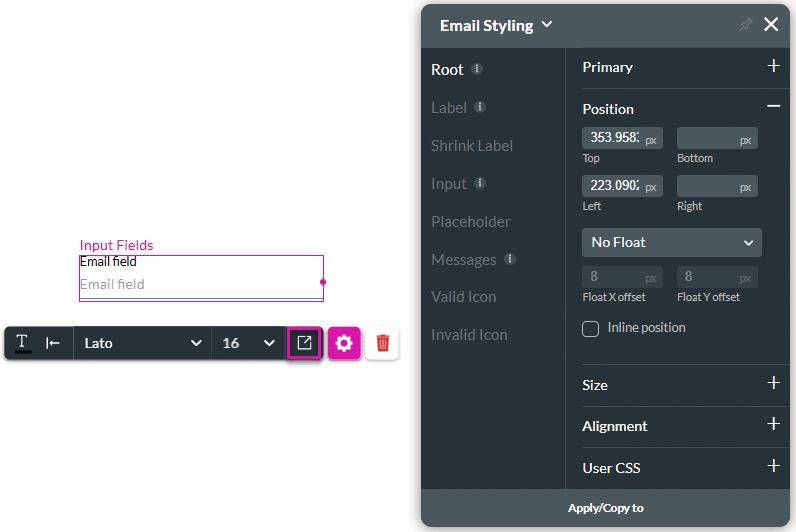
- Click the Styling icon to open the Styling panel.
- Click the Position option to expand it.
- Type values in the fields to configure the position of the element in pixels (for example) from the top and the left margins of the canvas.
- By default, an element’s position is shown with values in the top and left fields, regardless of the project’s orientation (LTR or RTL).
- When you drag the element to another position, these fields will change accordingly.
- You can use top and left or right, and bottom and left or right.
Note:
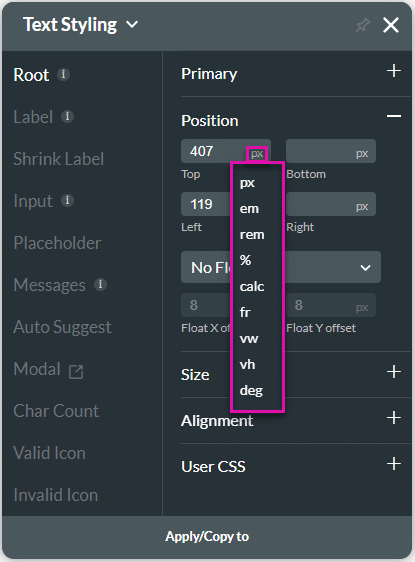
The position of the element is, by default, shown in pixels. You can change this by clicking on the px to open the drop-down list.
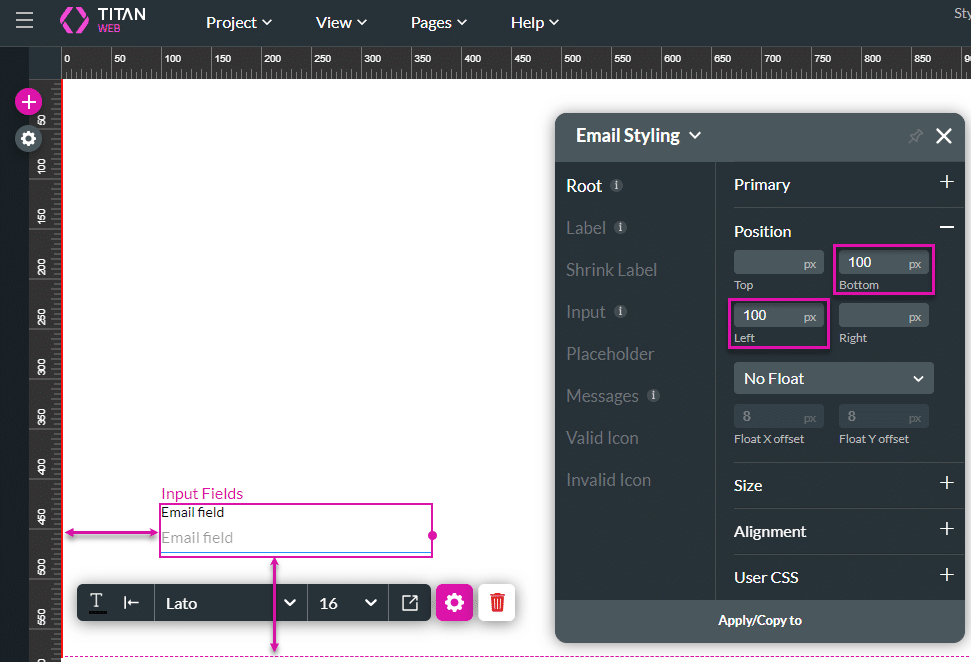
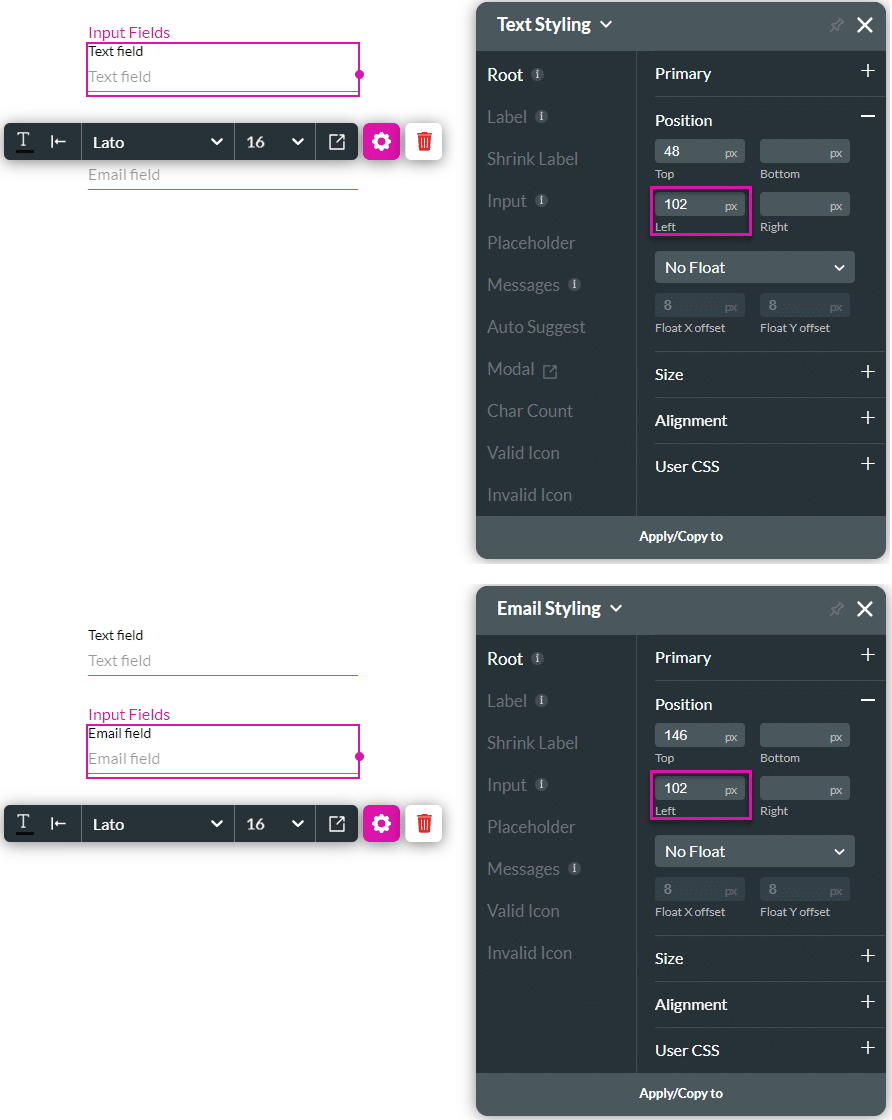
- Use the position fields to determine if elements are aligned. In the example below, the two elements are the same distance from the left. The values will change as an element is moved.
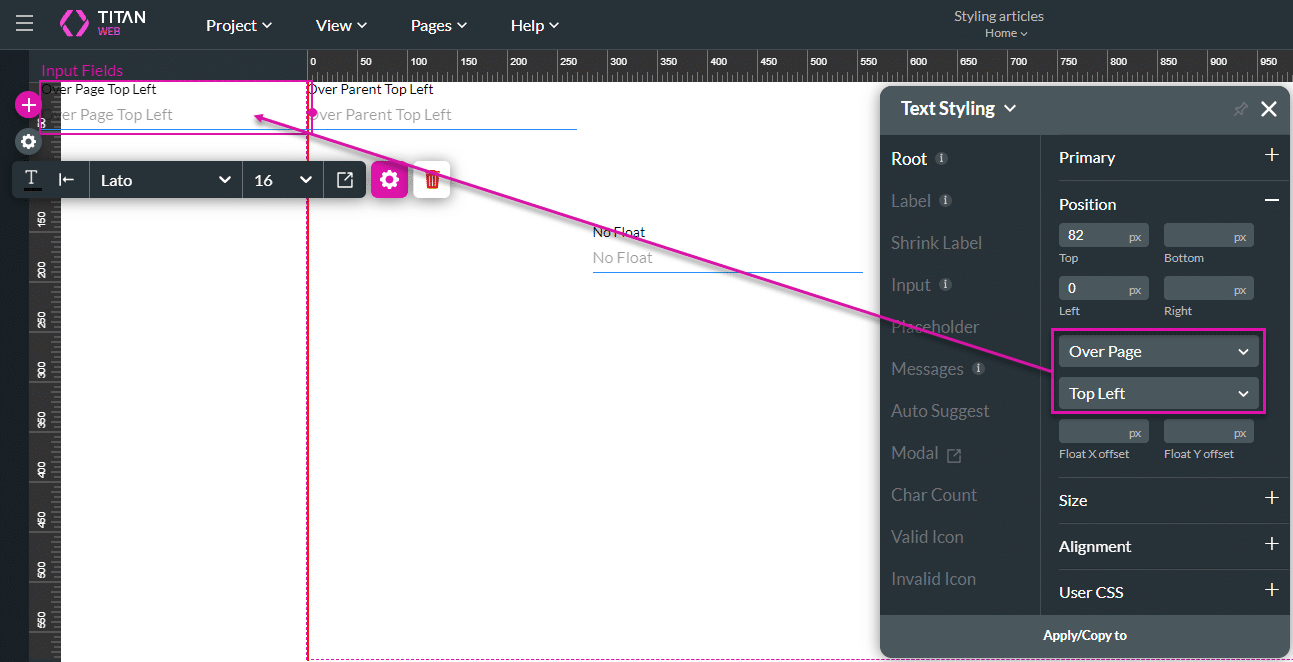
- Use the drop-down list to select a float option:
- No Float (default). The element will remain where you placed it or where you configured the position.
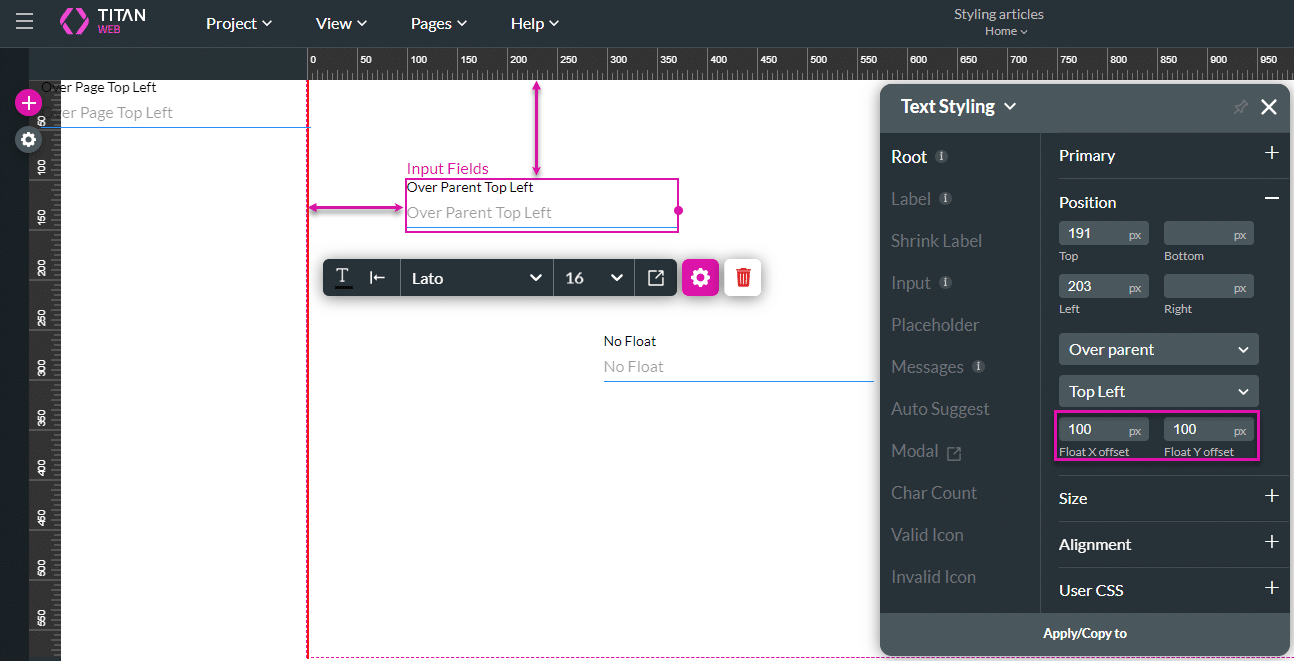
- Over Parent: The element will be placed over the strip where it was originally placed. Use the next drop-down list to select a position.
- Over Page: The element will be placed over the page where it was originally placed. Use the next drop-down list to select a position.
- Use the drop-down list to select a position for the option Over Parent or Over Page:
- Bottom Right (default)
- Top Left
- Top Center
- Top Right
- Left Middle
- Right Middle
- Bottom Left
- Bottom Center
- Use the fields to set the offset for the option Over Parent or Over Page:
- Float X offset: The element will be moved along the X-axis as specified in pixels (for example).
- Float Y offset: The element will be moved along the Y-axis as specified in pixels (for example).
Hidden Title
Was this information helpful?
Let us know so we can improve!
Need more help?
Book Demo