Static Values – Edit Mapping
Business Background
Use the Edit Mapping button to configure static values for various elements, such as the multi-select drop-down list and the tab or multi-select picklist containers.
How to Video
- 0:02 Introduction to Values.
- 0:28 Learn about Static Values and Mapping
- 0:45 We show you the difference between Labels and Values.
- 1:12 How your values integrate with Salesforce.
- 1:25 Mapping Salesforce fields into your project.
- 3:42 Preview your updated form.
How to Guide
In this example, the multi-select picklist is used. Some screens may look a bit different for other elements, but configuring the static values is, in principle, the same.
- Click the + icon to open the list of elements.
- Select the Input option.
- Click-and-drag a multi-select picklist to the canvas.
- Click the Settings Gear icon of the multi-select picklist. The settings screen opens.
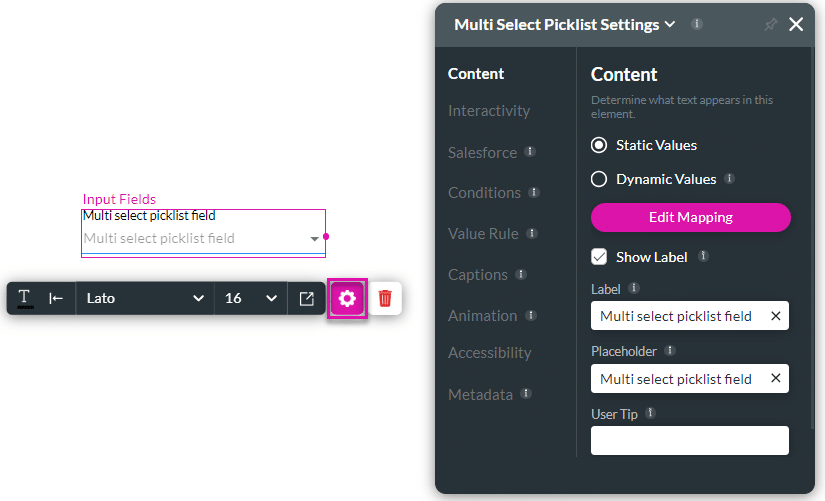
- Click the Edit Mapping button to configure the static values. The Configure Items screen opens.
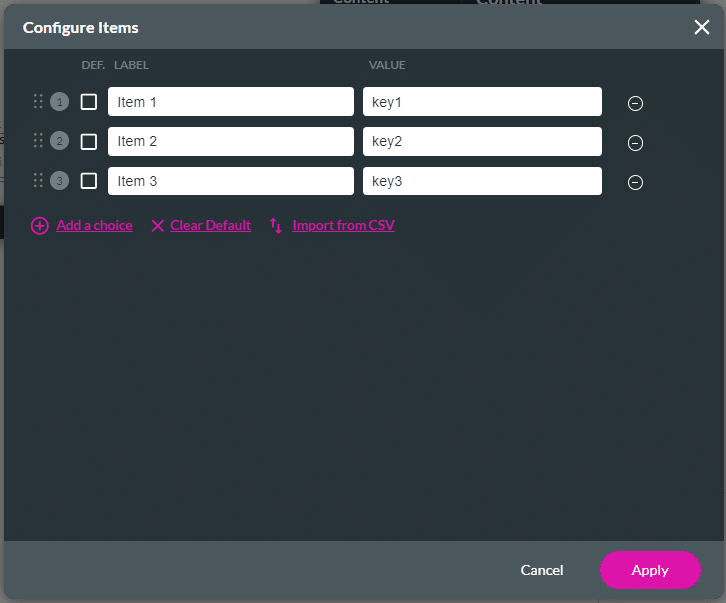
- Type the Label and Value in the fields.
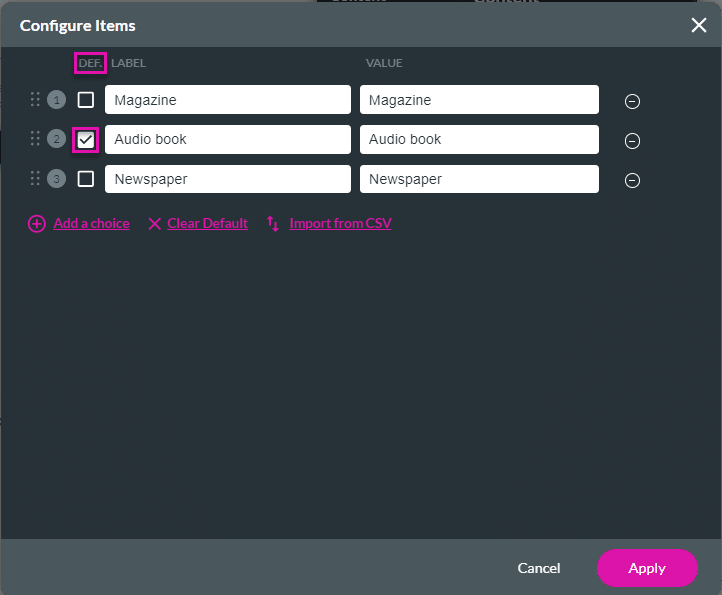
- Click the Default checkbox to set a default label, if necessary. The item will be selected automatically when the user views the multi-select picklist.
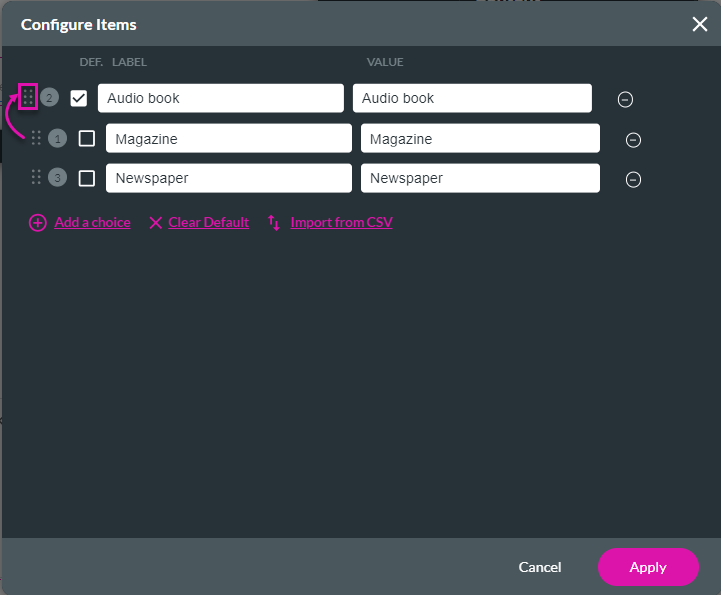
- Click-and-drag the Bento icon to move the items or arrange them in a different order.
- Click the Add a choice option to add more choices.
- Click the Clear Default option to clear the defaults. All default check marks will be cleared.
- Click the Import from CSV option to import items from a CSV file.
- Click the Remove icon to remove an option.
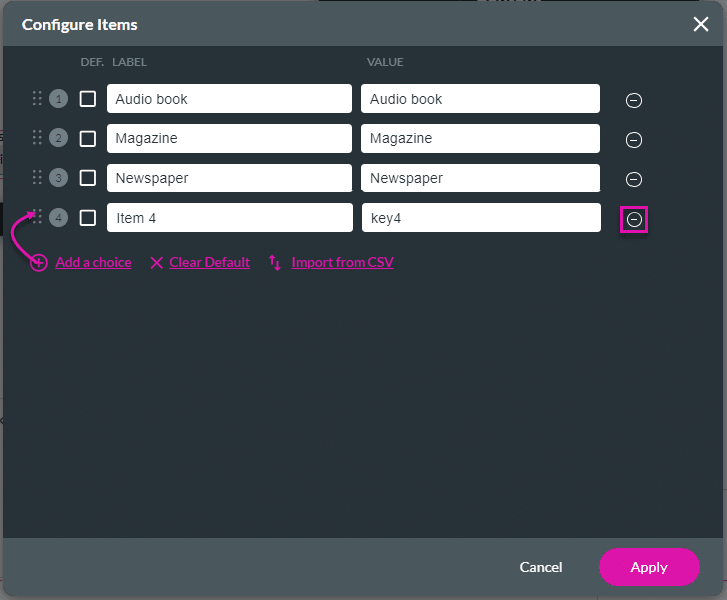
- Click the Apply button. The element is added to the canvas.
- Save and Preview the project.
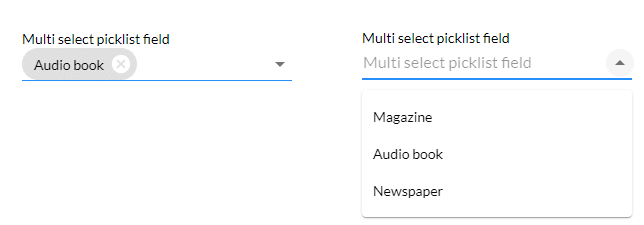
The multi-select picklist on the left shows the default option. The multi-select picklist on the left shows all the options when the drop-down arrow is clicked.
Hidden Title
Was this information helpful?
Let us know so we can improve!
Need more help?
Book Demo

