Custom Fonts
Business Background
Customize the fonts on your Titan projects to help establish a unique brand identity. Well-designed custom fonts can improve readability and user experience. Fonts can be optimized for different screen sizes and resolutions, ensuring they look good on any device, from mobile phones to large displays.
Titan Solution
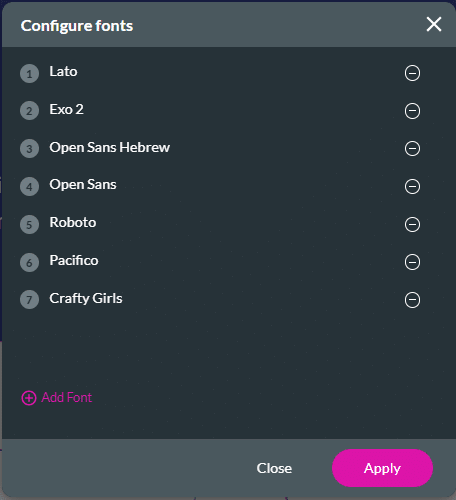
Titan picks up every font you use and lists it on the configuration font screen. Every font used is saved automatically.
- You can customize a font according to your business needs or select a pre-defined font.
- When you remove a configured font from the font configuration screen, all the instances where it was used automatically change to a Titan default font.
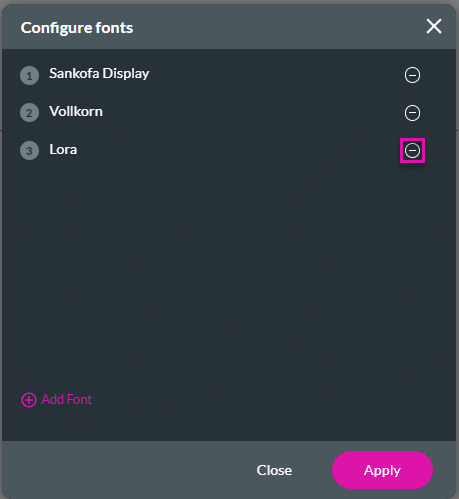
- You can use a variety of font types in one project. View all the types of font used in a project on the font configuration screen.
How to Video
How to Guide
You can add predefined or custom fonts.
Use Predefined Fonts
Do the following to add a Predefined font. This is the default option.
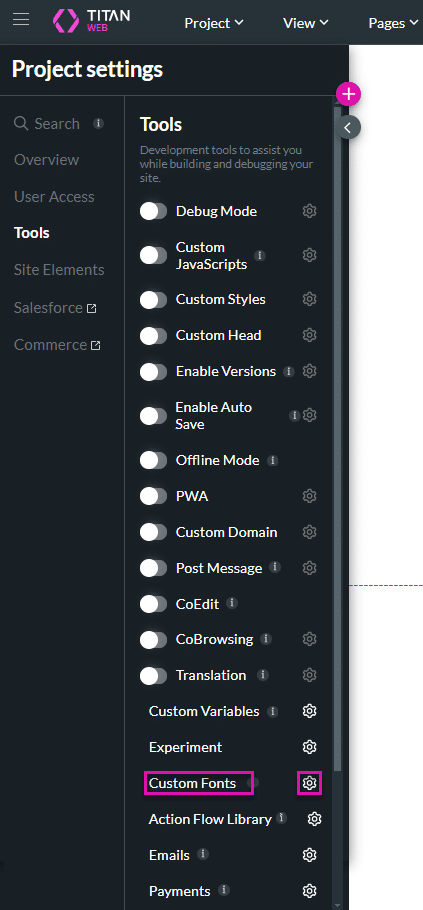
- Click the Gear icon to open the Project settings.
- Select the Tools option.
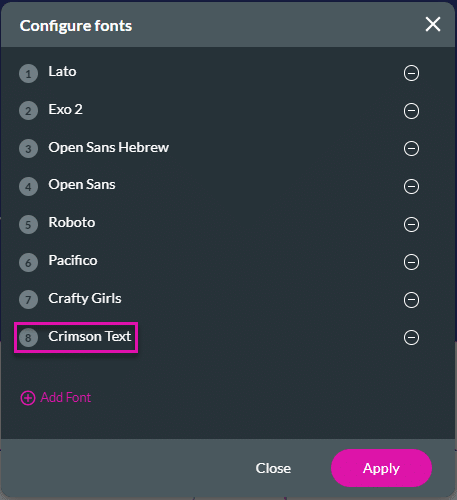
- Click the Custom Fonts Gear icon. The Configure fonts screen opens. A list of used fonts will display on the Configure fonts screen.
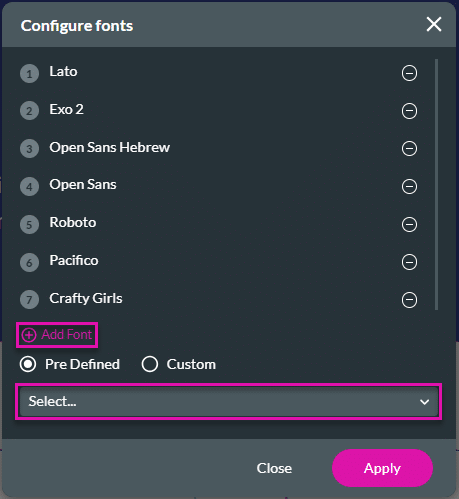
- Click the Add Font + icon.
- Make sure that the Pre-Defined radio button is selected. This is the default option. The Pre-Defined drop-down list displays a list of fonts.
- Select the font from the drop-down list. The font will be added to the Configured fonts list.
- Click the Apply button to close the screen.
Use Custom Fonts
Prerequisite:
Get a custom font. You can find a wide range of free and paid custom fonts from various sources online, such as:
- Google Fonts: Offers a wide range of free, open-source fonts that you can use in your projects. Visit Google Fonts.
- Adobe Fonts (formerly Typekit): Provides a large selection of high-quality fonts that you can sync to your computer or use on the web. Check out Adobe Fonts.
- Font Foundries and Marketplaces: Websites like DaFont, FontSquirrel, and MyFonts offer a wide range of free and paid fonts.
Important Considerations:
- License: Always check the license terms before using a font. Some fonts are free for personal use only, while others require a commercial license.
- Format: Ensure the font format is compatible with your software (usually .ttf or .otf). In Titan Web, you must use .css fonts.
- Quality: Consider the font’s quality, especially if you’re using it for professional projects.
Do the following to add a Custom Font.
In this example, a Google custom font is used.
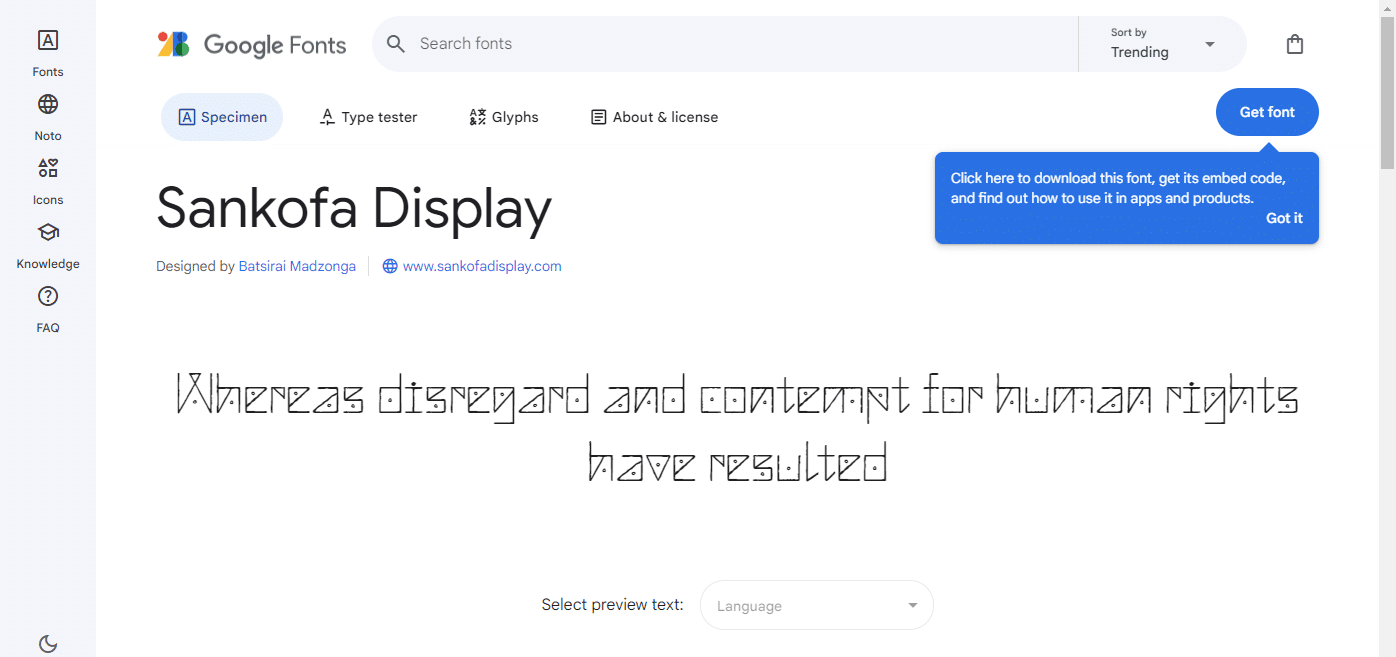
- Find the required font and click the Get font button.
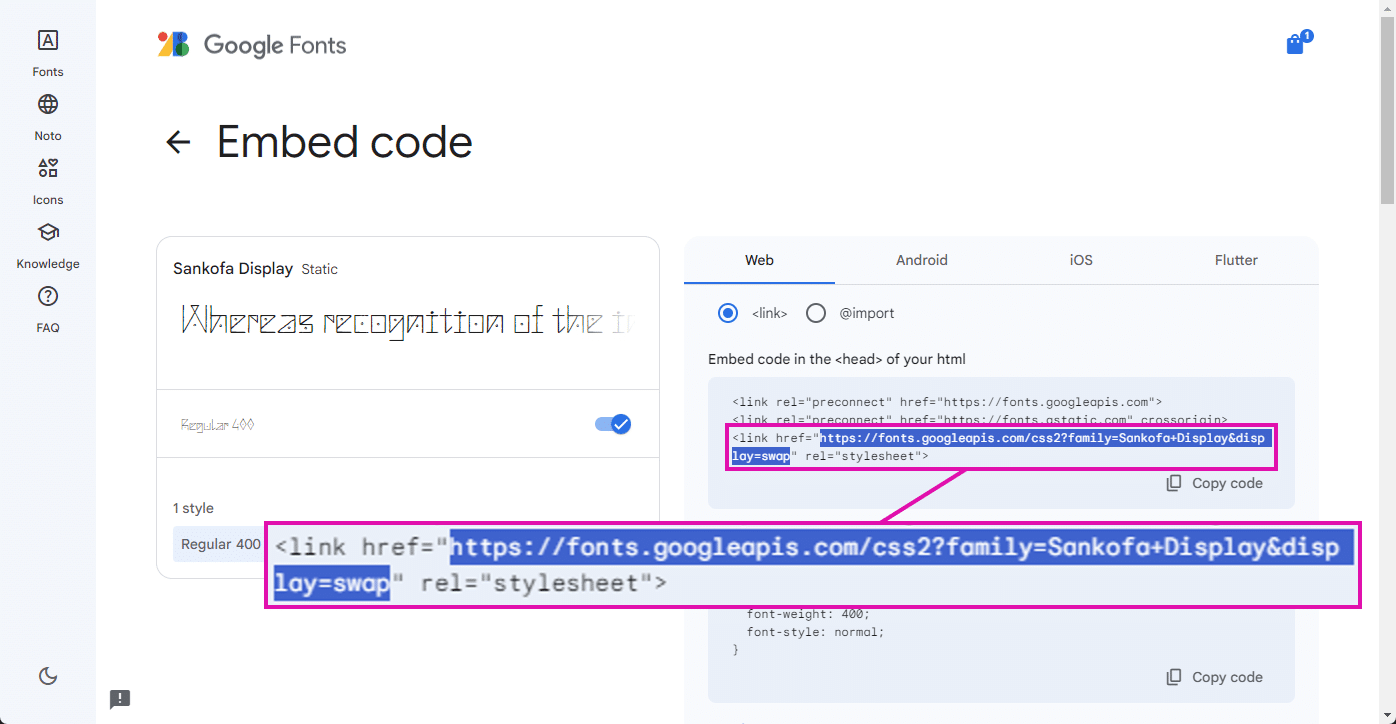
- Click the Get embed code button.

- Copy the web address.
- Do not include the inverted commas (” “) on either side of the address.
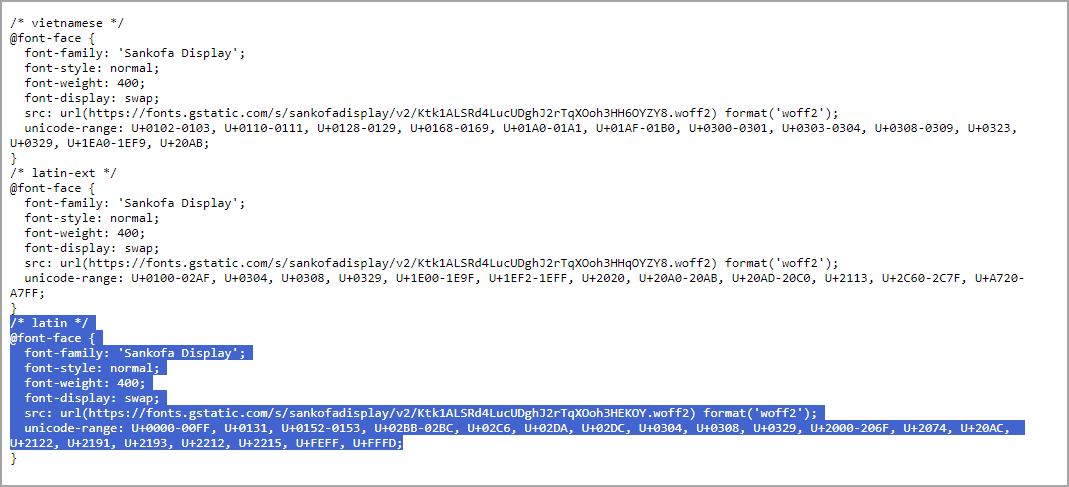
- Paste the web address in a new web page to open the font code.
- Copy the .css code.
- In Titan Web, click the Gear icon to open the Project settings.
- Select the Tools option.
- Click the Custom Fonts Gear icon. The Configure fonts screen opens. A list of used fonts will display on the Configure fonts screen.
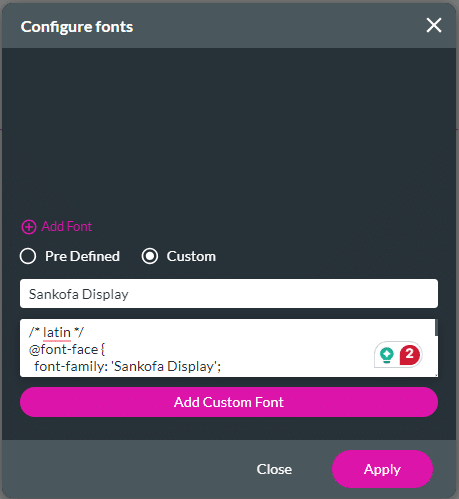
- Click the Add Font + icon and click the Custom radio button.
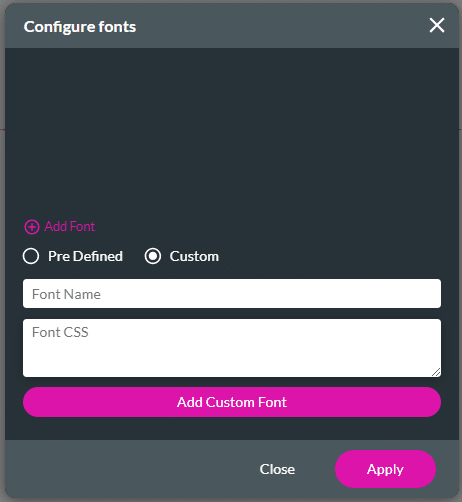
- Type the name of the font. This must be exactly the same name as the one in the .css code.
- Paste the .css code in the Font CSS field.
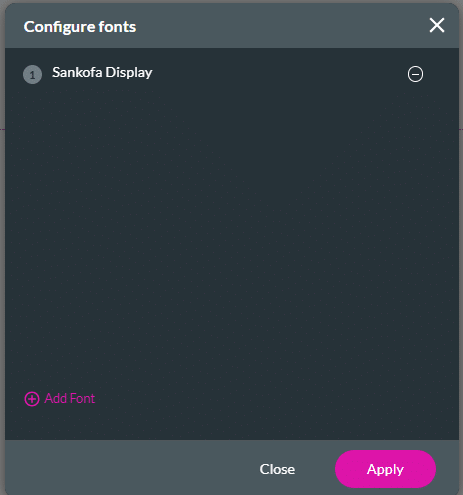
- Click the Add Custom Font button. The font is added to the font list.
- Click the Apply button to close the screen.
- If necessary, click the Delete icon to remove a font.