

Images for Titan Email Surveys
Business Background
The image question type provides a business the advantage of creating branded survey emails.
Titan Solution
- Titan Survey offers the option to add images to your email survey.
- Customer responses sync straight back to Salesforce, ensuring complete automation for your surveys.
How to Video
Use Titan Survey to easily create web or email surveys for Salesforce. In this video we will show you how to add an image in a Titan Email Survey for Salesforce.
- 0:07 Learn more about how to add an image to an email survey.
- 0:26 We show you how to choose an existing image or upload an image. Set a value for the images that you are going to use.
- 0:44 We show you how to change your image size, position or use the Repeat The Image option.
- 1:20 You can add multiple images to your email survey.
How to Guide
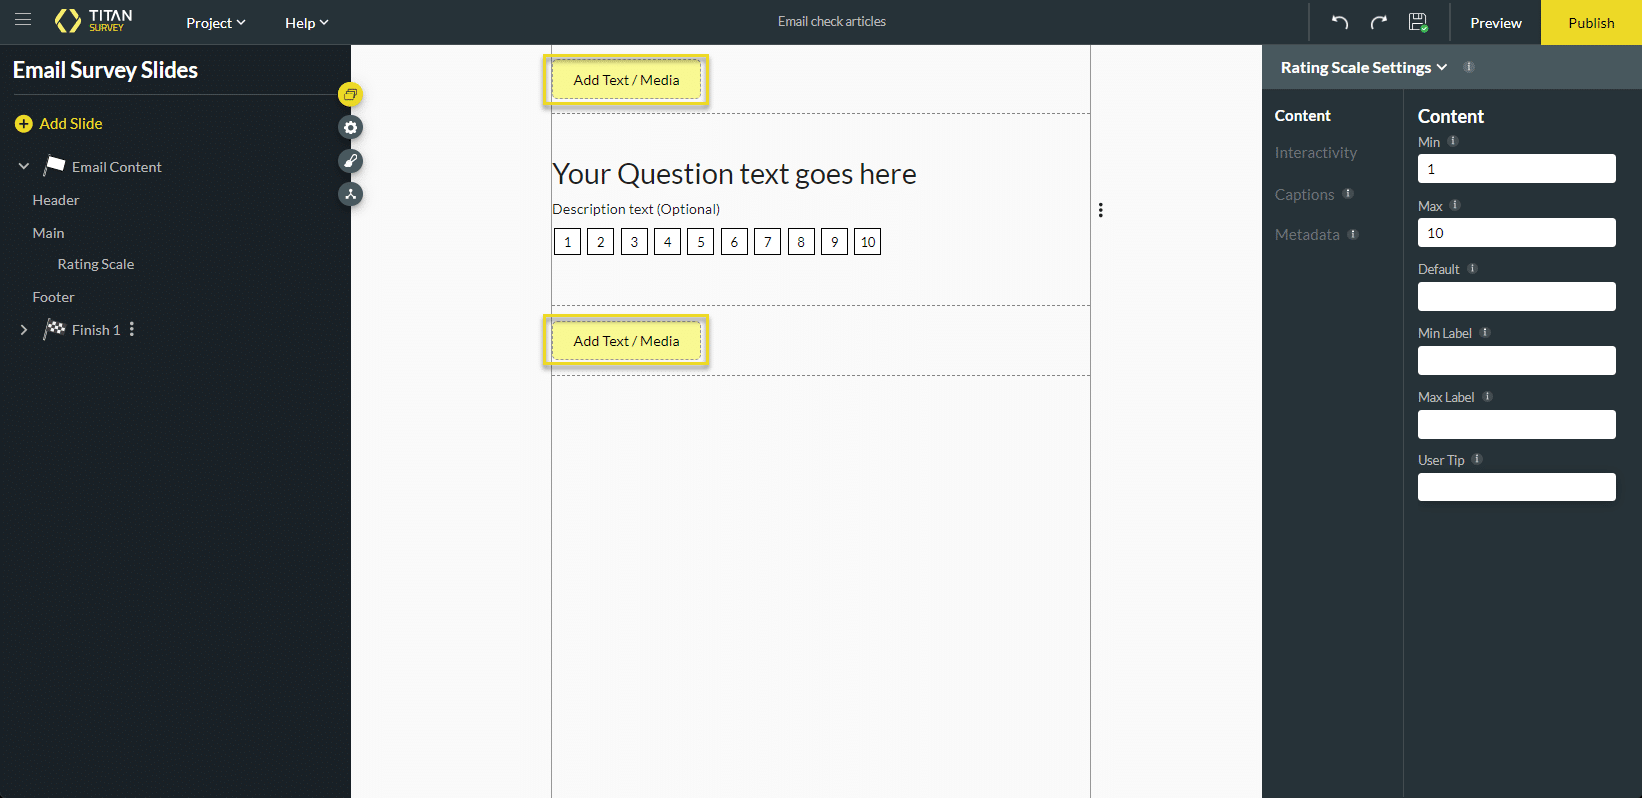
When you open an email survey, there are two Add Text/Media buttons. One is located at the top of the slide, above the question field, and the other is found underneath the question fields.
This means that you can add extra text or media (an image or video link) above or below the question.
- Click either of the Add Text/Media buttons. The Add Email Element screen opens.
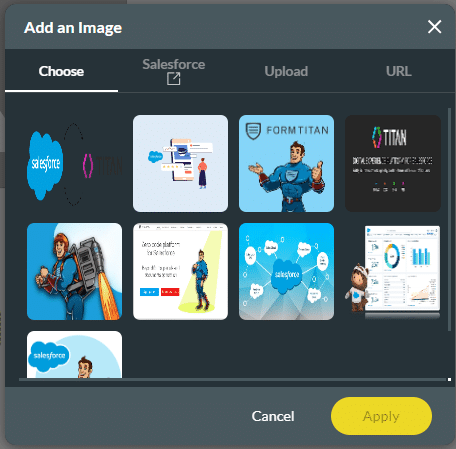
- Select the Image option and click the Insert button. The Add an Image screen opens. You can upload an image, choose an already uploaded image, or add a URL.

- Do one of the following:
- Choose an image that you have uploaded before.
- Configure a Salesforce integration to get an image from Salesforce.
- Upload an image from your computer.
- Paste an image URL.
- Click the Apply button. The image is added to the survey. If the image is hidden, drag the yellow dot downwards.
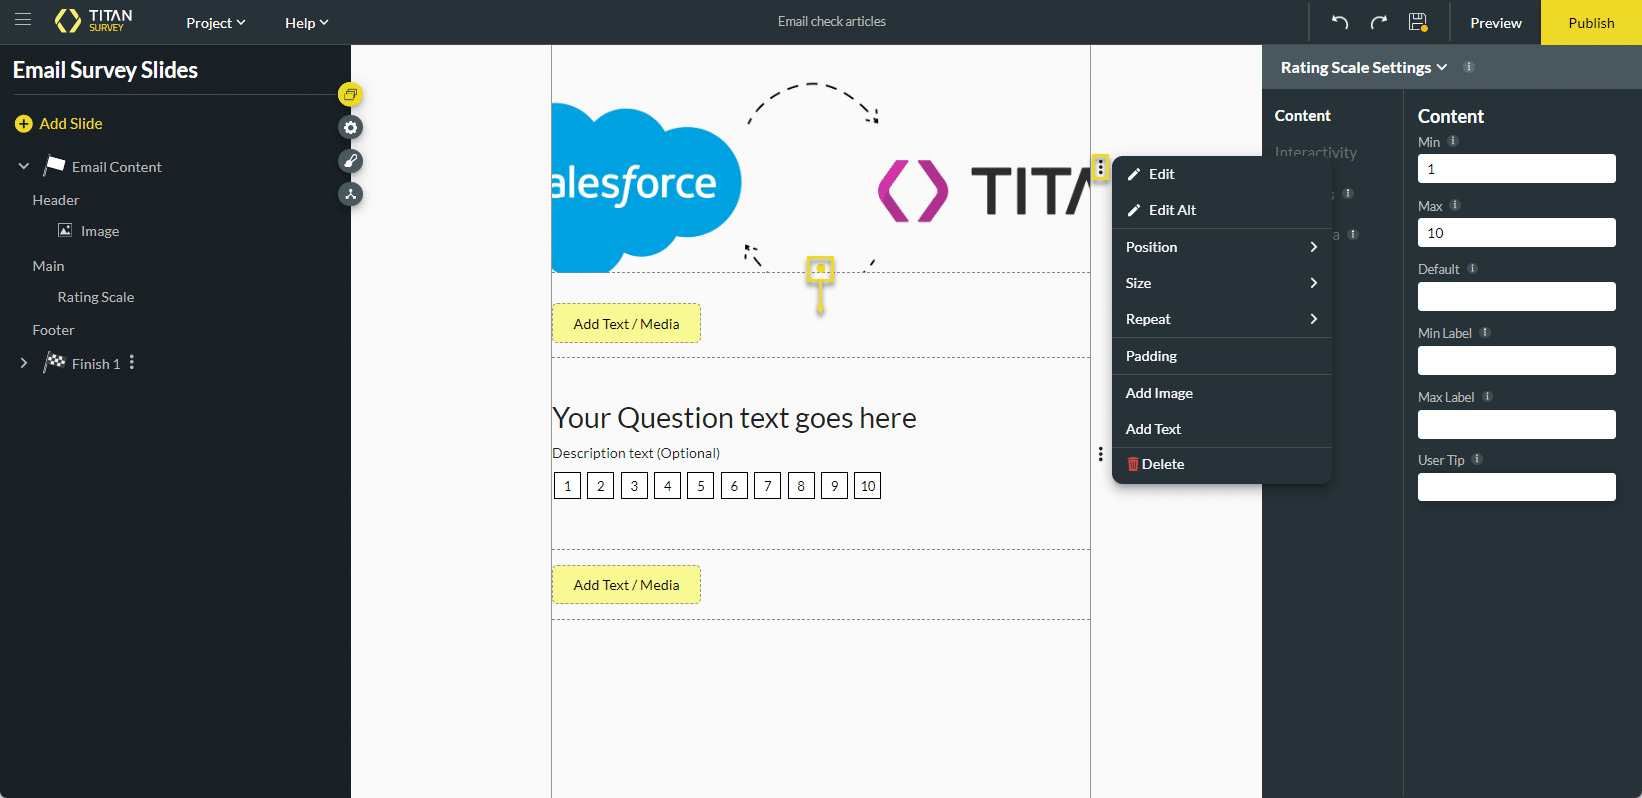
- Click the Kebab button. A popup menu opens.
- Click Edit to change the image.
- Set the Position:
- Left
- Center
- Right
- Set the Size:
- Auto
- Cover
- Contain
- Set the Repeat pattern:
- None
- Repeat X
- Repeat Y
- Repeat X, Y
- Space
- Round
- Set the Padding:
- Top
- Right
- Bottom
- Left
- Delete the image.
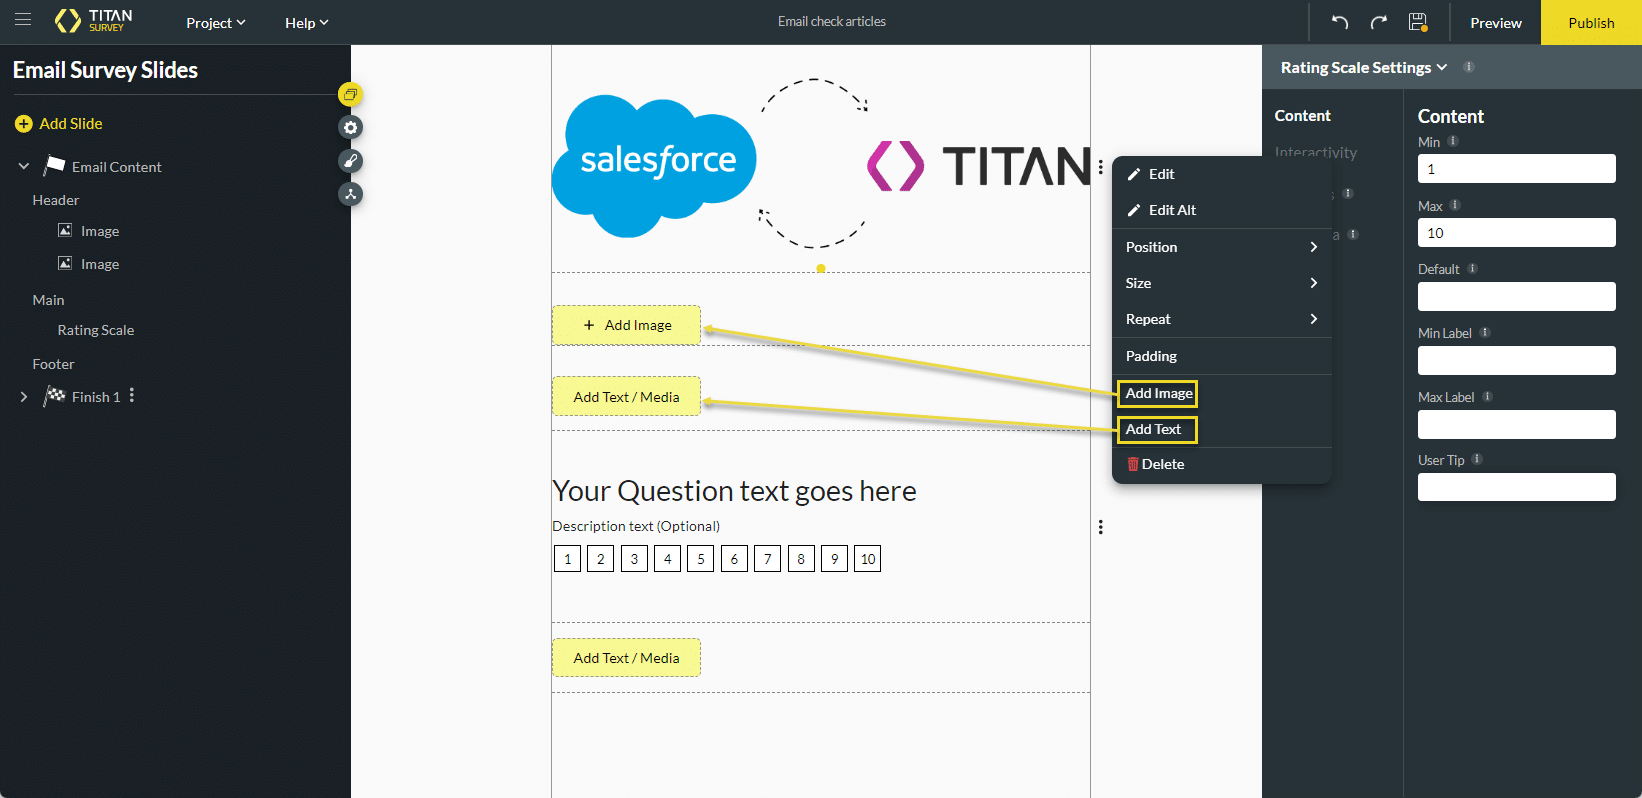
- If necessary, do the following:
- Click the Add Image option to add another Add Image button.
- Click the Add Text option to add another Add Text button.
Hidden Title
Was this information helpful?
Let us know so we can improve!
Need more help?
Book Demo