

Learn more about Configuring Sign and CLM Settings
Why Should you Configure Titan Sign and CLM Settings?
You can create custom styling for your document, with standardized headers and footers for emails. Configure emails for the Sign Wizard for both Signers and CC recipients.
How to Video
Video Coming Soon!
How can you Configure your Titan Sign Settings?
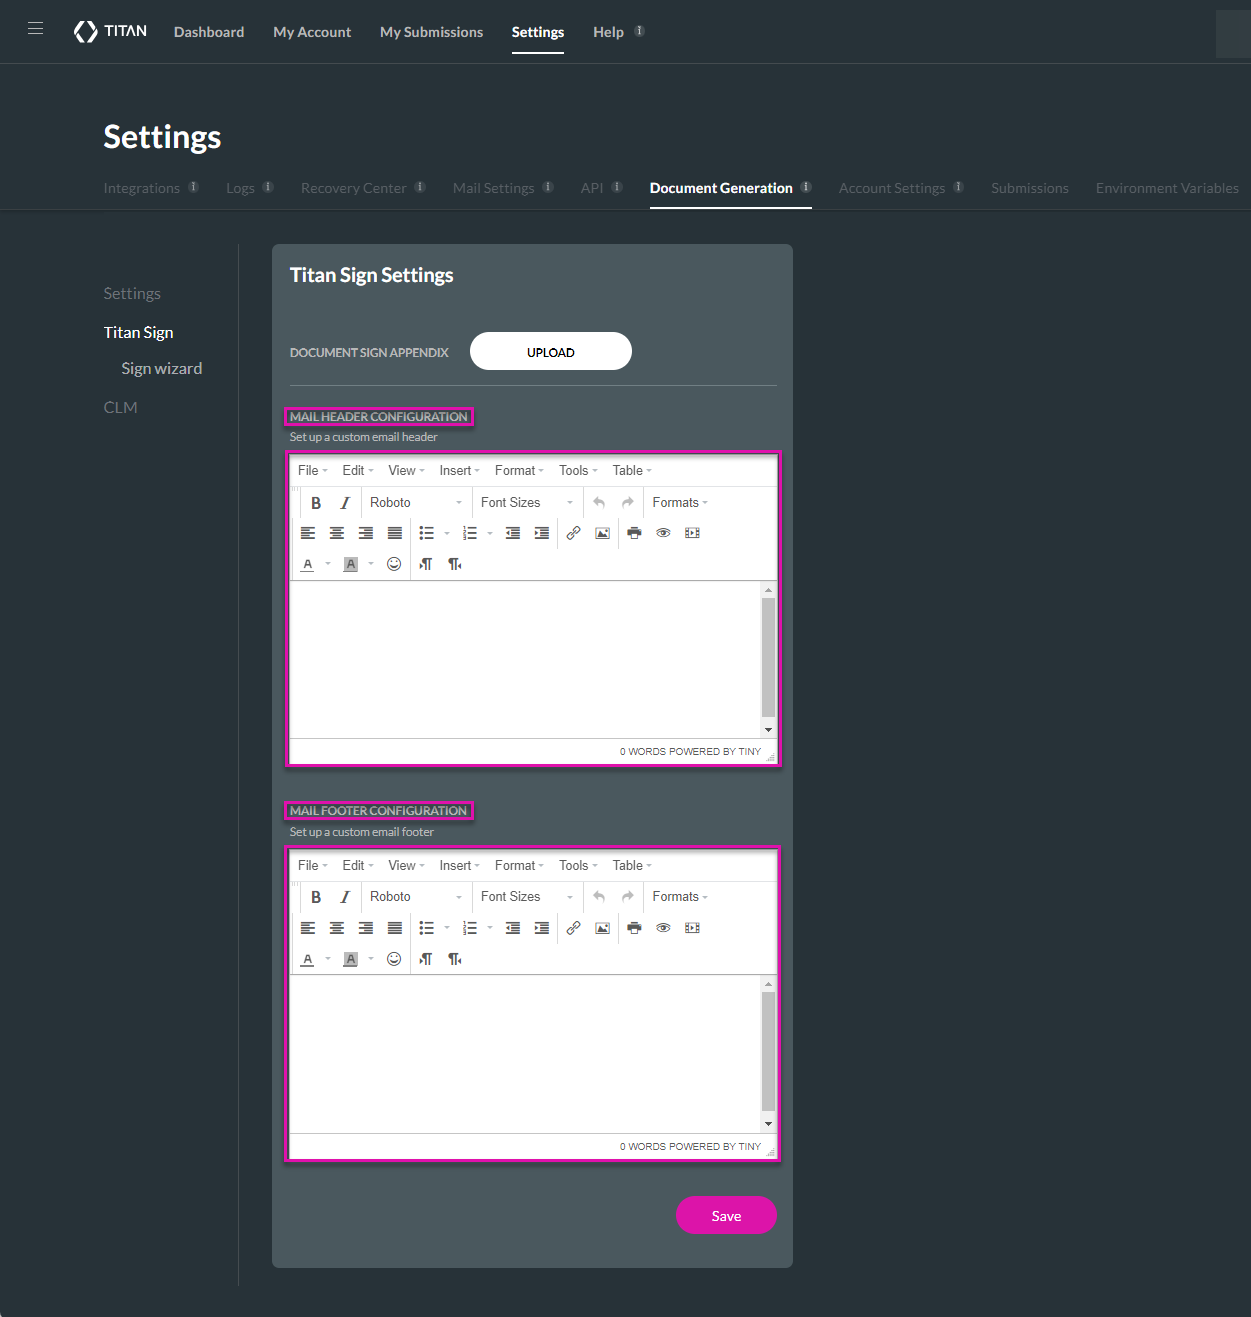
- Click the Settings tab and navigate to the Document Generation subtab.
- Click the Titan Sign option.
- Click the Upload button to upload an appendix document. This will be added to all other documents and could include company one-pagers or legal disclaimers.

- Create and configure the email header and footer by using the text blocks.
- Click the Save button once you have configured your document settings.
How can you configure your Sign Wizard Settings?
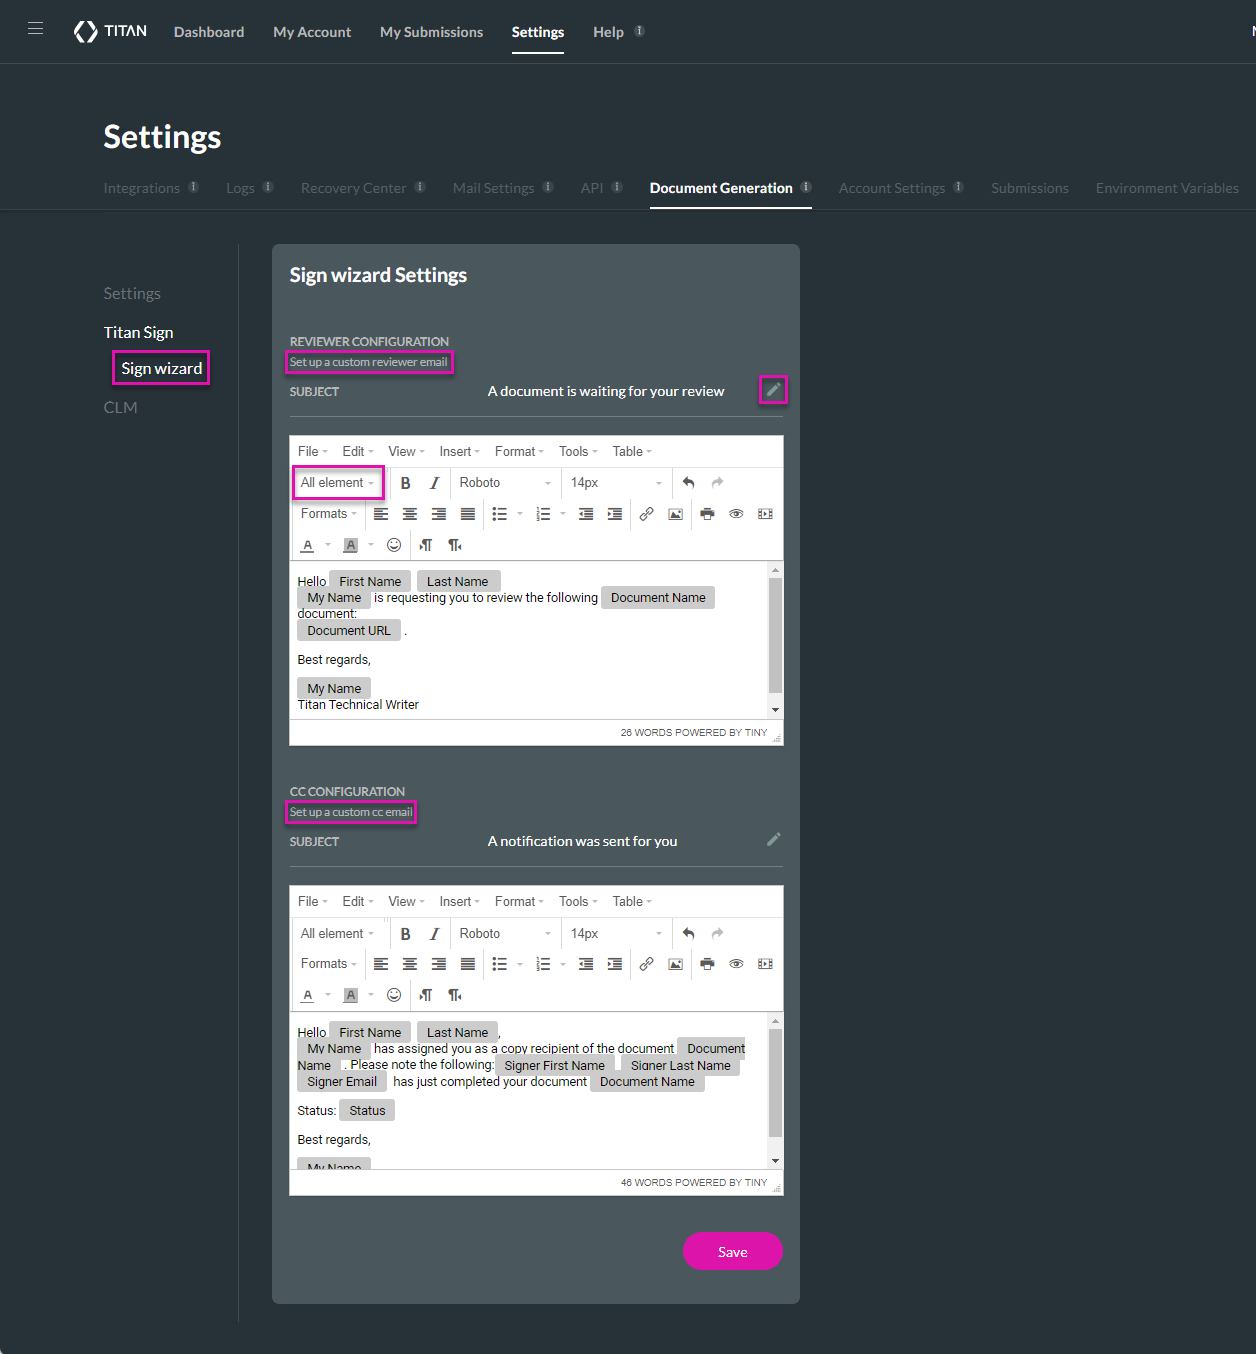
- Click the Settings tab and navigate to the Document Generation subtab.
- Click the Titan Sign option and then select the Sign Wizard subtab.
- Configure the reviewer email subject line and contents.
- Configure the CC email subject line and contents to send a copy of the signed document to recipients.
- Click the Save button once you have configured your document settings.
You can use variables from the All elements dropdown.
How can you Configure your CLM Settings?
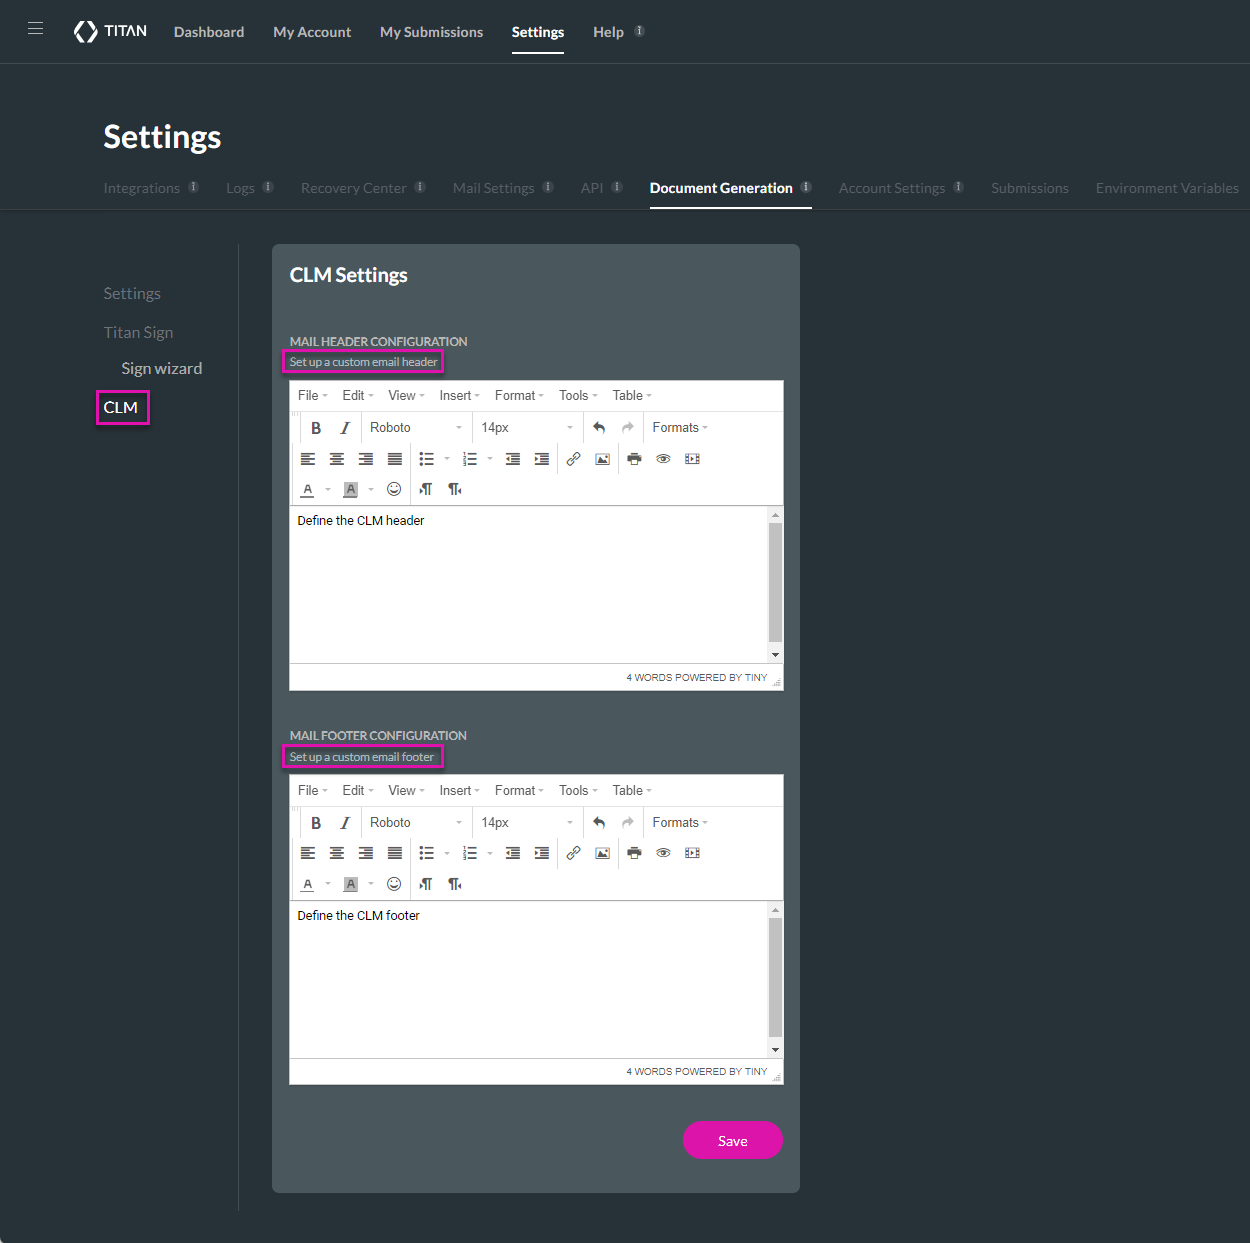
- Click the Settings tab and navigate to the Document Generation subtab.
- Click the CLM option.
- Configure the email header and footer that will display on CLM documents.
- Click the Save button once you have configured your document settings.
Hidden Title
Was this information helpful?
Let us know so we can improve!
Need more help?
Book Demo