

Merge Files
Business Background
Combine various files in a single file. Some scenarios where you will use merge files include the following:
- By merging customer data files, it is possible to create more precise customer profiles, which can improve customer relationship management and marketing strategies.
- When data from various sources is compiled into a single file, it enables more in-depth analysis and reporting.
- Additionally, merging files with different data types can offer a broader perspective and reveal insights that may not be evident when examining each file independently.
Titan Solution
With Titan Flow, you can merge various files in a single output file.
How to Video
- 00:00 An introduction on how to merge files with Titan Flow.
- 0:27 See how to create variables.
- 1:27 Watch how to run a Get to populate variables.
- 2:57 Learn how to push merged files to Salesforce.
- 3:24 Email your file.
- 3:47 Set up a button to trigger a flow.
- 4:38 Preview your project.
- 5:20 Check out your Flow integration logs.
- 5:54 Find your merged file in Salesforce.
- 6:22 Find your merged file in your email.
How to Guide
Note:
Prerequisite:
Add custom variables to the project.
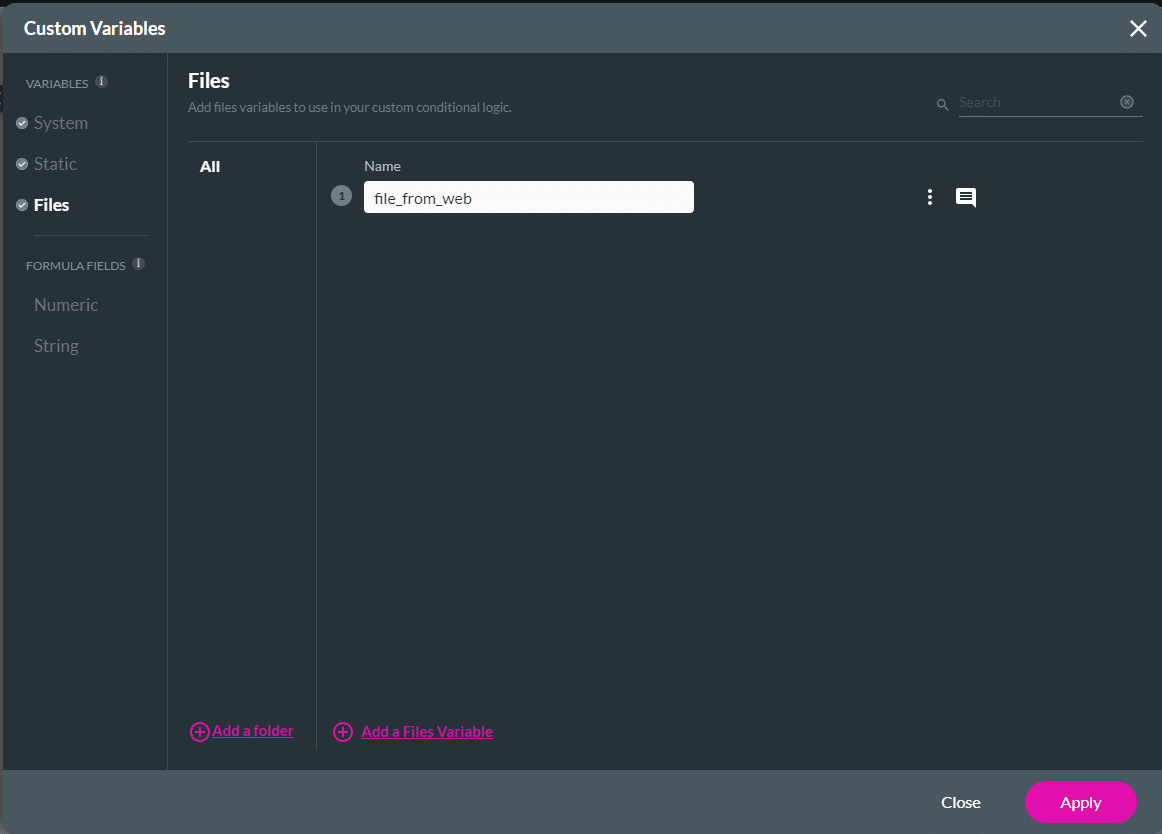
- Add Files or Static variables to get the files that will be merged.
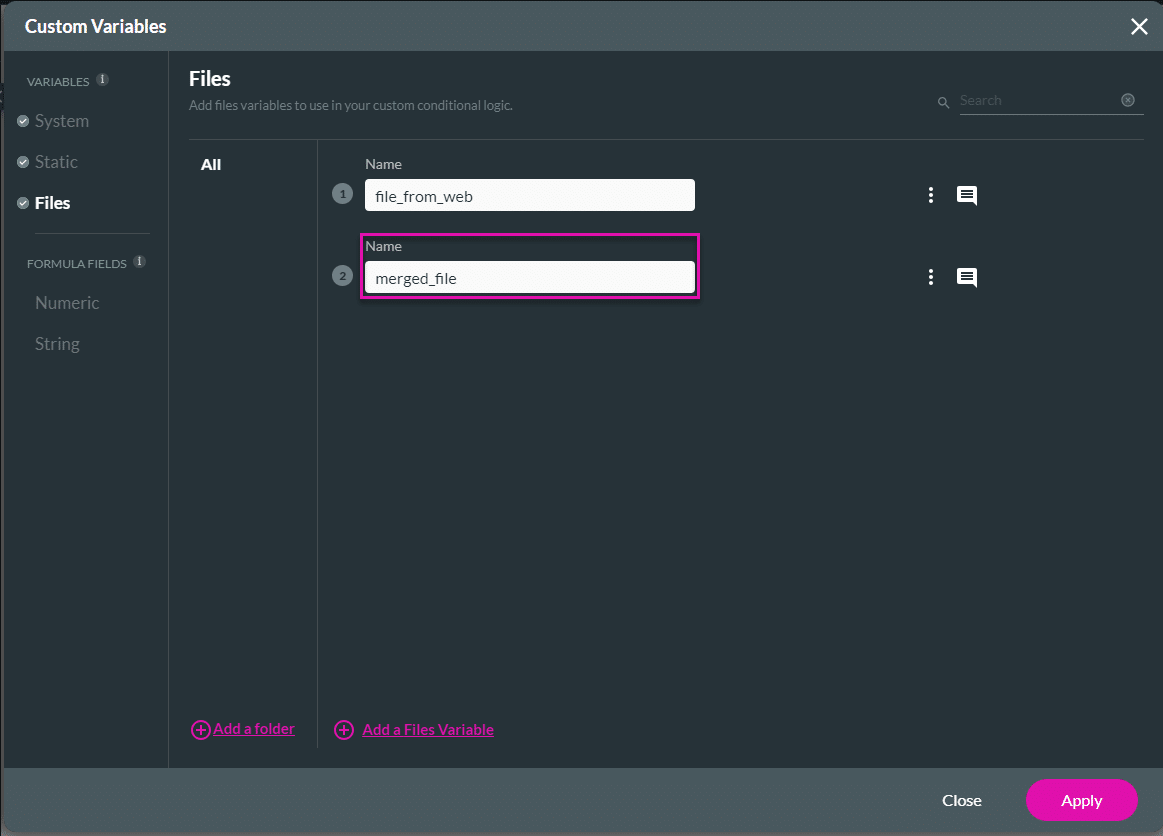
- Add a Files variable for the merged file.
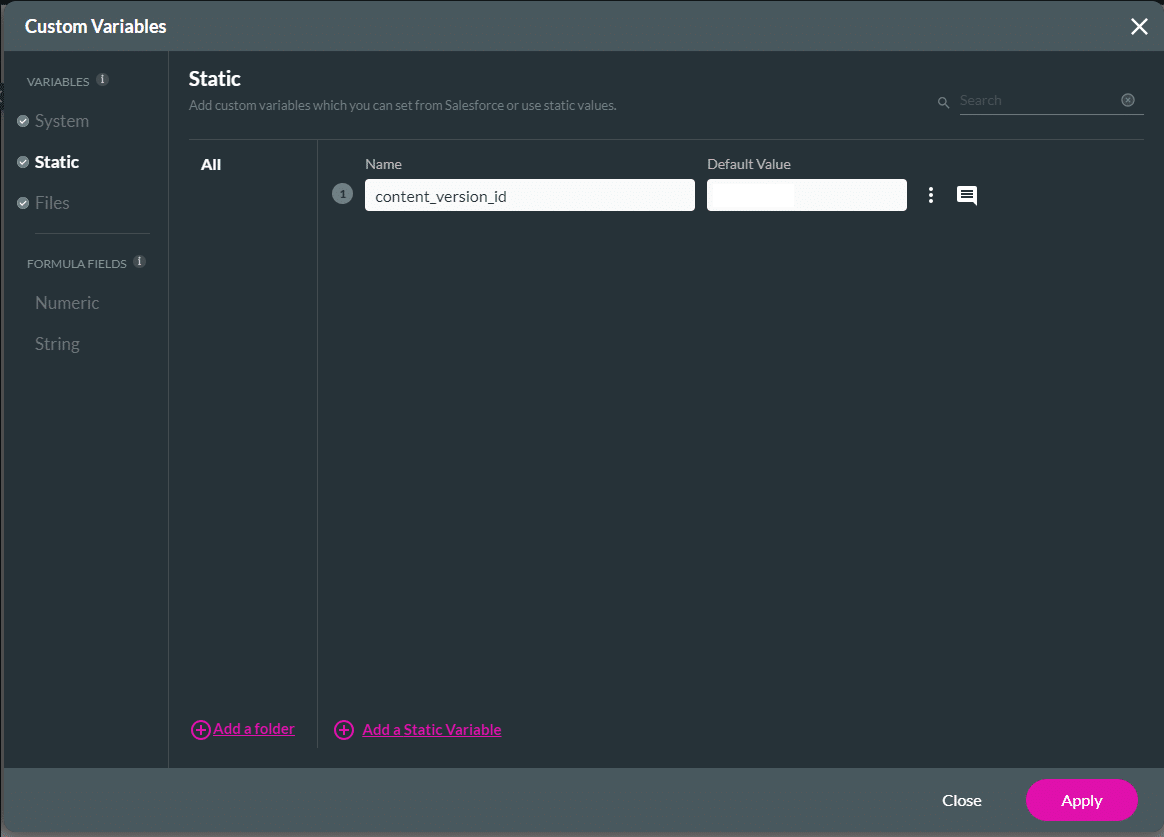
- Add a Static variable for the file name, if needed for a dynamic file name.
- To pass the file/s from a Titan Web or Titan Sign project with a file upload element, make sure that you add Files variable/s.
- To pass the file/s from Salesforce, make sure that you add Static variable/s.
- Bring the record ID from the content version data from the File object, Content Version.
- You can query several IDs and bring them as a list to merge.
- Add a Files variable for the merged file.
- Click the + icon next to the Start node.

- Under Action, click the Merge Files option and click the Next button.

- Configure the following:
- Use the drop-down list to select the content version ID.
- The static variables that you created populate this list.
- You can choose more than one option.
- Run a Salesforce Get in the Titan Flow project.
- Alternatively, run a Salesforce Get from the Web project and pass the values to Titan Flow.
- Use the drop-down list to select the file.
- The file variables that you created populate this list.
- The file variable can be populated from a Titan Web or Titan Sign project.
- Use the drop-down list to select the field to map to.
- This is where the files will be merged.
- The file variables that you created populate this list.
- Use the drop-down list to select the output format.
- PDF: If one or all the original files are PDF, the merged file will be PDF.
- docx: If all the original files are docx, the merged file can be docx or PDF.
- If the Dynamic file name toggle switch is disabled, type the custom name in the field.
- If the Dynamic file name toggle switch is enabled, use the drop-down list to select the name.
- The static variables that you created populate this list.
- Use the drop-down list to select the content version ID.
Note:
You can merge files from Salesforce and/or Titan Web or Sign.

- Click the Next button.
- If necessary, drag the files to change the order of the appearance in the merged file.
Note:
If you merge multiple files from Salesforce, order the files in the Get that brings the IDs as the files will be merged in the order of the IDs. Use the Sort Order option on the Map Salesforce fields screen.

- Click the Next button.
- Add a tag and click the Insert button.

- Save the project.
You can, for instance, push the merged file to Salesforce, email it, or send it to a third-party application.
Hidden Title
Was this information helpful?
Let us know so we can improve!
Need more help?
Book Demo