

Show and Hide for Affected Elements
Business Background
Dynamically change whether elements or shown or hidden based on user action or information from Salesforce.
How to Guide
Prerequisite:
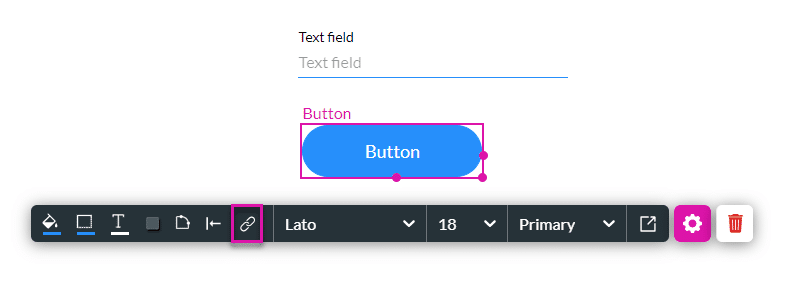
1. Add an Affected Element node to an element such as a button.
2. Alternatively, configure a condition.

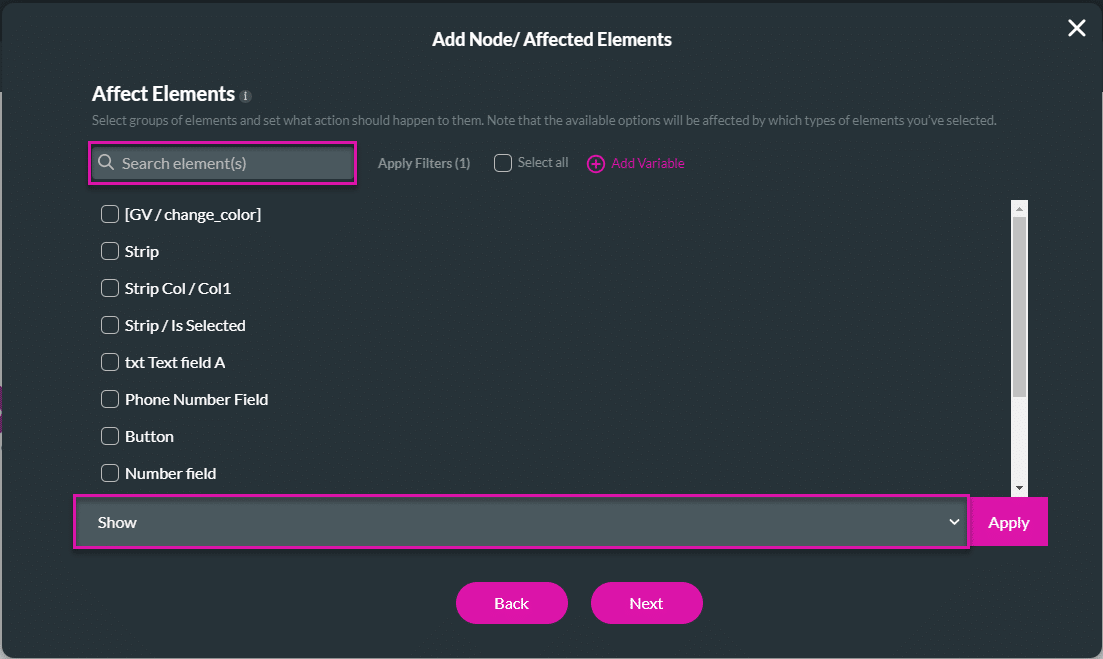
- Select the element/s that you want to affect by clicking the relevant checkbox/es.
- These are all the elements in your project.
- If necessary, use the Search element/s field.
- Use the drop-down list to select an option:
Protip:
Make sure you add the elements in a form or an auto fit container. This will ensure that the web page contents are properly resized when hiding or showing elements.
In this example, the button element is also added in the form to make sure that it resizes correctly.
Show
Use this option to show a hidden element.
Prerequisite:
In this example, text field B is set to Hide Onload.
The Show option is the default. In this example, text field B will be shown.

- Click the Apply button. The tag “Show” is added to the selected element/s.
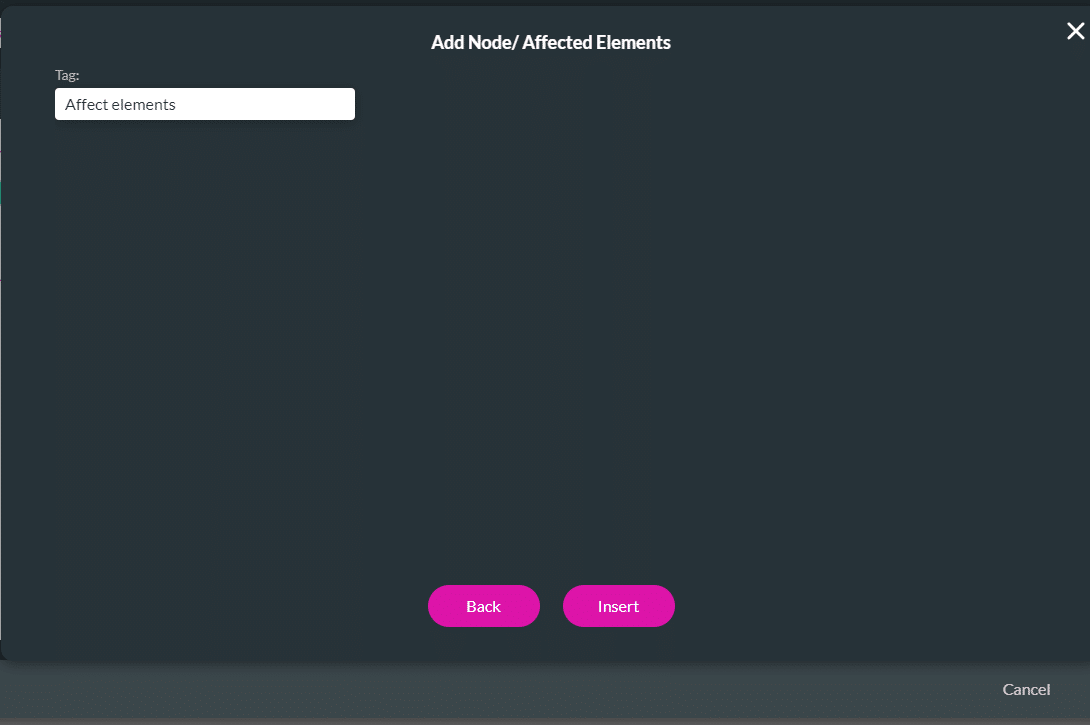
- Click the Next button.

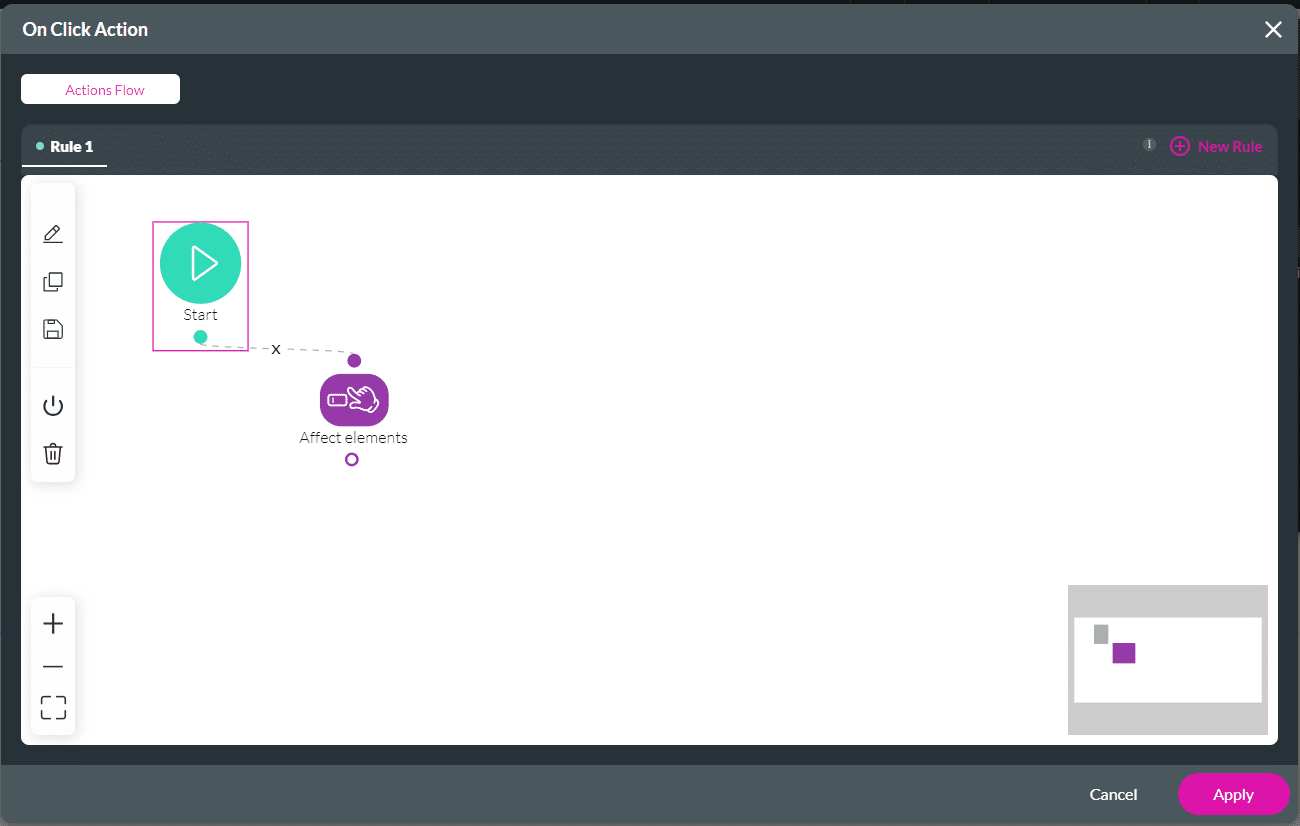
- If required, change the tag and click the Insert button. The node is added to the screen.
- Click the Apply button.
- Save and Preview the project.
Text field B is hidden when the page loads. It is shown when the user clicks the button.

Hide
The Show option is the default.
- Use the drop-down list to select the Hide option. In this example, text field C will be hidden.

- Click the Apply button. The tag “Hide” is added to the selected element/s.
- Click the Next button.

- If required, change the tag and click the Insert button. The node is added to the screen.
- Click the Apply button.
- Save and Preview the project.
When the user clicks the button, Text field C is hidden.
