

Padding Styling
Business Background
You can style an element’s padding by controlling the space between its content (like text or images) and its border. Padding allows you to create spacing inside the boundaries of an element, pushing the content away from the edges. It is useful for improving readability, providing visual breathing room, and ensuring elements don’t appear cramped.
How to Guide
Use the padding option to customize elements in web projects.
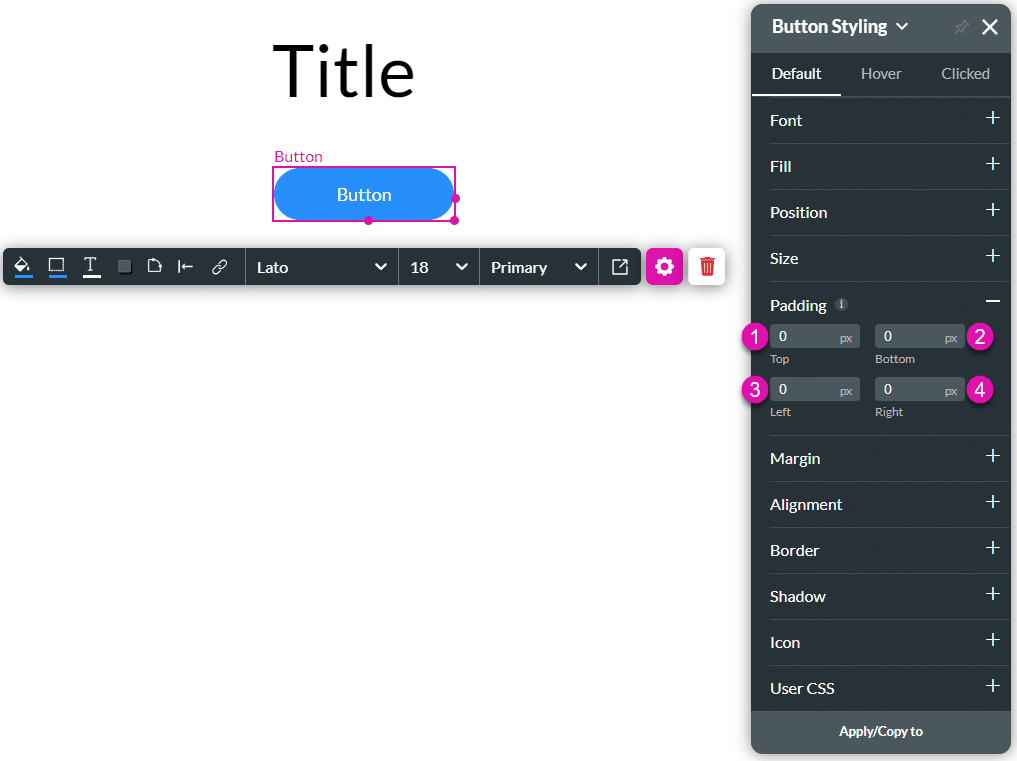
| # | Option | Function |
|---|---|---|
| 1 | Top | This option sets the padding at the top of the element. |
| 2 | Bottom | This option sets the spacing between the bottom of the element and its border. |
| 3 | Left | This option sets the padding on the left of the element. |
| 4 | Right | This option sets the spacing between the element’s right and its border. |
Real-Life Example of How to Configure Padding
Join us as we examine one of the many ways you can style an input element using the Padding setting. Alternatively, contact us today if you have a specific business use case in mind.
The example below shows how to change the padding of the element.
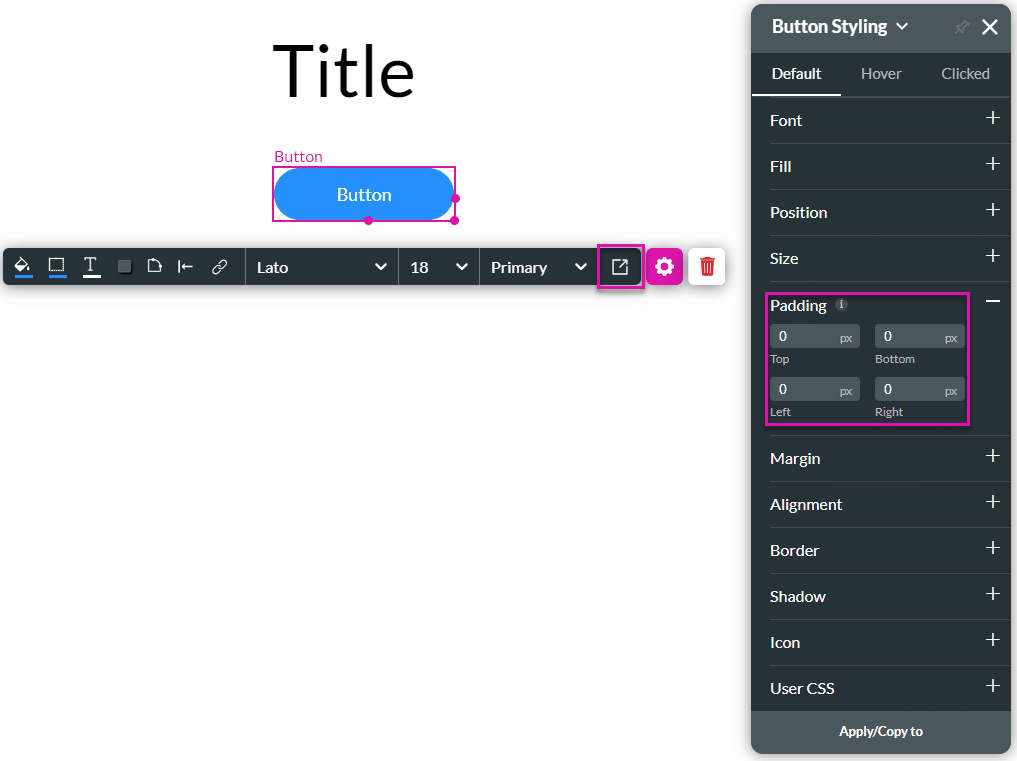
- Click the Input Styling icon to open the Styling panel.
- Type a value in the fields. In this example, values were added to the Top and Left.
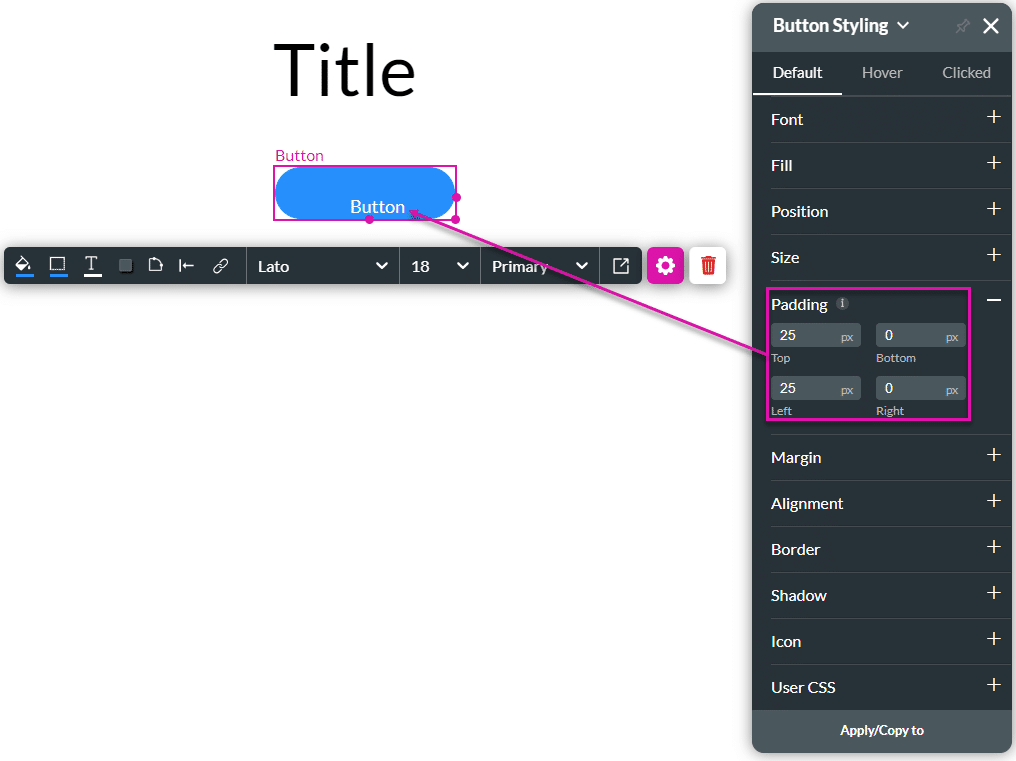
Spaces were added at the top and left of the button’s text and the borders of the element.
Hidden Title
Was this information helpful?
Let us know so we can improve!
Need more help?
Book Demo