Image and Information Strip Template
Business Background
Templates are pre-designed structures that help streamline form creation, data collection, or workflow automation. They ensure consistency, save time, and reduce manual effort across various applications.
You can add image and text fields to your project with just a few clicks. Add as many elements as you need to create a responsive form that works on different device screens.
Titan Solution
Titan provides a basic template to create a simple web page in just a few clicks. This article demonstrates the creation of an organization’s About Us strip, but the same steps could be used to create similar strips for company product information, customer testimonials, calls to action, and similar.
How to Video
- 0:00 – Introduction
- 0:22 – How to Change the Image Element
- 0:36 – How to Change the Text Field Elements
- 1:16 – Save and Preview the Project
- 1:19 – Change Device Layouts
- 1:15 – Quick Overview of the Template
- 1:52 – Use Other Titan Web Elements in the Strip
- 2:30 – Save and Preview the Project
- 2:45 – Quick Reference to Styling
How to Guide
Download the template
- Download the Titan Web project zip file.
- On the Titan Dashboard, click the Kebab icon to import the project. The standard Open file dialog is shown.

- Select the downloaded zip file and click the Open button.

- Click the template project to open it.

Change the image and text elements
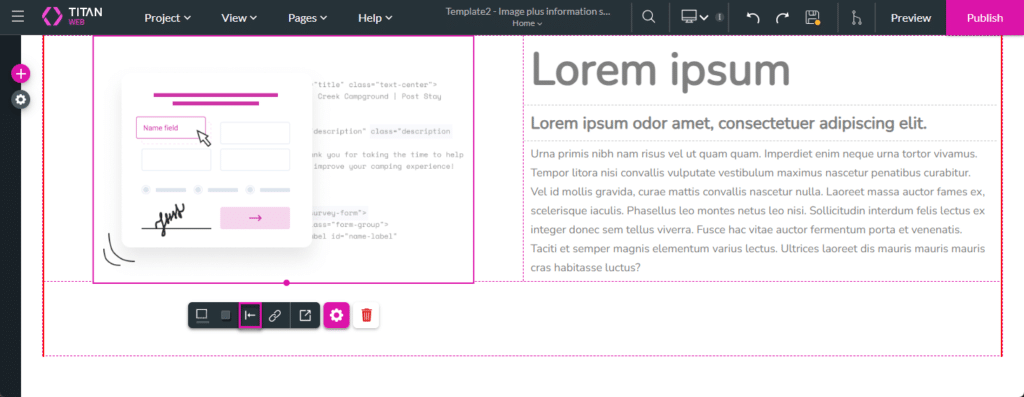
The Titan Web project will open with the following:
- Image element
- Text elements

- Click the image element’s Gear icon.
- Click the Change Image button. The following options are available:
- Choose an already uploaded image;
- Choose an image from Salesforce;
- Upload an image; or
- Add an image URL.
- In this example, a link is pasted in the Image URL field.

- Click the Apply button to confirm the new image selection. The new image will be displayed.

- Use the Alignment icon to center the image.

- Click the Title element’s Gear icon.
- Type or paste the information in the Title text field.

- Type or paste the information in the Subhead text field.

- Type or paste the information in the Paragraph text field.

- Click the Device drop-down icon.
- None of the device layouts were configured.
- The Responsive AI option is enabled by default. Titan doesn’t change the structure of your project; it just makes it smaller to match the device.

- Save and Preview the page.
The page is, by default, shown for desktop size (device=lg).

Change the query string to specify the device layout. You can edit the URL to match the device type by using the device code:
- lg – desktop
- md – laptop
- sml – tablet large
- sm – tablet small
- xs – mobile large
- ss – mobile small
This template allows users to create versatile web pages with image and text elements that display seamlessly on any device size.

Style the contents
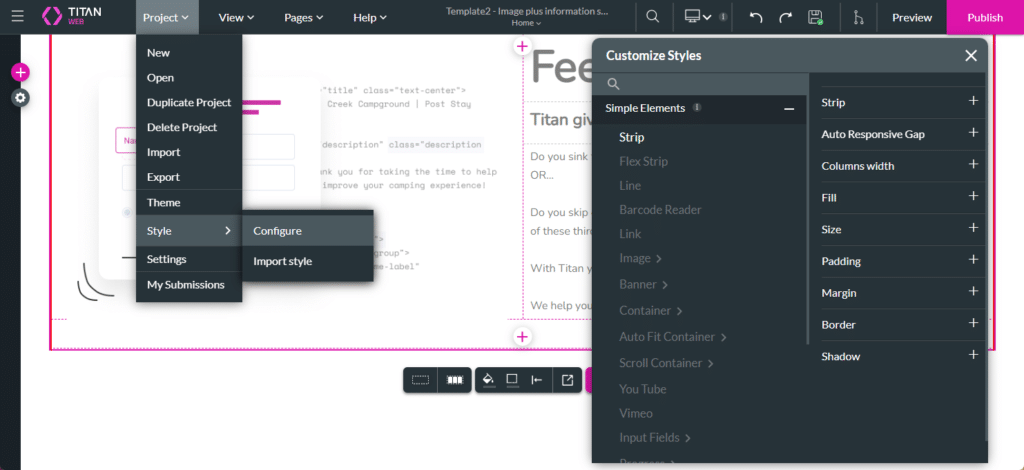
The web page can be styled using the following option:
Project > Style > Configure

You can style the page in different ways. Here are some examples:
- Change the font qualities of the text elements.

- Change the strip’s fill to any color that suits your branding.

- Add a border around the image.

The styling is shown in the preview.

For more information about My Strips, watch the following video:

