

File Viewer: Type
Business Background
When you have stored your files in an external location with the file URLs stored in Salesforce records, you can specify the type of document that can be viewed using the File Viewer element.
How to Guide
Note:
You do not need to use this option if your files (also known as Content Versions) are stored directly in Salesforce on the File tab.
Learn more about mapping Salesforce files to the File Viewer.
For dynamic file URLs, do the following:
- Click the + icon to open the list of elements.
- Select the Widget option from the list.
- Click-and-drag the File Viewer element to the canvas.
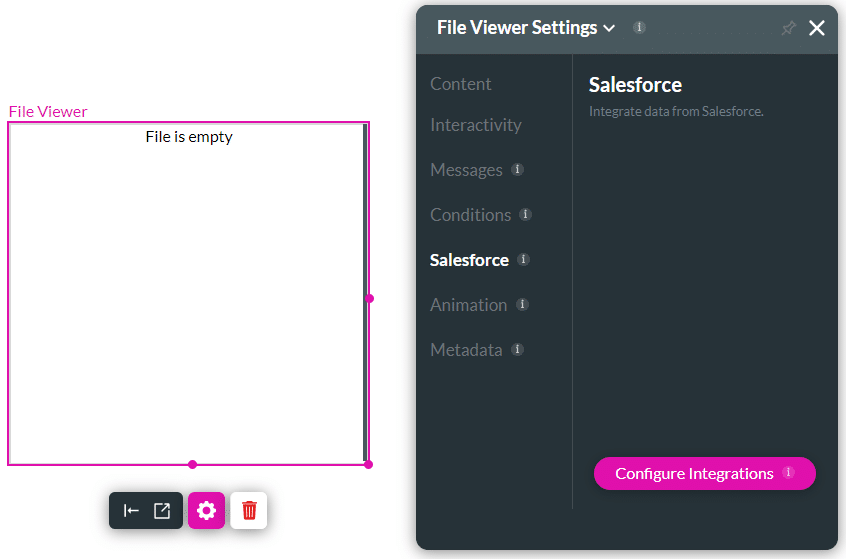
- Click the File Viewer element settings Gear icon. The File Viewer Settings screen opens.
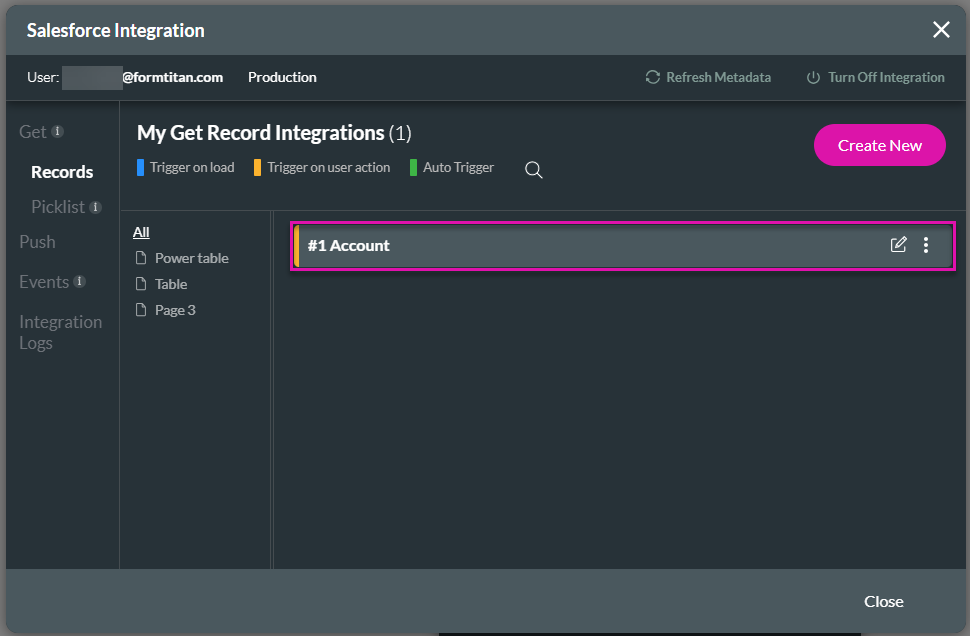
- Click the Salesforce option and click the Configure Integrations button. The Salesforce Integration screen opens.
- Click the Create New button. The Map Salesforce fields screen opens.
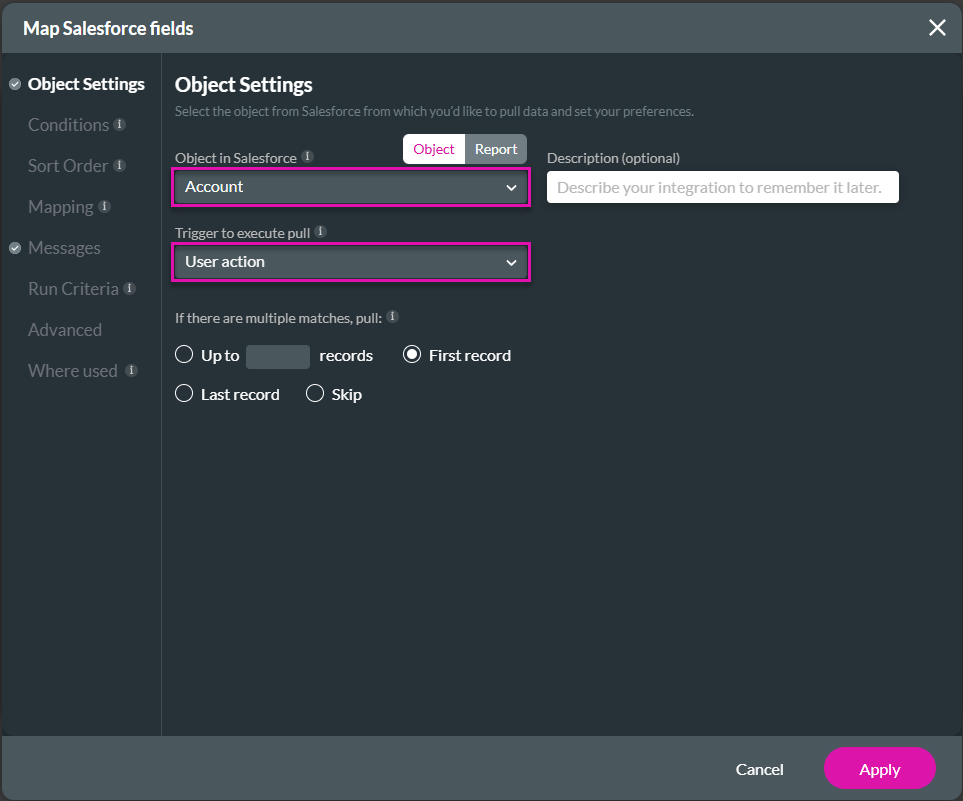
- Use the drop-down lists to select the following:
- Object in Salesforce, for instance, Account.
- Trigger to execute pull, for instance, User Action.
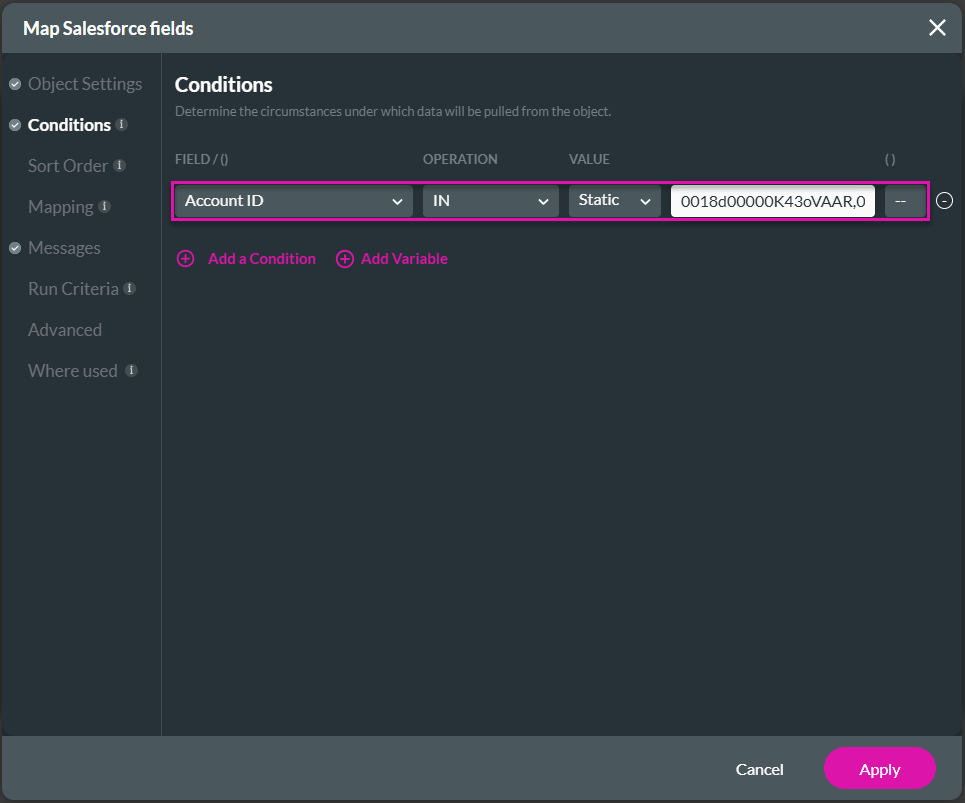
- Click the Condition option and configure a condition, for instance, list Account IDs.
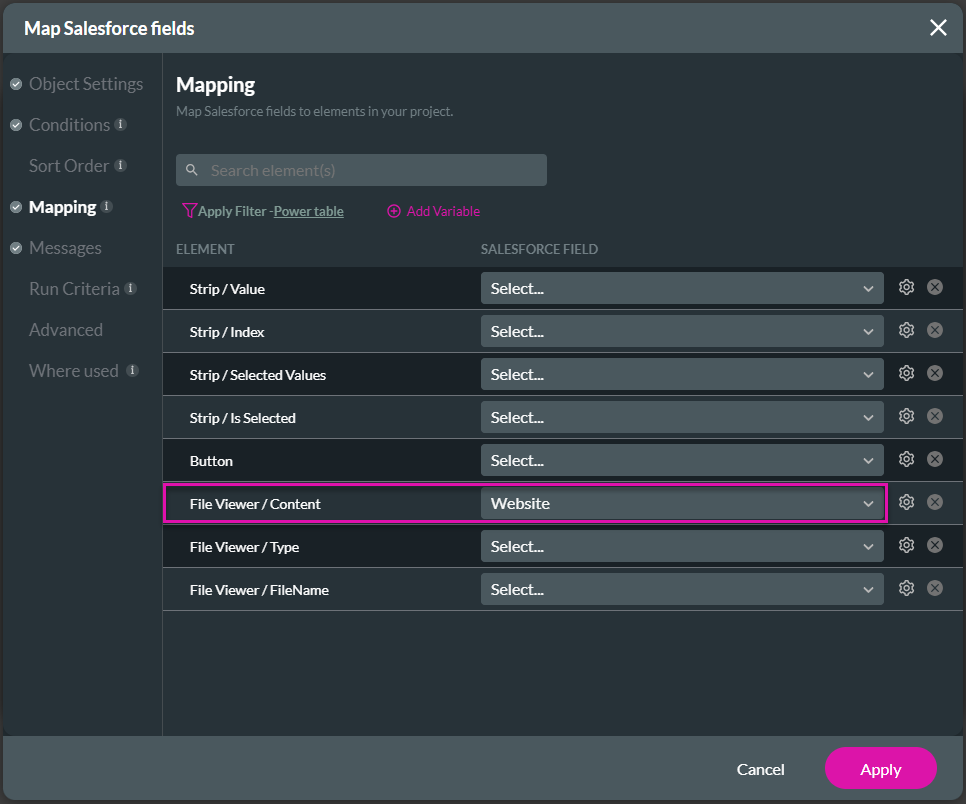
- Click the Mapping option and use the drop-down list to map the File Viewer/Content to the field in Salesforce where the image URL is stored.
- Click the Apply button. The integration is added to the screen.
- Click the Close button.
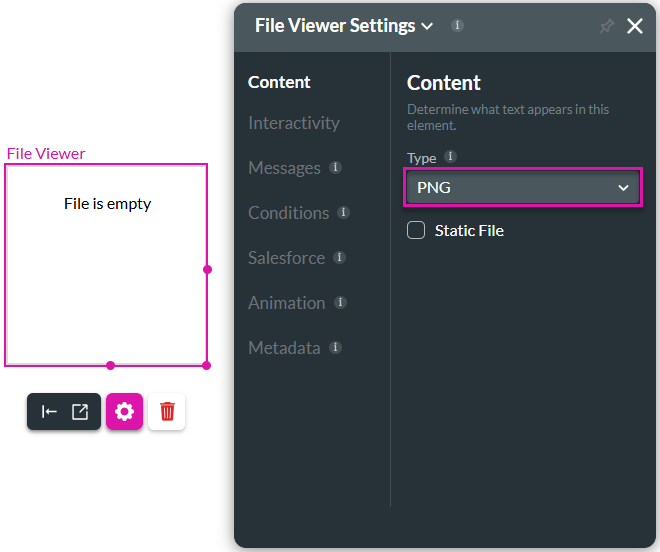
- Click the Gear icon to open the File Viewer Settings screen.
- Under Content, use the drop-down list to select a file type.
Note:
- You must select the same file type as in the URL: for instance, in this URL, the file type is PNG and then you must select PNG in the drop-down list: https://titandxp.com/wp-content/uploads/2022/08/Group-5.png
- If you map multiple files to the file viewer widget, they must all have the same file type.
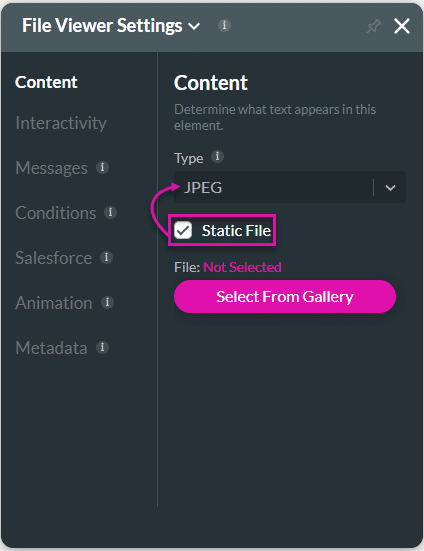
Note:
This option only works for dynamic files.
When Static File is selected, the drop-down list is no longer active.
- Configure a trigger for the Salesforce action you created. In this example, it is triggered from the page.
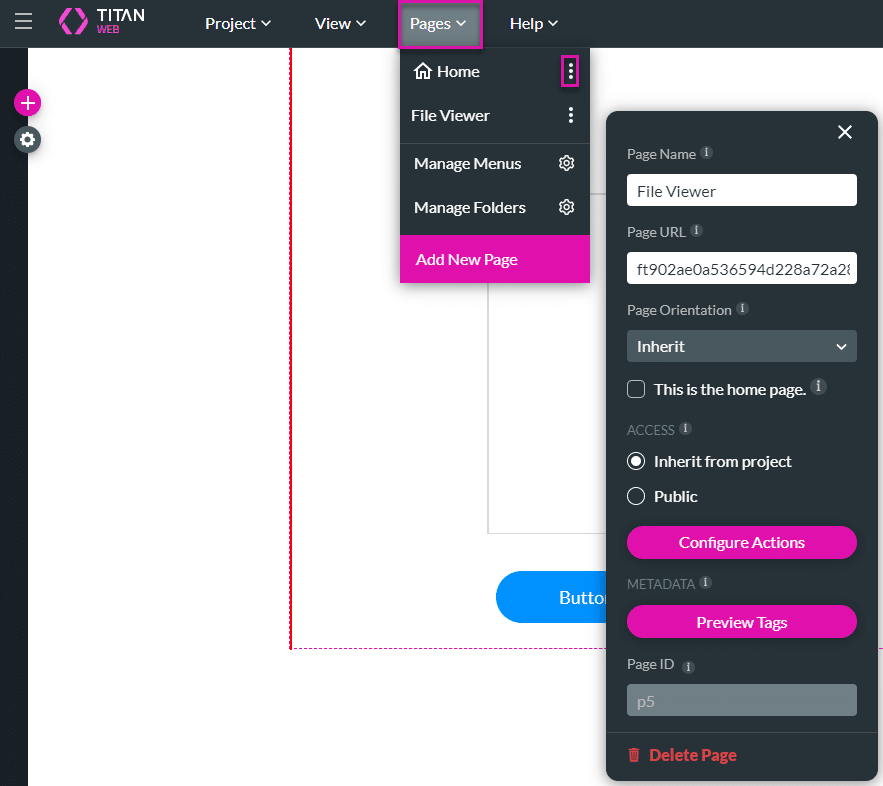
- Click the Pages drop-down option.
- Select the page where the file viewer element is and click the Kebab icon.
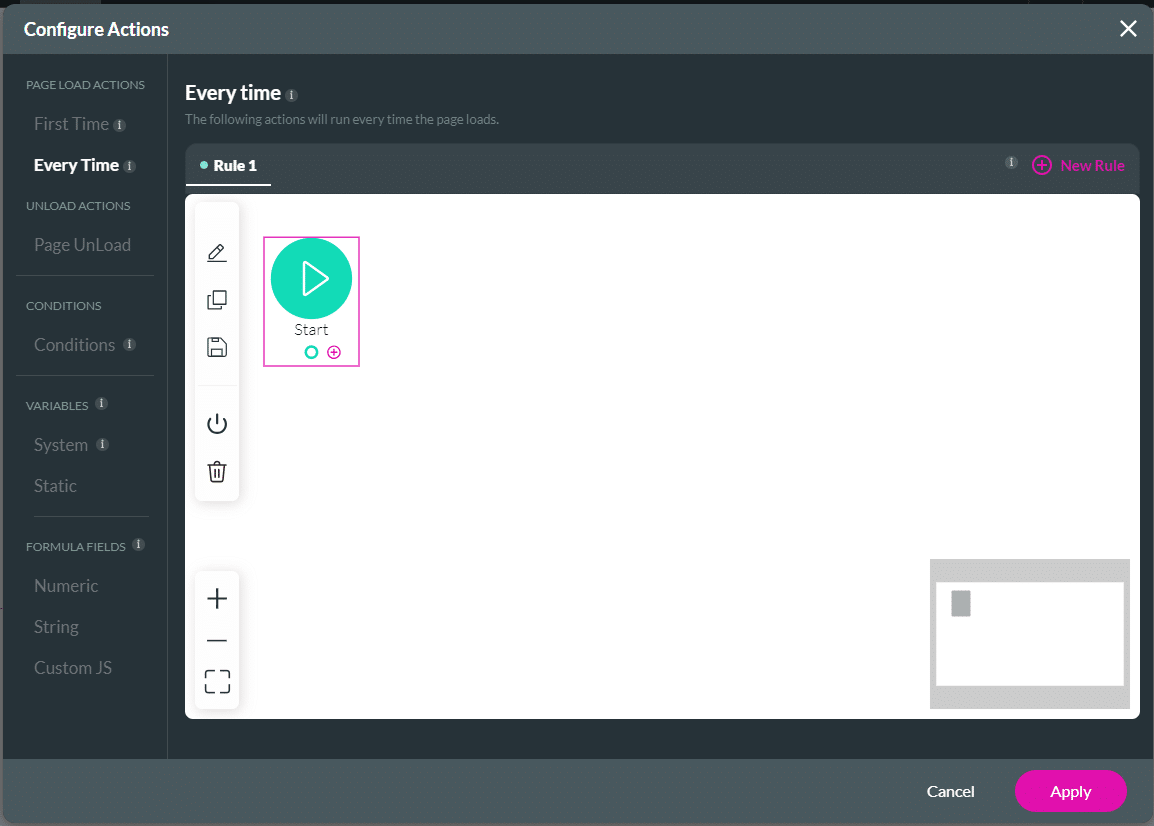
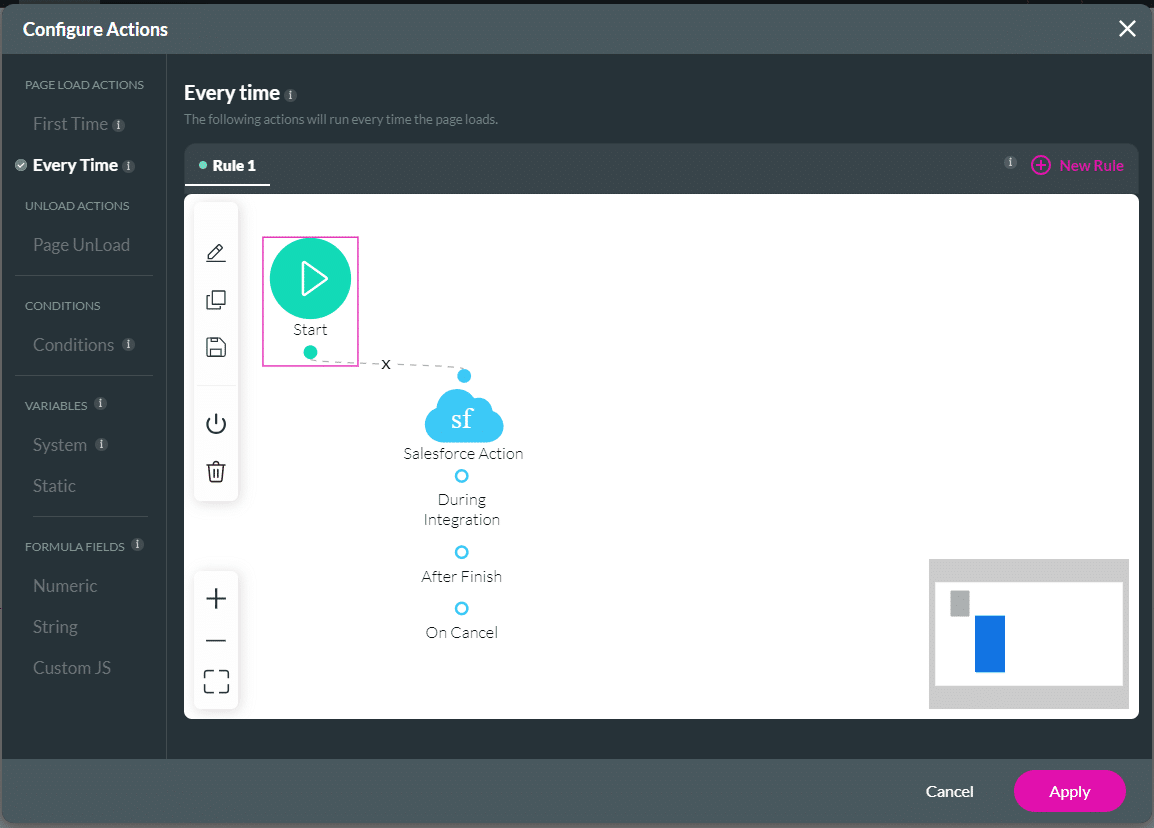
- Click the Configure Actions button.
- Hover with the mouse over the Start node and click the + icon.
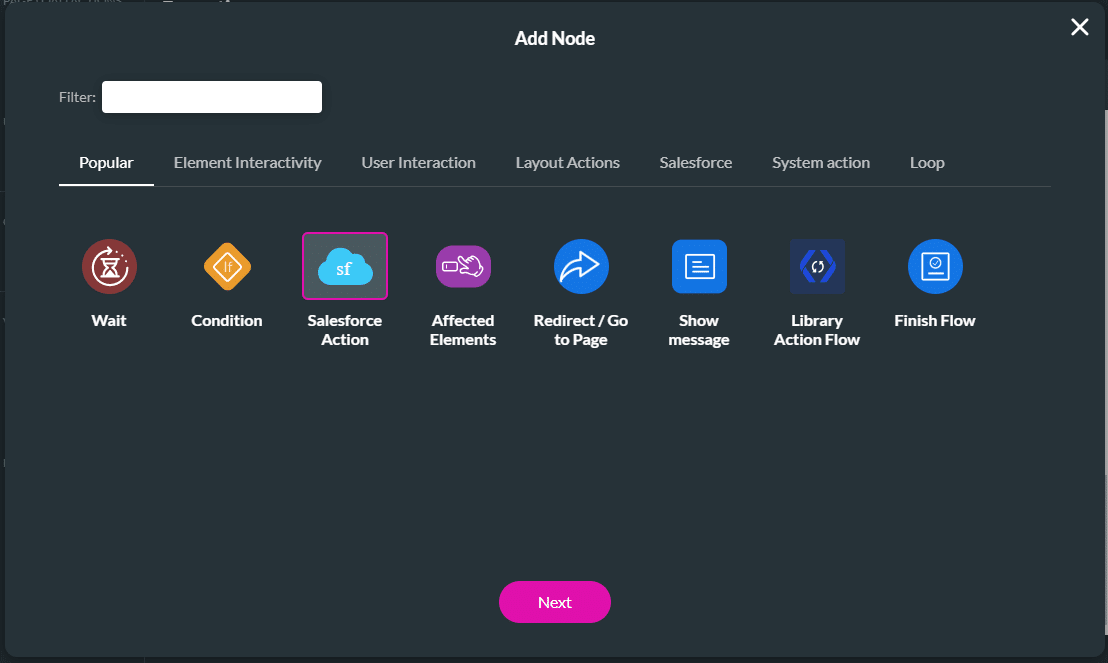
- Select the Salesforce Action option and click the Next button.
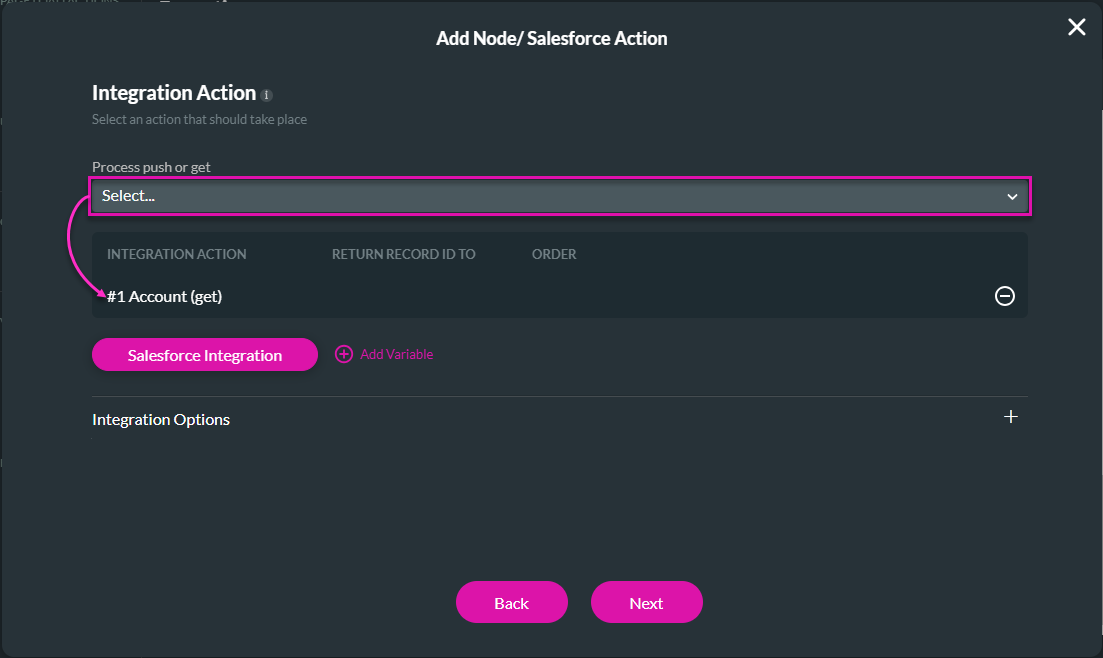
- Use the drop-down list to select the Salesforce integration action and click the Next button.
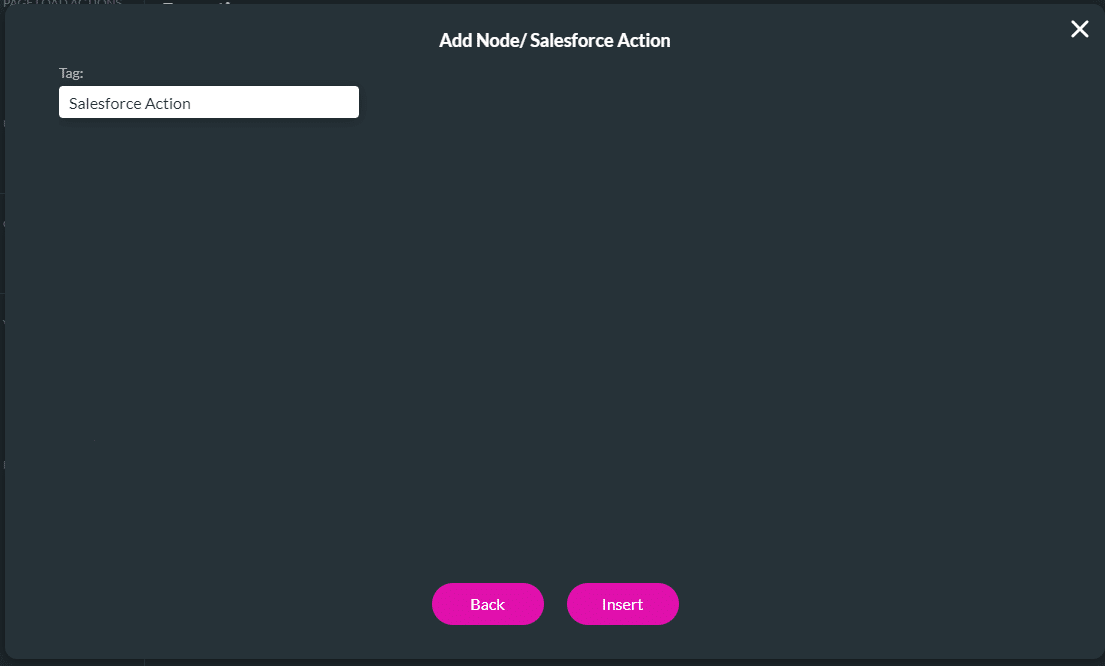
- If necessary, change the tag and click the Insert button. The node is added to the screen.
- Click the Apply button.
- Save and Preview the project. The file is loaded to the file viewer widget.
Hidden Title
Was this information helpful?
Let us know so we can improve!
Need more help?
Book Demo