

Custom Ellipsis
Business Background
The Custom Ellipsis option is available for text elements. Use this option when you have a long paragraph in a small input field. Users can define any scenario that will be triggered when the text in the Ellipsis mode is selected.
How to Video
- 0:04 An introduction to Custom Ellipsis.
- 0:56 Learn more about Interactivity settings and set Ellipsis.
- 1:14 Configure Integrations in Salesforce.
- 1:45 We show you the Preview.
How to Guide
- Click the + icon to open the list of elements.
- Select the Text option from the list.
- Click-and-drag the Paragraph element to the canvas.
- Click the Paragraph element’s Gear icon. The Text Setting screen opens.
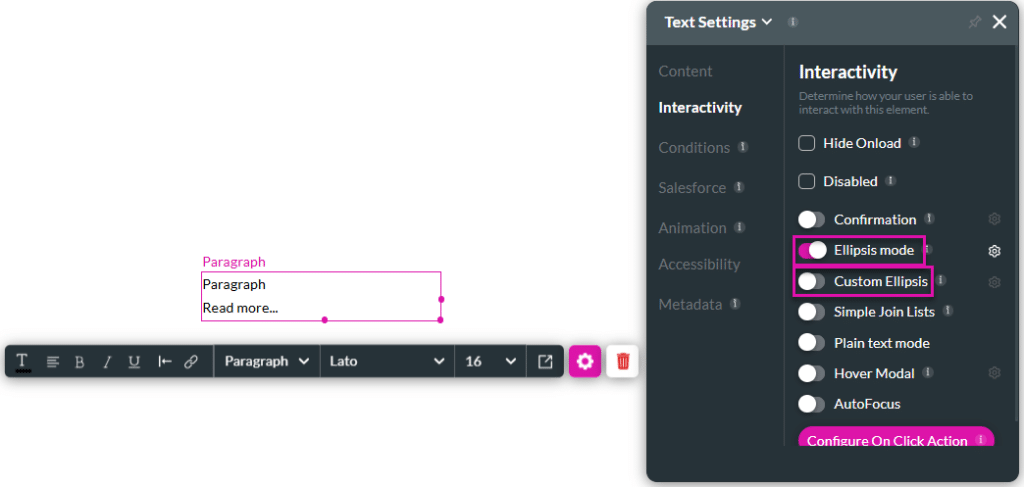
- Select the Interactivity option from the list.
- Use the toggle switch to enable the Ellipsis mode option. The Custom Ellipsis option becomes active.
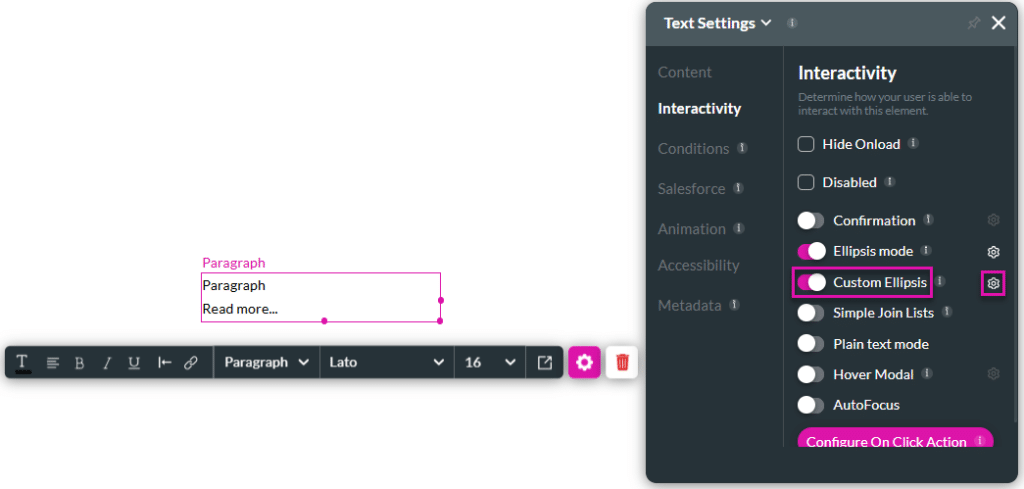
- Use the toggle switch to enable the Custom Ellipsis option and click the Gear icon. The Ellipsis Action screen opens.
- Click the + icon.

- Configure any action.
Note:
Users can define any scenario that will be triggered when the text in the Ellipsis mode is selected.
You have different options on the Ellipses Action screen, for instance, Salesforce Action, Document Generation, Send Emails, Redirect/Go to Page, Show messages, and more.
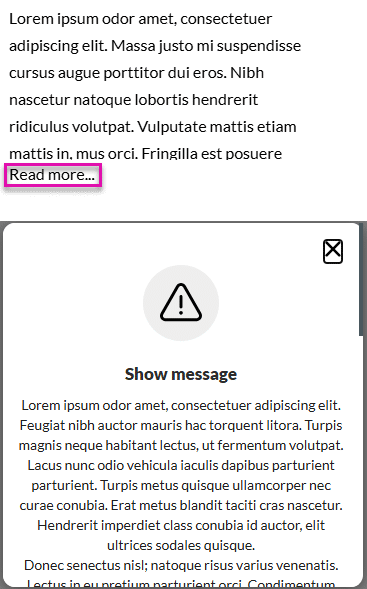
This article shows you how to show a message.
- Select the Show message option and click the Next button.

- Configure the message and click the Next button.
- Add a tag if necessary and click the Insert button.
- Click the Apply button.
- Save and Preview the project.
When the user clicks the Read more option, the message is shown.
Hidden Title
Was this information helpful?
Let us know so we can improve!
Need more help?
Book Demo