

Create a Drawer
Business Background
Use drawers to create a temporary workspace that lets your customers complete tasks without navigating to a new page. Drawers can provide additional navigation tools or can provide further context or information during a task.
How to Guide
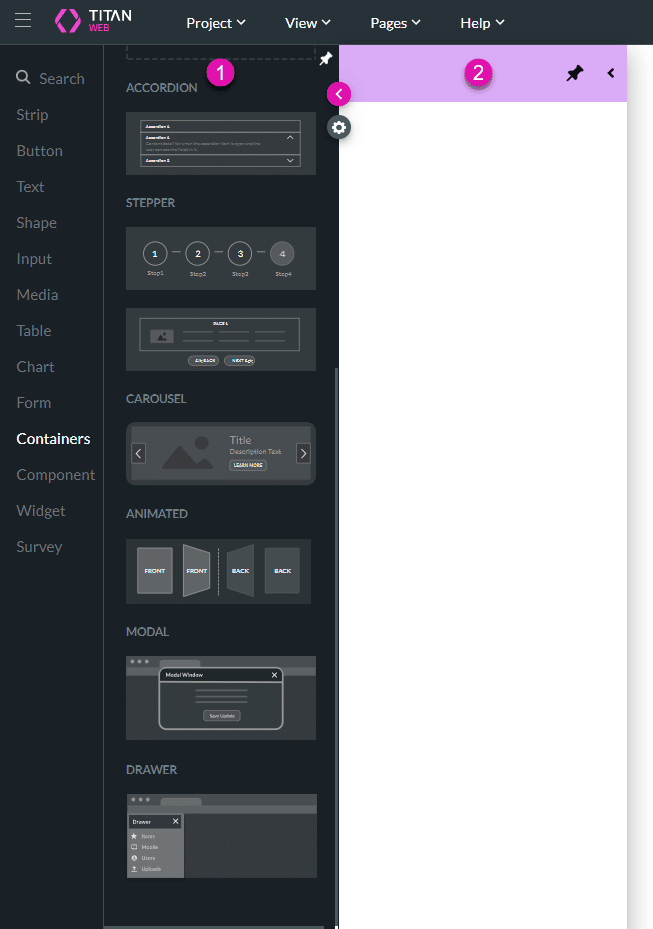
- Click the + icon to open the list of elements.
- Under Containers, scroll down and drag the drawer to the canvas.
Note:
The Titan Web elements list is an example of a drawer.
- Titan Web drawer
- Newly added drawer
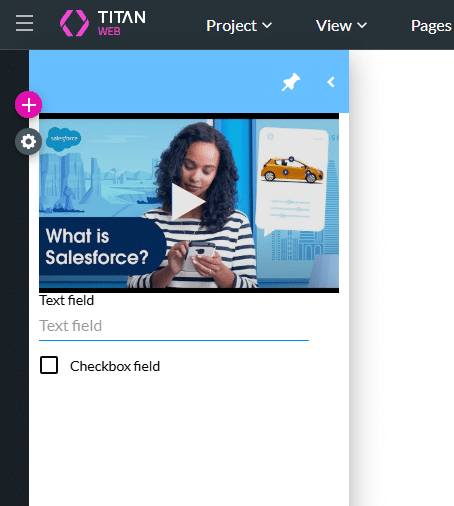
- Add any input elements and interactive fields to the drawer.
- Click the + icon to add an element.
- You can add any of the Titan Web elements to the drawer.
- Under Media, click-and-drag the YouTube element to the drawer.
- Under Input, drag a text field and a checkbox element.
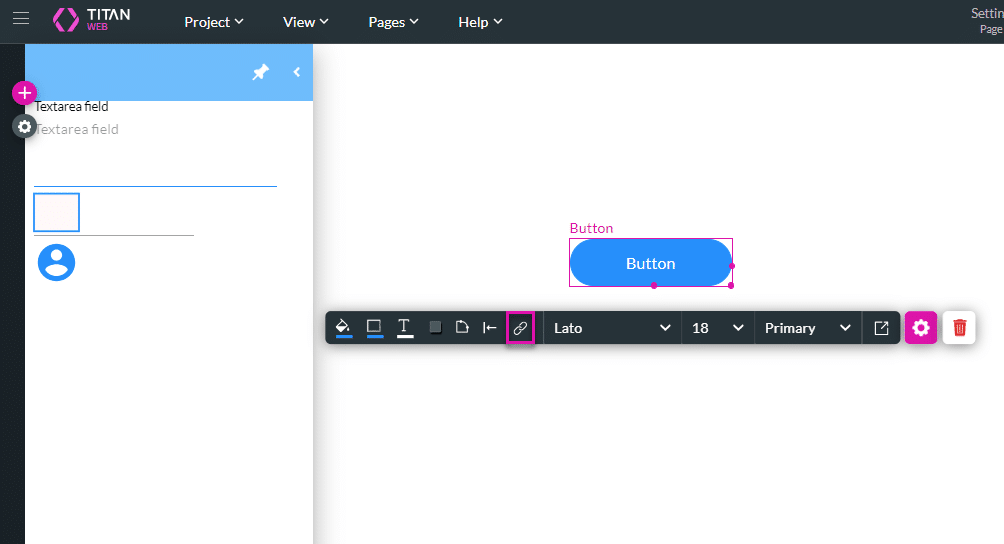
- Add an element, such as a button, to the canvas to add an on-click action that will activate the drawer.
- For instance, the drawer will open when the user clicks this button.
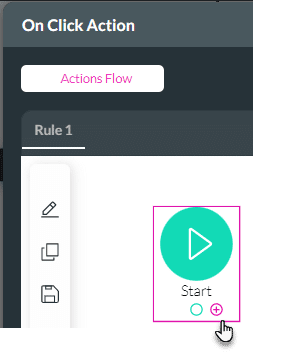
- Click the On Click Action icon.
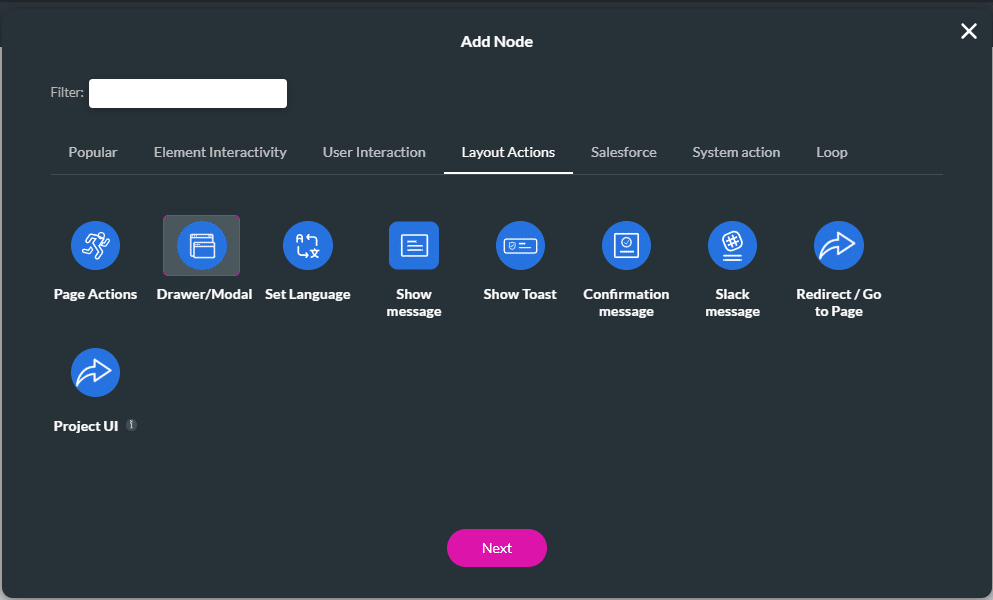
- Click the + icon. The Add Node screen opens.
- Under Layout Actions, click the Drawer/Modal option. The Add Node/Drawer/Modal screen opens.
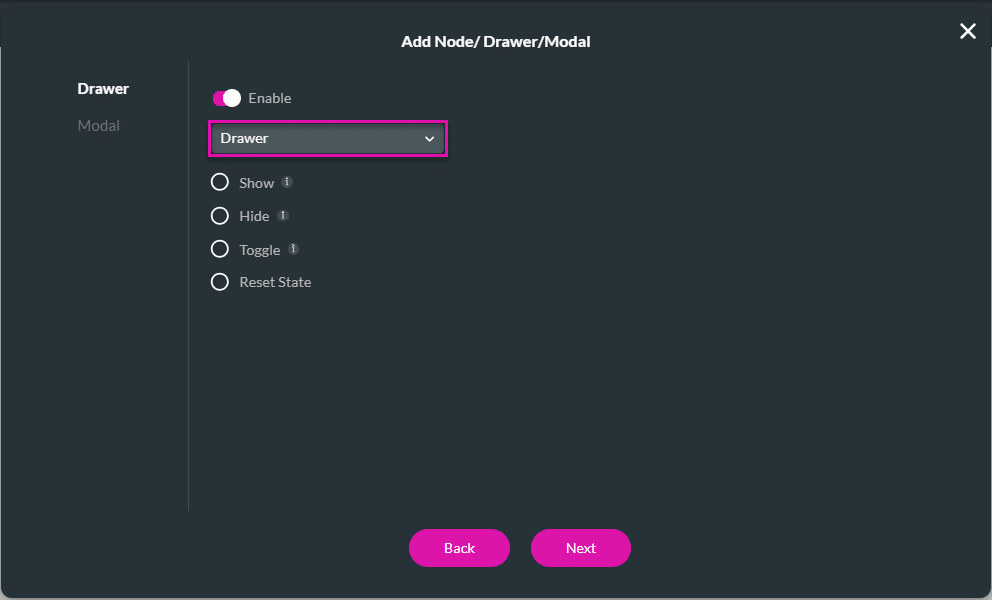
- Make sure the Drawer option on the left of the screen is selected.
- Use the toggle switch to enable the drawer.
- Select the drawer from the drop-down list.
- Use the radio buttons to select an action:
- Show: Use this option to show the drawer.
- In this example, the Show option is selected.
- Hide: Use this option to hide the drawer.
- Toggle: Use this option to toggle the drawer. If it is shown, it will be hidden, or vice versa.
- Reset State: Use this option to reset the drawer. All input fields will be cleared, and the drawer will return to the default settings.
- Show: Use this option to show the drawer.
- Click the Next button.
- If necessary, change the tag and click the Insert button. The Drawer/Modal node is added to the On Click Action screen.
- Click the Apply button.
- Minimize the drawer by clicking the < icon.
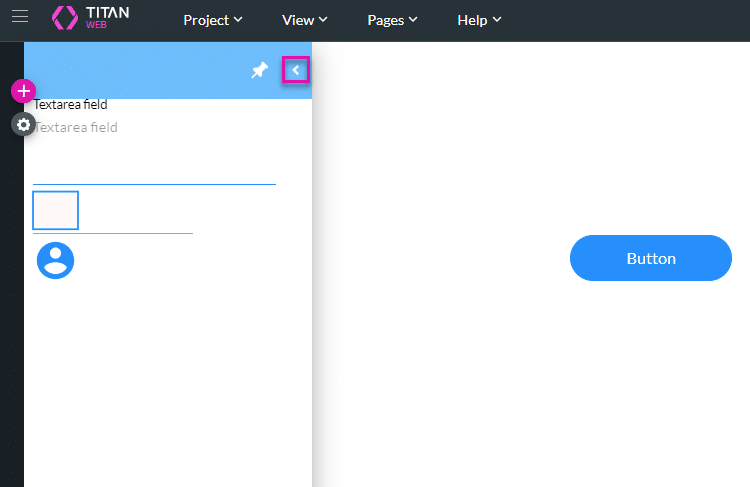
- Save and Preview the project. When the user clicks the button, the drawer is shown.
Hidden Title
Was this information helpful?
Let us know so we can improve!
Need more help?
Book Demo