

Auto PDF
Business Background
Download the contents of a single webpage in a project as a PDF using a few clicks and no code. Alternatively, push a single webpage as a PDF to Salesforce.
Titan Solution
- You can download the contents of your webpage as a PDF or push the PDF to Salesforce.
- Elements such as a stepper or tabs will download each step or tab on a separate page.
- You can download one webpage at a time.
- You can send the PDF to the customer (for instance, per email) by configuring the relevant condition according to your business needs.
How to Video
Coming soon!
How to Guide
Path:
Configure document generation in a project: Project Settings > Tools > Document Generation > Gear icon > Configure Project Document Generation Settings screen
- Click the Create New button. A drop-down list is shown.
- Select the Auto PDF option. The Auto PDF Settings screen opens.

- Use the drop-down list to select the source page in your Web project.
- This is the page that will be saved as a PDF. You can only create a PDF of one page at a time.
- The Label field will be populated with the name of the source page.
- Edit the Label field, if necessary. The label is mandatory. You will select the template using this name in a later step based on this label.

You can do the following:
Download a PDF
- Select the Download option. The Enable Download toggle switch is on by default.
- Add a name for the document in the Custom file name field.

- As an alternative, use the toggle switch to set the Dynamic file name and then use the drop-down list to select a dynamic file name.
- Use the toggle switches to set the actions while waiting. The actions are off by default:
- Freeze the screen while waiting: the user will not be able to do any other actions on the page while the PDF is being generated.
- Show the progress bar: a progress bar is shown at the top of the page to show that the PDF is being generated.
- Click the Apply button.

- Configure an On Click Action, for instance, on a button.
- Click the + icon on the On Click Action screen. The Add Node screen opens.
- Under User Interaction, select the Document Generation option and click the Next button. The Add Node/Document Generation screen opens.
- Use the drop-down lists and select the Auto PF template and the Download Action.

- Click the Next button.
- Add a tag if necessary and click the Insert button. The Document Generation node is added to the On Click Action screen.
- Click the Apply button.
Note:
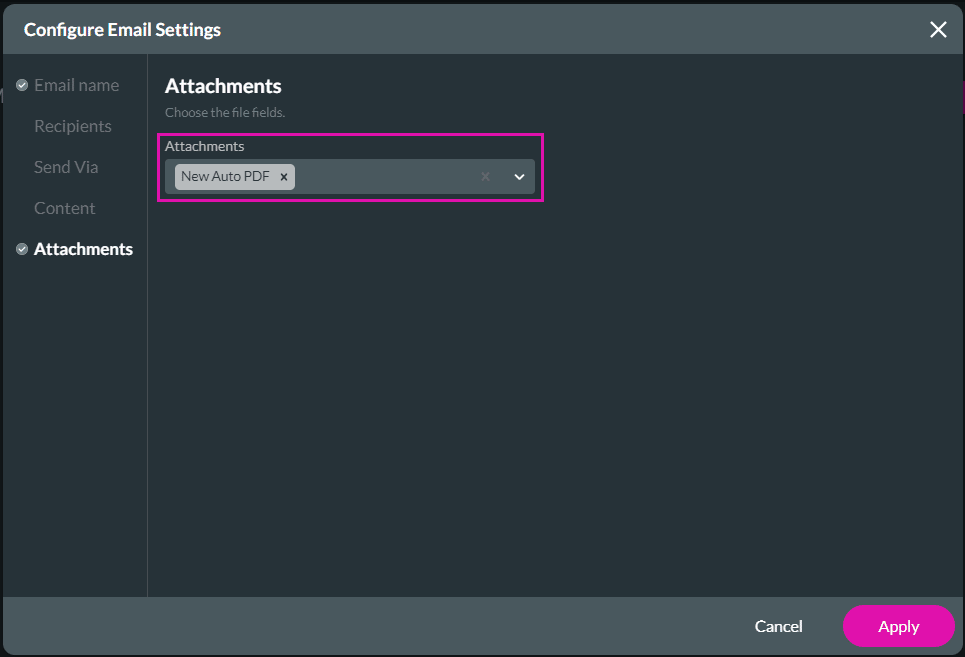
You can send the PDF as an email attachment:
On Click Action > User Interaction > Send Email > Create New > Attachments
Push the PDF to Salesforce
- Configure an On Click action, for instance, on a button.
- Click the + icon on the On Click screen. The Add Node screen opens.
- Select the Salesforce Action option and click the Next button. The Salesforce Integration screen opens.
- Create a new Salesforce integration by selecting the Create New button, or edit an existing integration by selecting the Edit icon. The Map Salesforce fields screen opens.
- Select the Push option.
- Under Object Settings, use the drop-down list to select the file object in Salesforce, for instance, Content Version. You can search for “file” to get the correct object.
- Use the drop-down list to select the action, for instance, Create.

- Under Mapping, search for the Version Data Salesforce field and map it to the Auto PDF element.
- Click the Apply button.

- On the Salesforce Integration screen, click the Close button.
- On the Add Node/Salesforce Action screen, select the Push action from the drop-down list and click the Next button.

- Add a tag if necessary and click the Save button. The Salesforce node is added to the On Click screen.
- Click the Apply button.
Example of Auto PDF
Please refer to the attached example. The project has several input fields, two stepper elements (step 1 to step 4, and step i to step iii) and a tab element (tab A to tab C).
- The input elements are shown on all the pages.
- Step 1 is shown on page 1, step 2 on page 2, step 3 on page 3, and step 4 on page 4.
- Step i is shown on pages 1 to 4.
- Step ii is shown on page 5, and step iii is shown on page 6.
- Tab A is shown on pages 1 to to 6.
- Tab B is shown on page 7, and tab C is shown on page 8.
Hidden Title
Was this information helpful?
Let us know so we can improve!
Need more help?
Book Demo