

Use Folders
Business Background
Use this functionality to organize projects into logical groups. It is especially handy when dealing with multiple projects or different phases of a project. Folders make it easier to find and access specific project-related information quickly.
Titan Solution
This feature allows more options to organize, find, and manage projects using folders. Clients with many projects across multiple departments can manage projects more efficiently.
How to Guide
- There are no default folders available. You need to create at least one folder.
- Projects can be assigned to more than one folder.
- You can add subfolders to folders.
You can do the following:
- Create new folders
- Manage existing folders
- Add subfolders to existing folders
- Rename a folder
- Remove a project from a folder
- Delete a folder
Create New Folders
- Make sure that you are on the Dashboard.
- Click the Kebab menu of an existing project. This is the project that will be added to the folder. The context menu opens.
- Select the Manage Folders option. The Manage Folders screen opens.

- Click the + New Folder folder option. The New Folder Name screen opens.
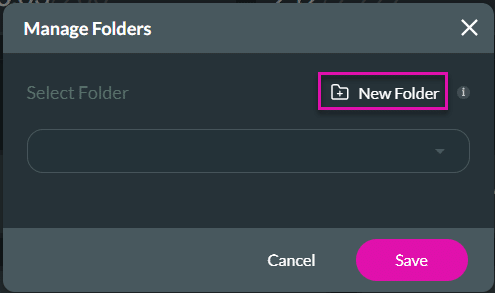
- Type a folder name in the New Folder Name pop-up.
- Click the Save icon. The project is added to the folder.

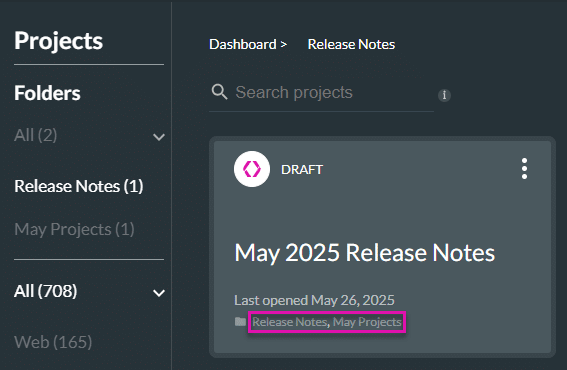
The folder is added on the left side of the Dashboard.

A project will have a label with the folder name to which it was assigned. Multiple folder names are listed together, separated with a comma if the project is in more than one folder.
Manage Existing Folders
- Click the Kebab menu of an existing project. This is the project that will be added to the folder. The context menu opens.
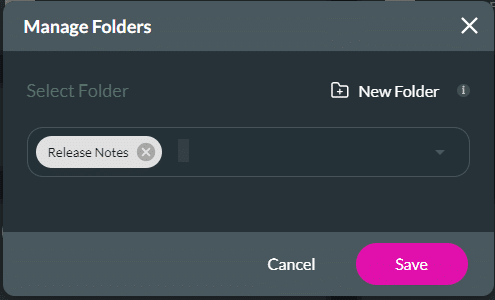
- Click the Manage Folders option. The Manage Folders screen opens.

- Use the drop-down list and select an existing folder.

- Click the Save button.
- Click the All option under Folders. All the folders are displayed.

- Click the Show more option if you do not see all your folders.
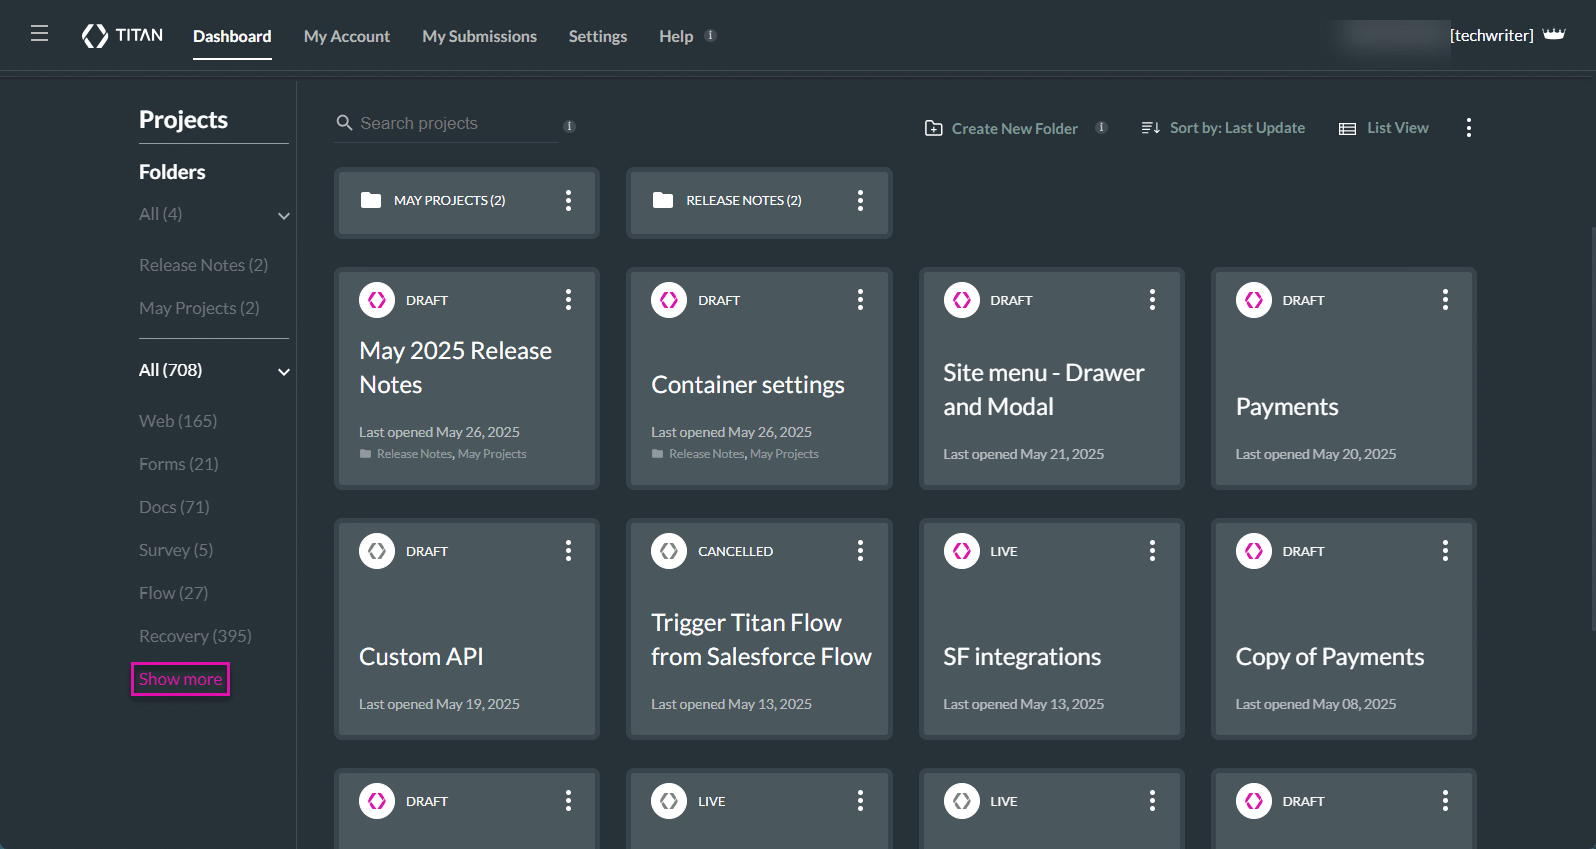
- Use the Search functionality to search for folders and projects.

When a project in a folder is duplicated, the cloned project will be in the same folder as the parent project.

Add Subfolders to Existing Folders
- Click on a folder to open it.
- Click the Create New Folder option. The New Folder Name screen opens.

- Type a folder name in the New Folder Name pop-up.
- Click on the Save icon.

The subfolder is added to the selected folder.

You can add projects to the subfolder.
- Select the projects you want to add.
- Click the Kebab icon and select the Manage Folders option. The Manage Folders screen opens.

- Use the drop-down list and select the subfolder that you added.

- Click the Save button.

The project is added to the subfolder.
On the left of the Dashboard, use the arrow to open the subfolders.

Rename a Folder
- Select the folder and click the Kebab icon. The Rename Folder Name screen opens.

- Type a new name in the field and click the Save icon.

The folder name has been changed.

Remove a Project from a Folder
- Open the folder and click the Kebab icon of the project that you want to remove from the folder.
- Click the Manage Folder option. The Manage Folder screen opens.

- Click the Clear option.
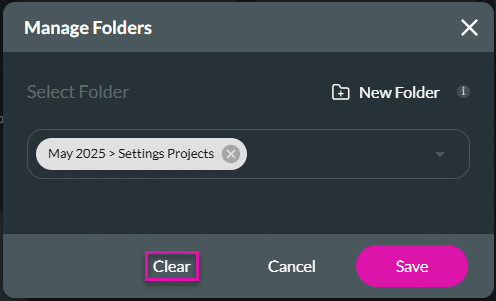
The project is removed from the folder, and a Success message is shown.

Delete a Folder
- Click the Kebab icon of the folder that you want to delete.

- Click the Yes button to delete the folder.

The folder is deleted. However, if there were projects in the folder, they are not deleted and can be found on the Dashboard.