

Set Variables
Business Background
Variables act as temporary containers for storing data during your flow runtime/execution. This allows you to:
- Reuse information: Capture data once and use it for multiple actions later, eliminating redundancy.
- Pass data between steps: Share data across different stages of your flow, ensuring continuity and avoiding manual re-entry.
- Customize outputs: Store dynamic values, like names or dates, to personalize emails, documents, or other outputs.
- Flow logic control: Use dynamically set variable values to determine the logic of your flow.
Titan Solution
You can now set values to variables in Titan Flow to create more streamlined flows that are aligned with your business process requirements.
How to Video
Coming soon!
How to Guide
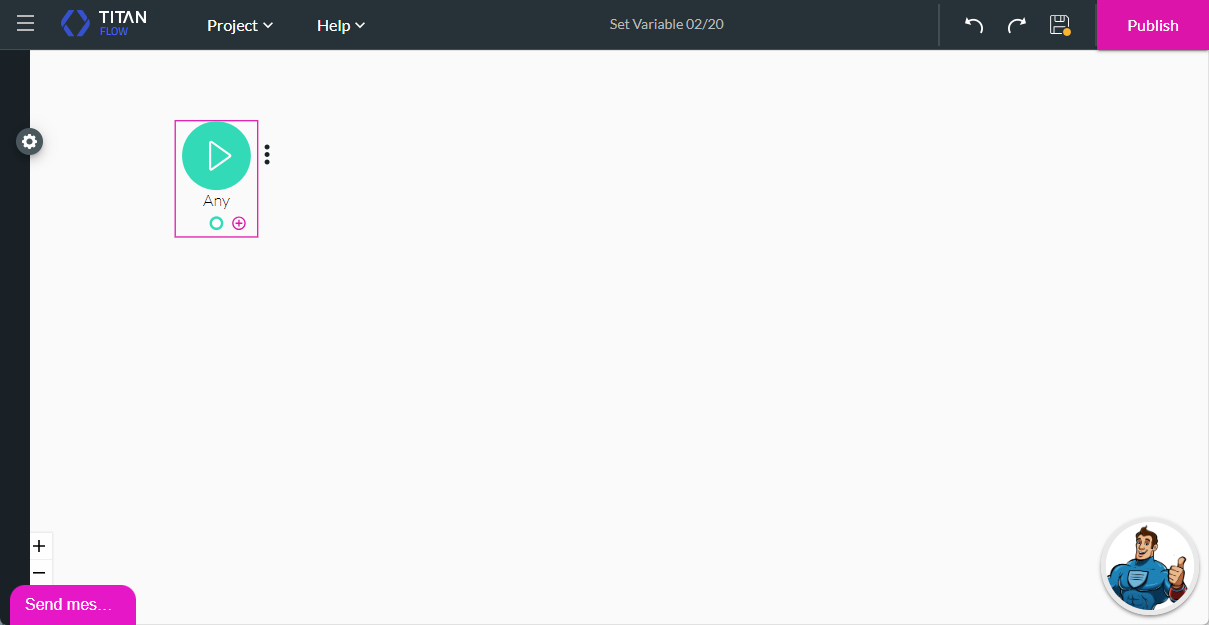
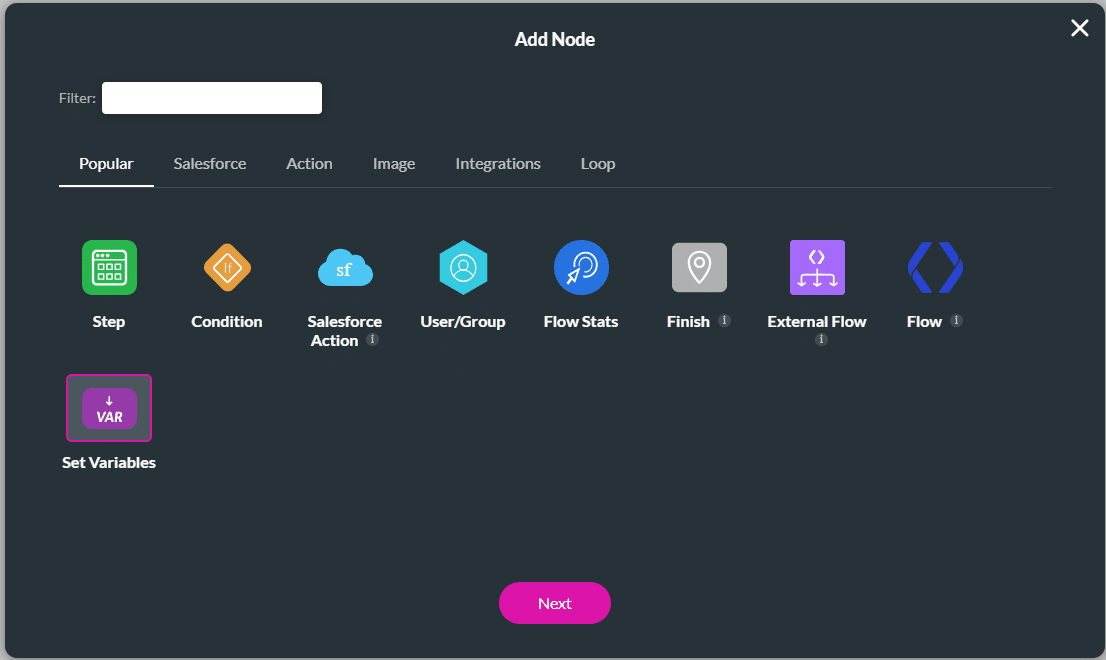
- Click on the + icon next to Start. The Add Node screen opens.
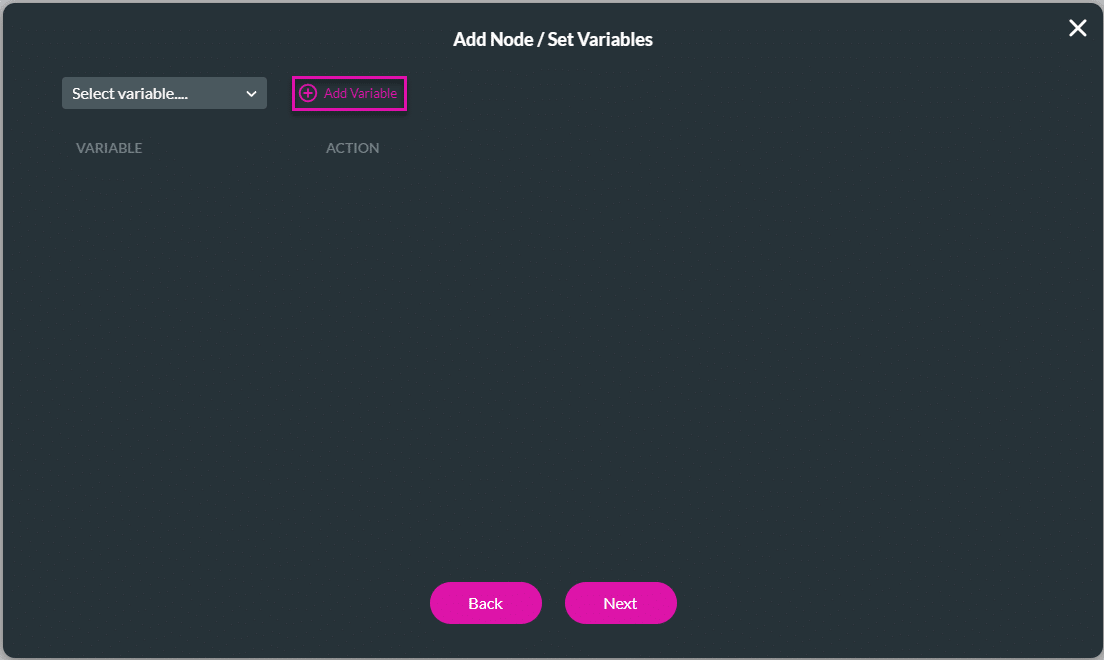
- Click the Set Variables option and then click the Next button. The Add Node/Set Variables screen opens.
- Click the Add Variables option. The Custom Variables screen opens.
Note:
Learn more about variables in Flow.
Learn more about Environment Variables.
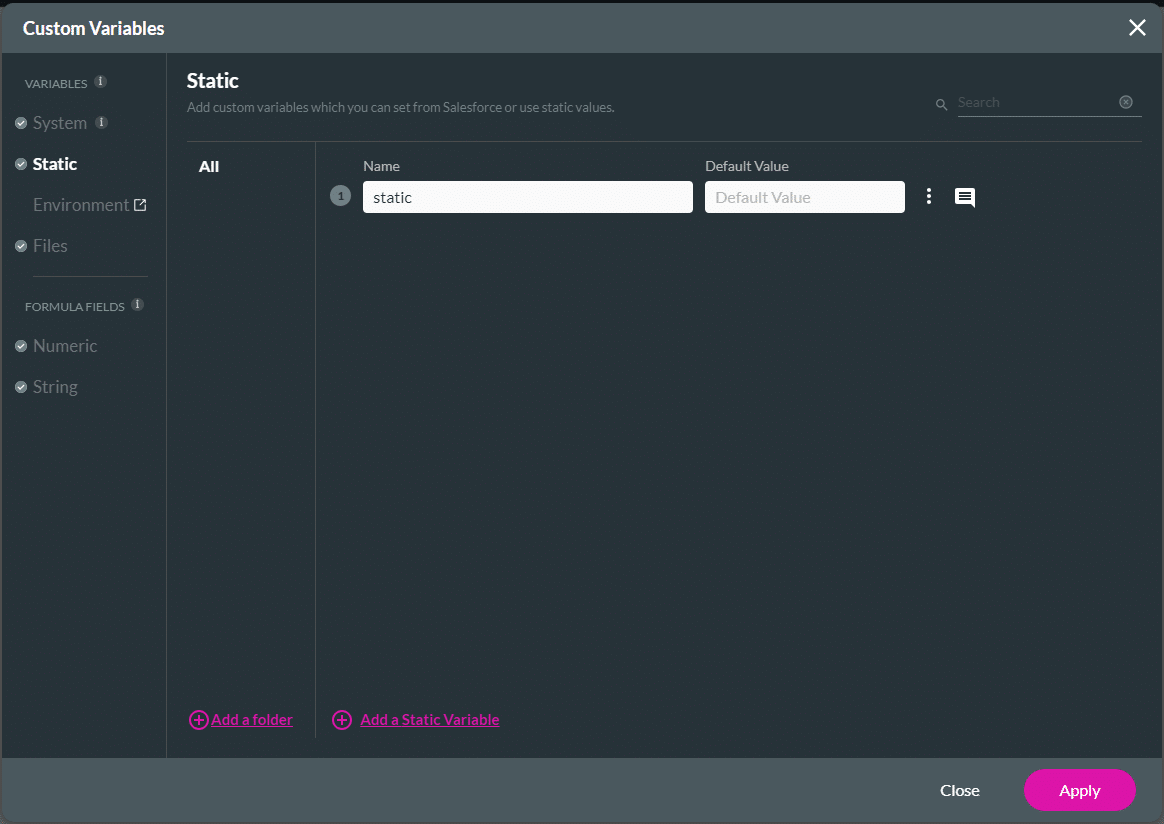
- Use the drop-down list to select a variable. Each variable can only be used once.
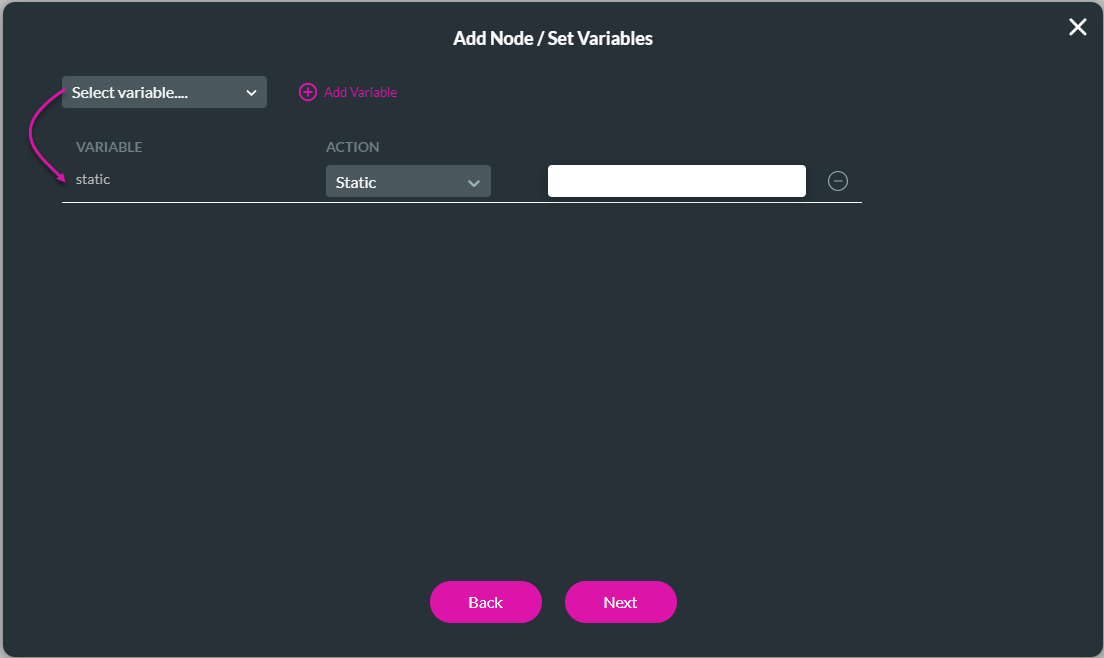
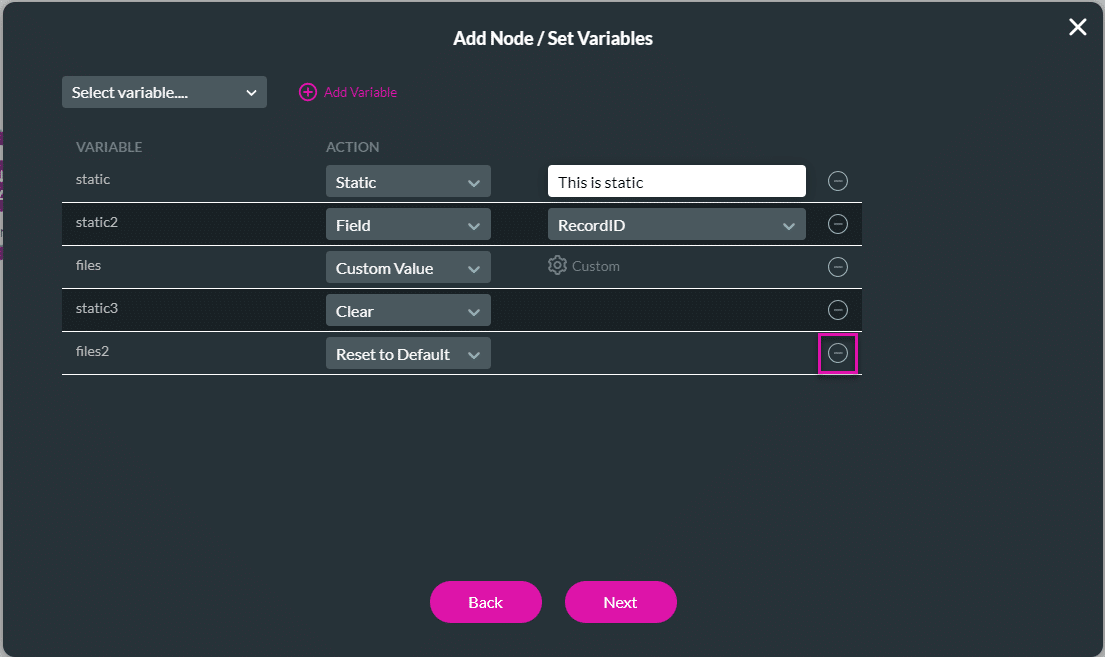
- Use the drop-down list to select an action. The following actions are available:
- Field: Use the drop-down list to select any variable or the RecordID.
- Static: Type a value in the field.
- Custom Value:
- Use the Gear icon to create a custom message.
- Type a message in the field and use the drop-down list to add variables.
- Click the Apply button.
- Clear: The value will be cleared.
- Reset to Default: Reset the value to the default value of the field.
- If necessary, click the Delete icon to remove a row.
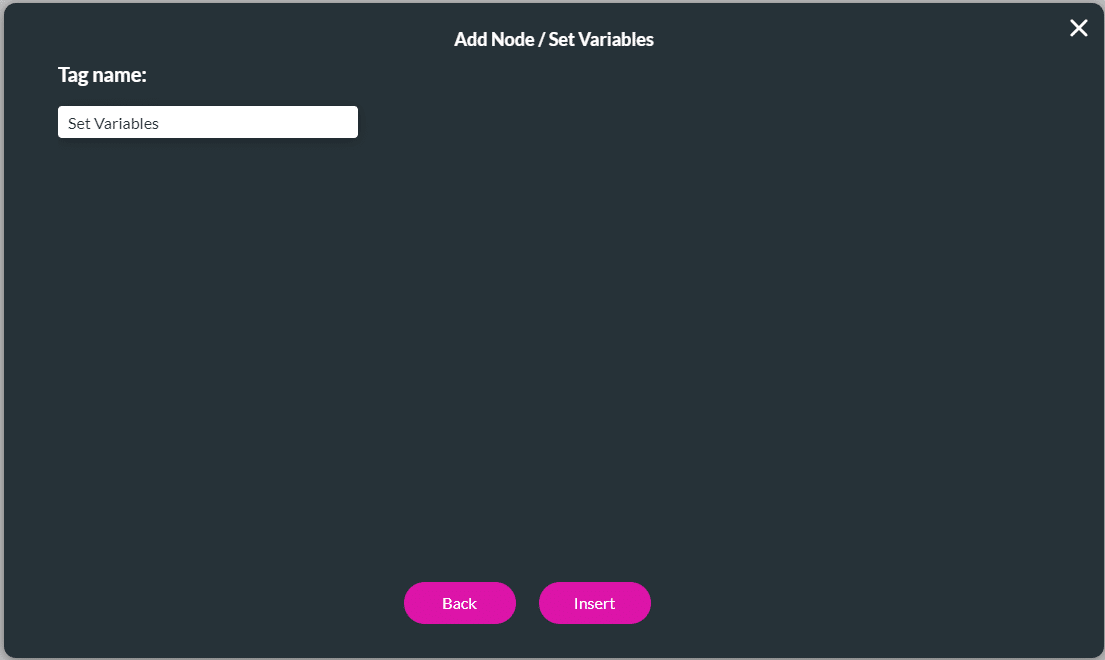
- Click the Next button. The editable tag name is filled automatically.
- Click the Insert button.
The node is added to the flow.

Interested in Titan and Salesforce? Read up on our Forms for Salesforce.
Hidden Title
Was this information helpful?
Let us know so we can improve!
Need more help?
Book Demo