

Invoke External API using Titan Flow
Business Background
Titan Flow provides your business freedom of choice to invoke an external API of preference. The business edge of using external APIs with Titan is that you work with a broader customer base, not just those that utilize Google Drive, Amazon S3, or OneDrive.
Titan Solution
Titan Flow allows an admin to configure the triggers, parameters, and authentication for an external/custom API.
How to Video
Coming soon!
How to Guide
Any API can be triggered, parameters can be sent, and authentication can be done. Get the results back from the API and map the response to different variables on Titan Flow.
Data can be sent to a service (for instance, SMS), and some data can be received.
- Create a new project or open an existing project in Titan Flow.
- Click on the + sign. The Add Node screen opens.

- Click the Integrations option.
- Click the Custom API option and click the Next button. The Add Node/Custom API screen opens.

Step 1 – General Customization
- Paste the endpoint (URL) for the API in the Custom URL field.
- Select the method from the Method drop-down list. The options are as follows:
- Get
- Post
- Put
- Path
- Delete
- If necessary, select a file to upload from the drop-down list. This must be a DocGen file.
- If necessary, click the Basic authentication checkbox to set the authentication. Currently, only username and password authentication are supported.

- Click the Next button.
Step 2 – Parameters
- If necessary, click on the Add param button to send data to the Custom API.
- Type a parameter name in the field to add service parameters.
- Select the Static or Field from the drop-down list.

- Click the Next button.
Step 3 – Headers
- If necessary, click the Add header button to add header parameters.
- Type a header name in the field to add a service header.
- Select the Static or Field from the drop-down list.

- Click the Next button.
Step 4 – API Output Parameters
- Get back any responses from the API. Invoke the API and map the response to different variables on Titan Flow. Once you have the response in Titan Flow, you can continue the process using the Titan platform.
- You can select a plain result variable, or
- do object mapping.
Prerequisite:
You must have added the project variables to Titan Flow to map them afterwards.
- Use the drop-down list to select the Plain Result variable. The API result is JSON. All the parameters for the response will be mapped to this variable. You will get the full response from the API and Titan will not do any parsing.
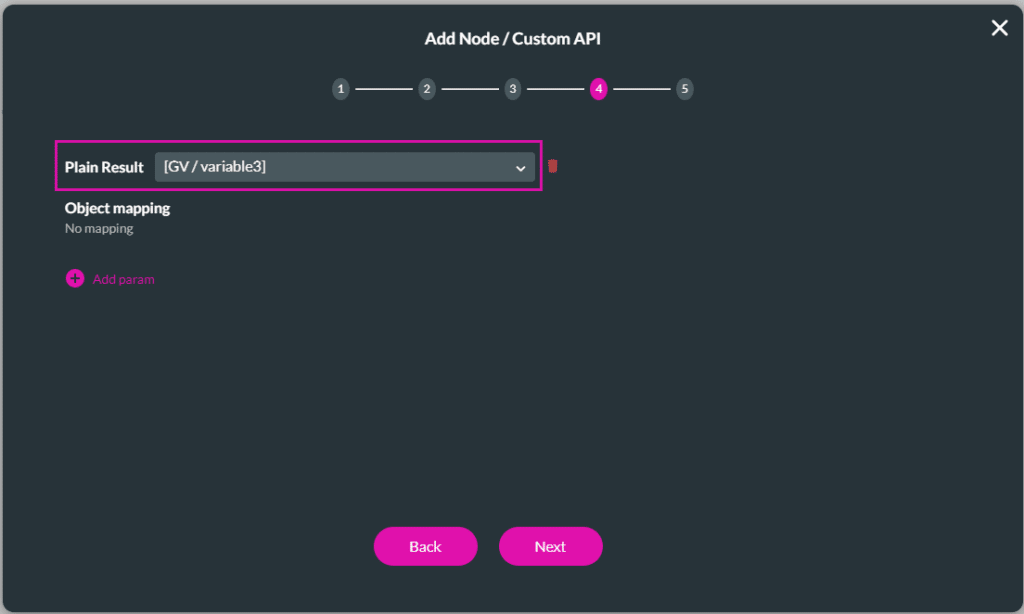
- As an alternative, do the Object mapping by clicking the Add param option. Titan will parse the values, and you will only get the value from a specified parameter.
- Add as many fields as necessary.
- Add specific parameters and map a field to a value by using the drop-down lists.
In this example, the following JSON is used:

The mapping is case sensitive and must be exactly the same as the JSON.

- Click the Next button.
Step 5 – Give it a name
- If necessary, type a tag in the Tag field and click the Insert button.

Custom API is integrated with Titan Flow.