

OTP Access
Business Background
OTP (One-Time Password) access is a security mechanism that generates a unique, temporary password or code for a single login session or transaction. It is often used as an additional layer of authentication to enhance security, commonly in multi-factor authentication (MFA) systems. OTPs are valid for only a short period and can only be used once, making it difficult for attackers to reuse stolen credentials.
Titan Solution
With Titan, you can configure custom OTP access as a crucial security layer that helps safeguard sensitive information and transactions from unauthorized access and cyber threats.
How to Video
Coming soon!
How to Guide
In this article, you will learn how to do the following:
- Understand the Variables for OTP Access
- Configure the Apex Salesforce Integrations
- Configure the OTP Access
- Configure the Smart OTP Form Widget
Prerequisites:
You must have Apex codes configured in Salesforce to do the following:
- Generate OTP: A method to generate a random OTP.
- Send OTP: A method to send the OTP via email, phone call or SMS.
- Validate OTP: A method to validate the entered OTP.
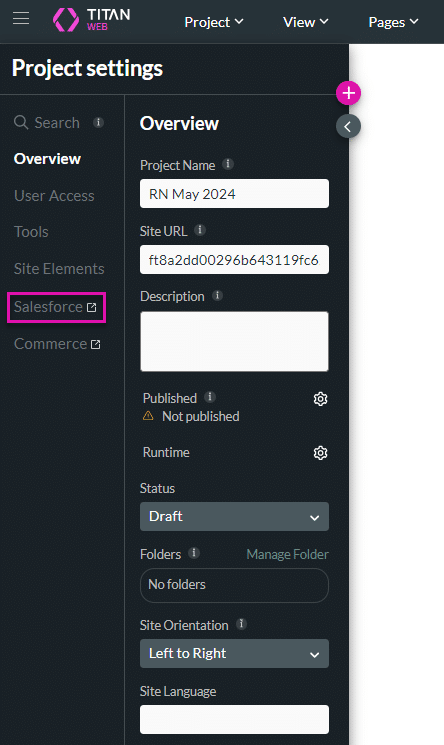
- Open the Titan Web project where you want to configure the custom OTP access.
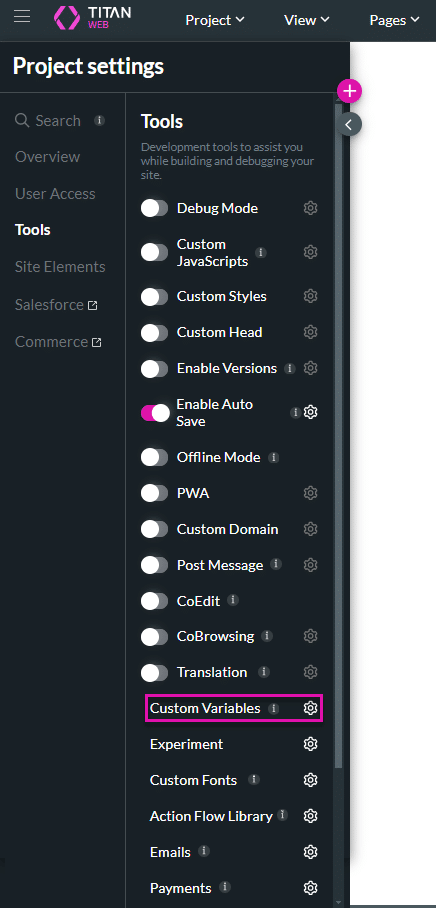
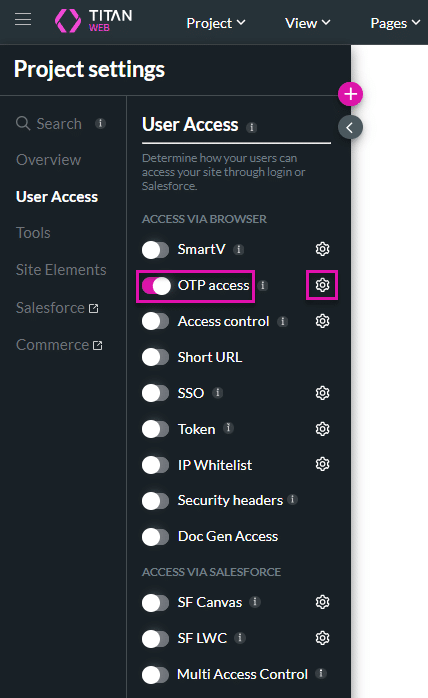
- Click the Gear icon to open the Project settings.
Understand the Variables for OTP Access
You will need variables when you configure OTP Access. Here is a short description of how they are used in this instance:
- Select the Tools option and click the Custom Variables Gear icon. The Custom Variables screen opens.
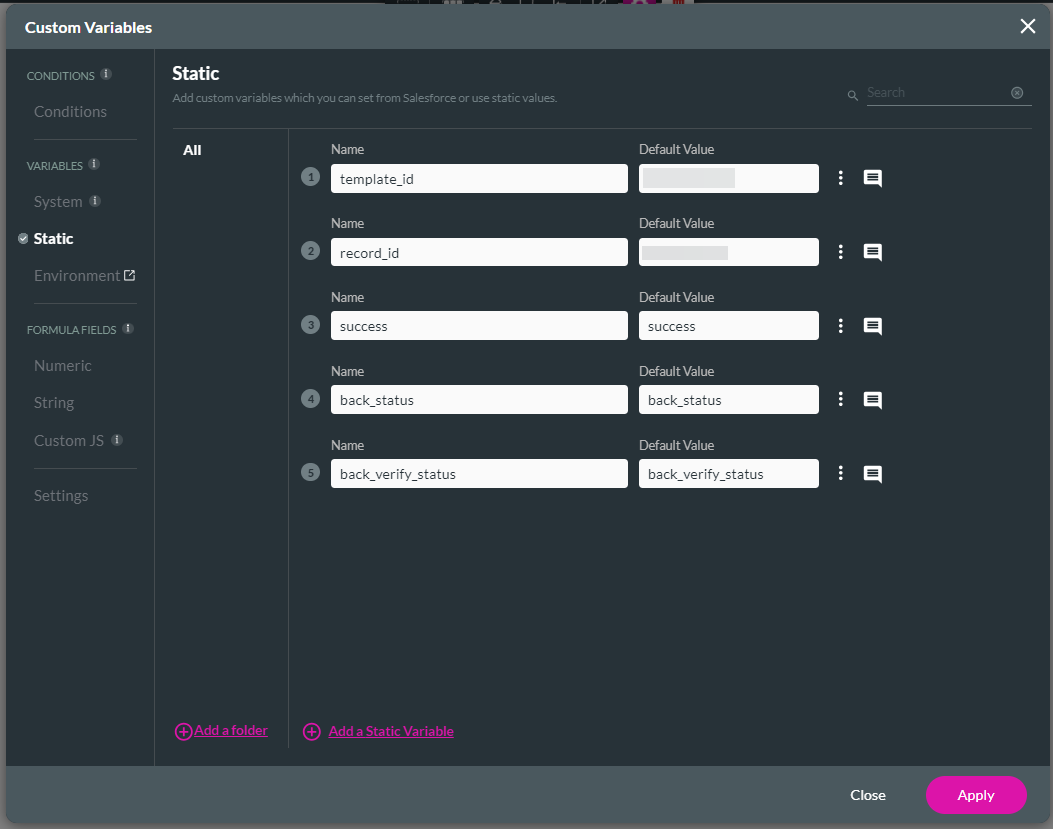
- Create the Static variables as required. Here are some examples.
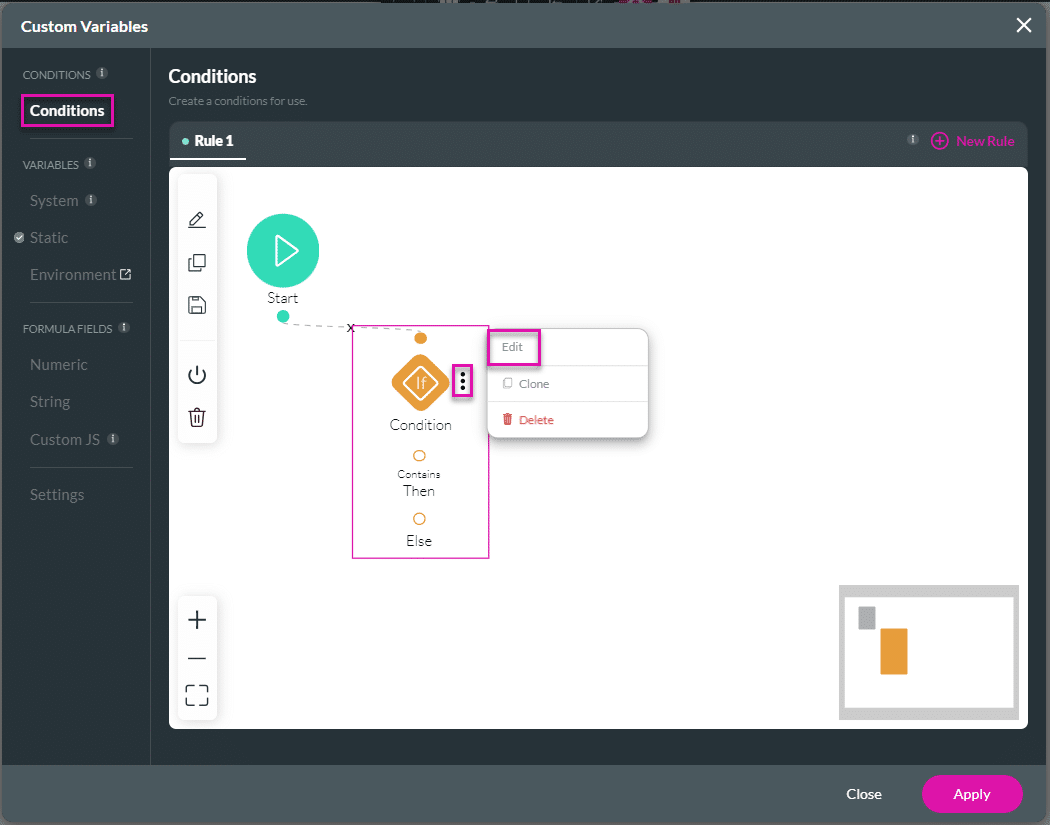
- Click the Conditions option.
- Click the Kebab icon and click the Edit option.
- Type “otp” in the field. The following variables are shown:
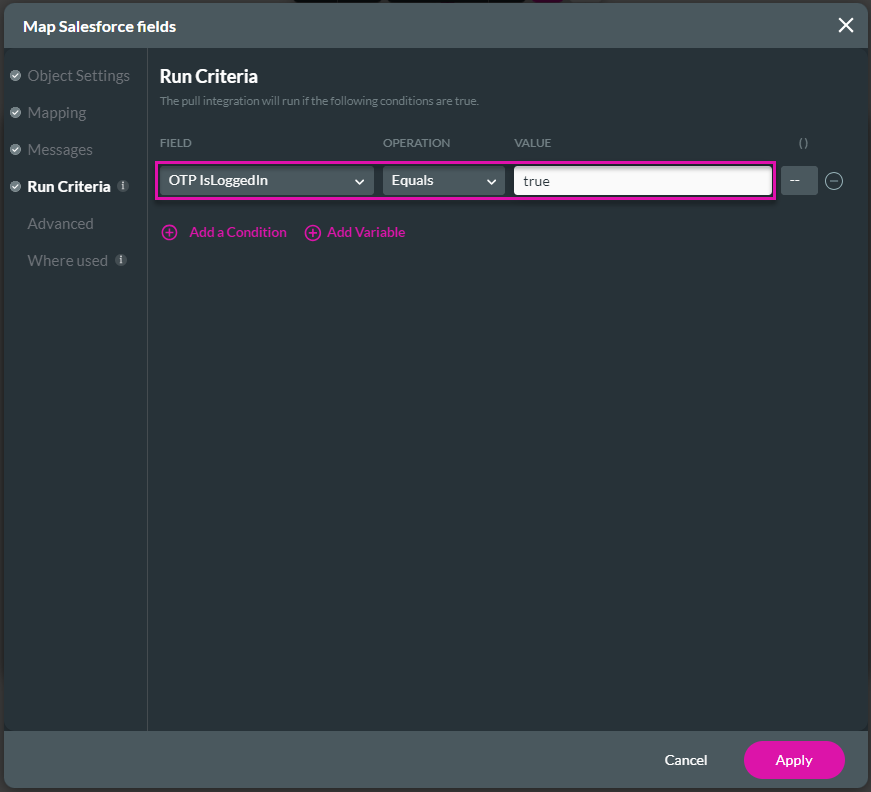
- OTP IsLoggedIn: Use this variable for any condition or other criteria in Salesforce.
- For instance, the variable is linked to the client who uses the OTP and everything they do from Titan in Salesforce during that session is done in the context of that specific Salesforce user (otherwise, all Salesforce actions are done in the context of the Integration User).
- For instance, this can be used when mapping run criteria to ensure that a Salesforce Push only happens when the client is still logged in and the session is still valid.
- OTP Time Until Session Ends: The default time is two hours, but it can be changed.
Configure the Apex Salesforce Integrations
These Apexes must be developed by your Salesforce developers.
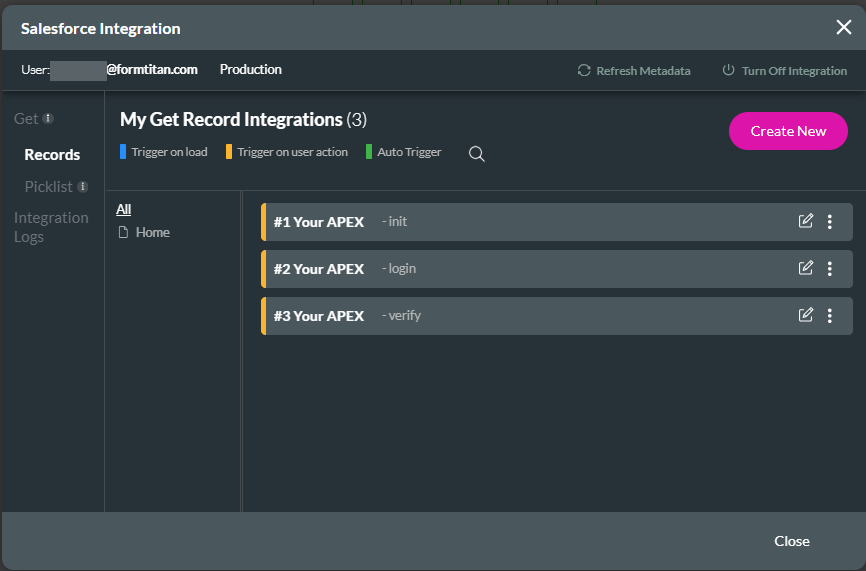
- Click the Salesforce option. The Salesforce Integration screen opens.
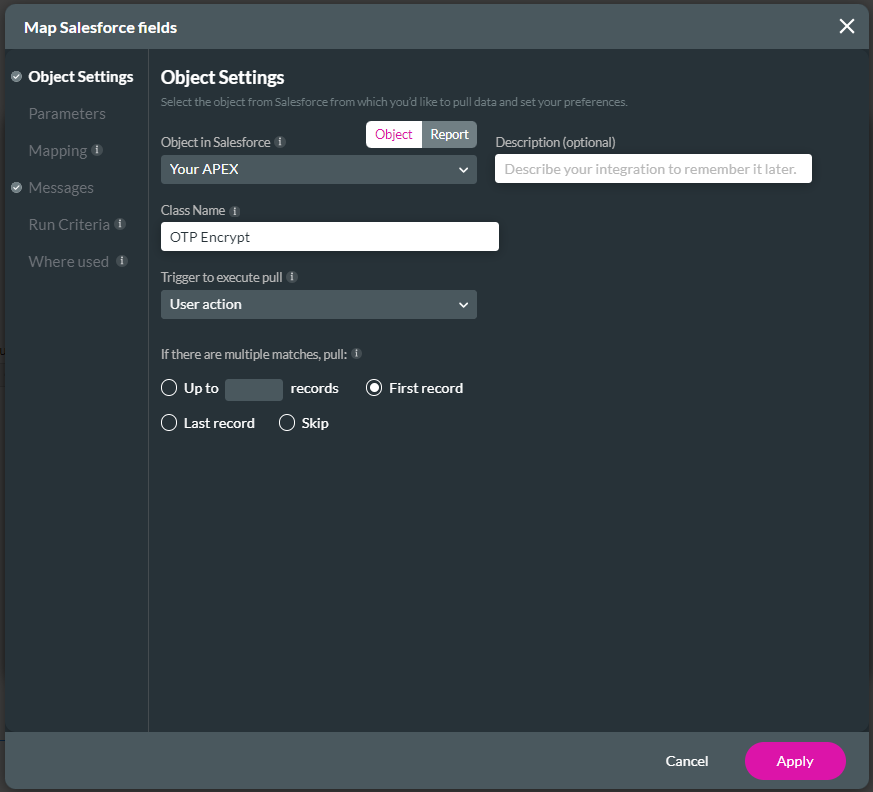
- Click the Create New button to configure a new Salesforce Get integration.

- Use the Object in Salesforce drop-down list to select “Your APEX”.
- Type a description. This makes it easier to select the Apex later on.
- Add the Apex name in the Class Name field.
- Use the Trigger to execute pull drop-down list to select “User action”.
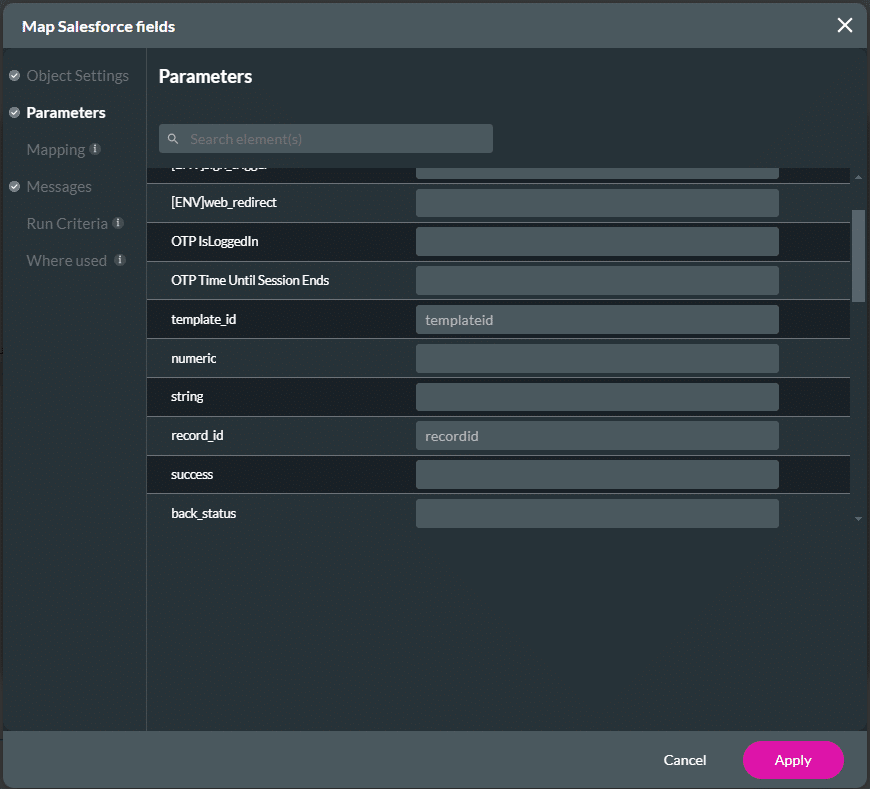
- Click the Parameters option and type the parameter/s in the relevant field. These are the parameters passed to the Apex.
- Click the Mapping option, and use the drop-down list/s to select the relevant option/s. These are the parameters passed from the Apex.
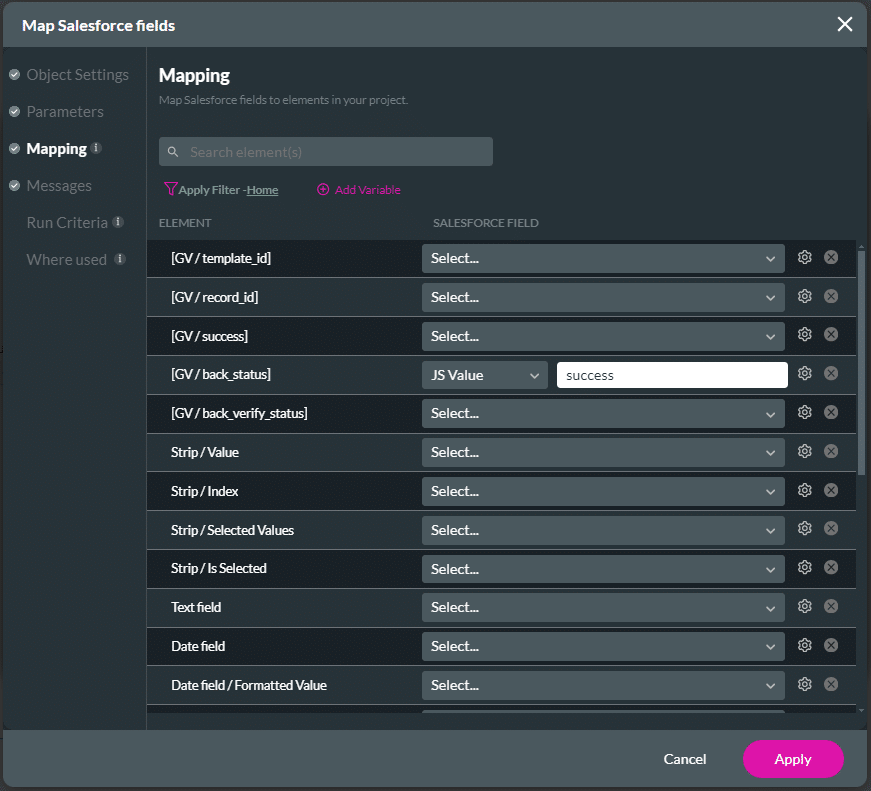
- Click the Apply button.
- Repeat these steps for the necessary Apex integrations.
- Click the Close button.
Configure the OTP Access
- Under User Access, ensure the OTP Access toggle switch is on.
- Click the Gear icon to open the Configure OTP screen.
Configure a session that is not shared
- Do not toggle the Use shared session switch.
- Use the drop-down lists to select the following:
- Initial Action: This Apex will trigger and get the parameters when a client enters information on the form.
- This information can be a last name, email and phone number, or any other information that you use to identify the user.
- Titan passes these parameters as well as the method (for instance, SMS or email) that you chose to send the OTP to the Apex.
- Send Action: This Apex is triggered if a login happens and the client is identified in the first step.
- The client is shown the OTP verification screen where they can enter the one-time pin.
- Verify Action: This Apex is used to verify the code that the client entered.
- Titan sends the code to the Apex and the Apex validates whether the code is correct or not.
- The client is logged in and Salesforce gives Titan the session for the client.
- The session key is held by a Titan variable.
- The session time can be set for when the client will be logged out.
- Initial Action: This Apex will trigger and get the parameters when a client enters information on the form.
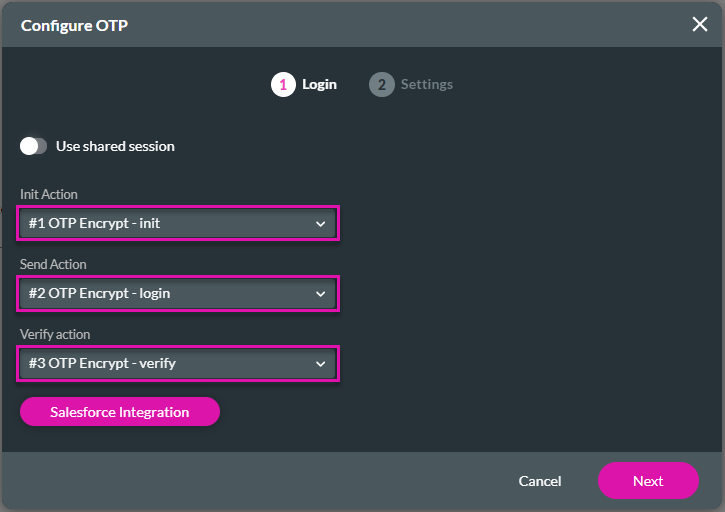
You can open the Salesforce Integrations by clicking the Salesforce Integration button.
- Click the Next button.
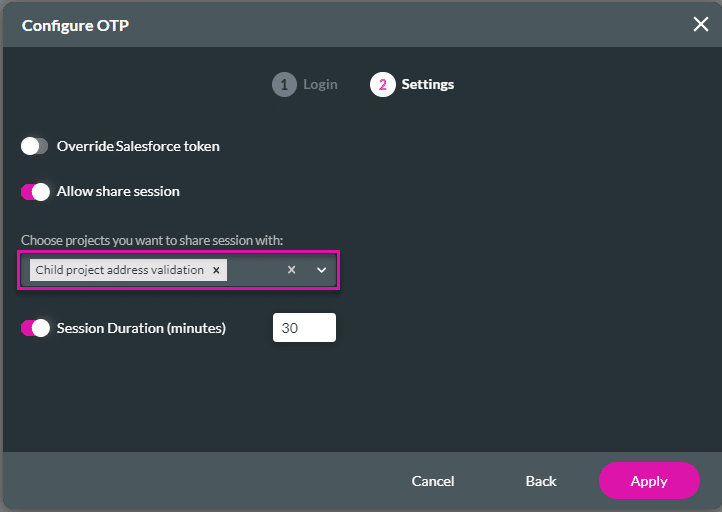
- Use the toggle switches to enable the following:
- Override Salesforce session: The OTP becomes the primary method of authorization, bypassing the previously issued Salesforce token.
- Allow share session: Use the drop-down list to select the projects with which you want to share the session.
- In this instance, the child project/s are selected.
This is useful if you have more than one Titan project that is connected.
- For instance, you can have a parent and a child project.
- The parent project redirects to the child project.
- The OTP is configured on the parent project.
- When the client is redirected from the parent project to the child project, the session as well as the remaining time is redirected to the child project.
- Session Duration (minutes): Type a number in the field.
- The session duration can range from 5 to 720 minutes.
- When the toggle switch is off, the duration is 2 hours (120 minutes).
Configure environment variables if you are going to export the project/s. Refer to OTP Access with Environment Variables for more information.
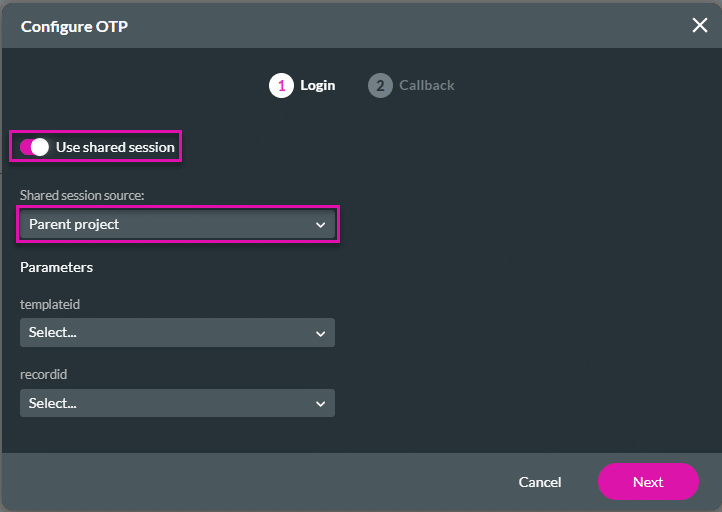
Configure a shared session
You can configure a shared session from a child project to a parent project.
- On the child project, toggle the Use shared session switch.
- Use the Shared session source drop-down list to select the project with which the session is shared.
- In this instance, the parent project is selected.
- Use the Parameters drop-down lists to select the template ID and the record ID, if necessary.
- Click the Next button.
- Click the Gear icon to configure the following:
- Init Parameters
- Login Parameters
- Verify Parameters
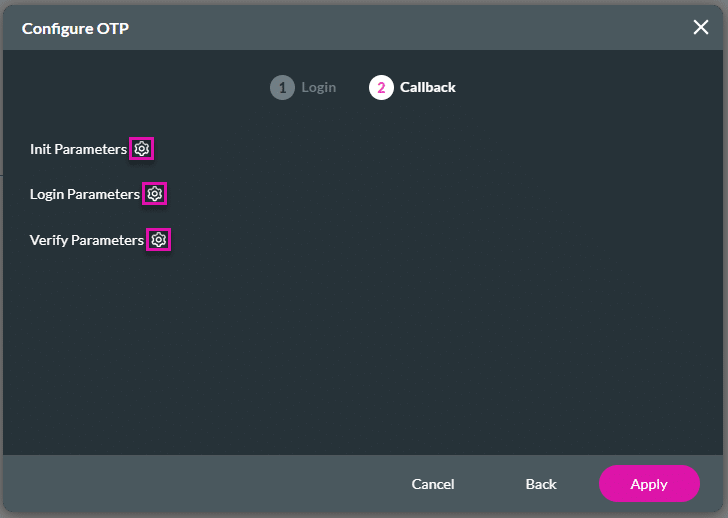
- The steps are the same. In this example, we will look at Init Parameters.
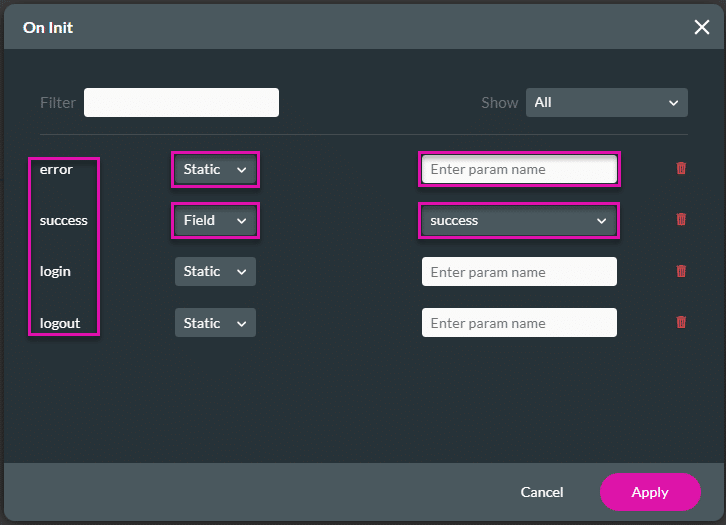
- The options on the left of the screen come form the System Variables configured on this project. These are the variables that you want to get from the Apexes.
- Set the parameters:
- Static: Type a parameter name in the field.
- Field: Use the drop-down list to select an option.
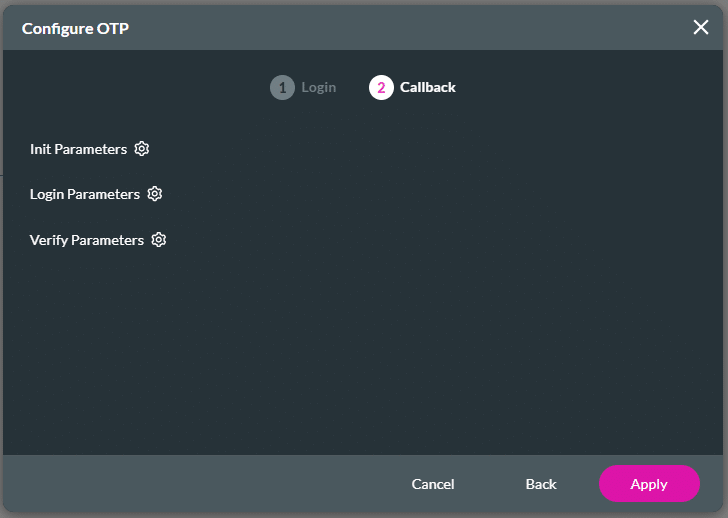
- Click the Apply button.
- Click the Apply button.
The OTP verification is done on the parent project and passed to the child project.
Configure the Smart OTP Form Widget
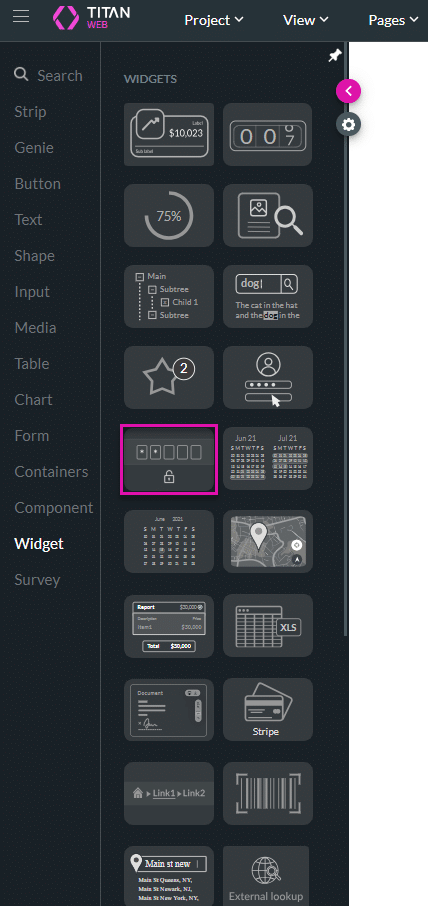
- Click the + icon to open the list of elements.
- Select the Widget option from the list.
- Drag-and-drop the SmartV form to the canvas.
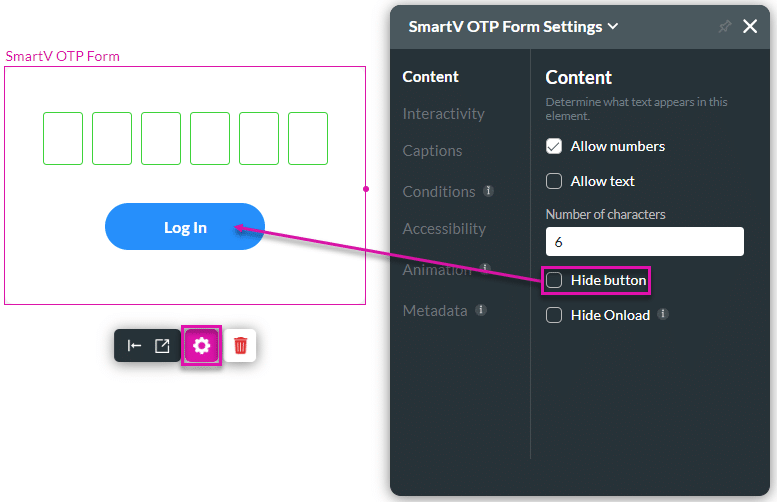
- Click the Gear icon and configure the SmartV OTP settings options as necessary.
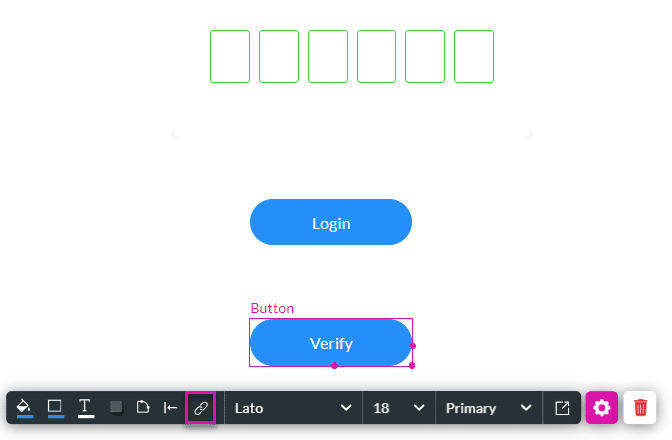
- To configure the user access on a custom button, click the Hide button checkbox. The widget’s button will be hidden.
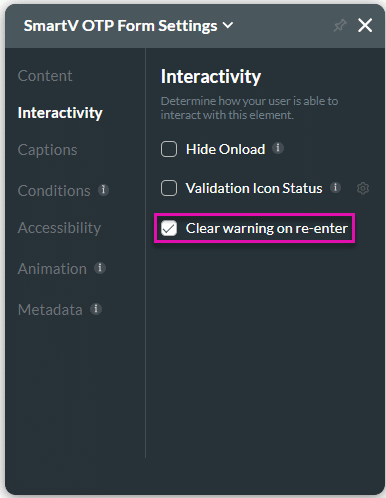
- Under Interactivity, click the Clear warning on re-enter checkbox to clear the warning that is shown when the incorrect OTP values are entered. The incorrect values are also cleared when the client starts to enter new values.
Configure the Access Control node – Login action
You can configure the action on a custom button to run the Initial and Login Apexes and redirect the client to the Smart OTP form widget.
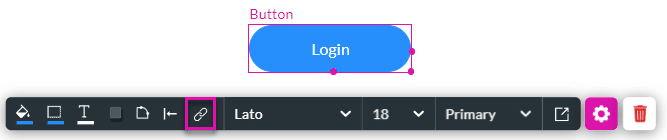
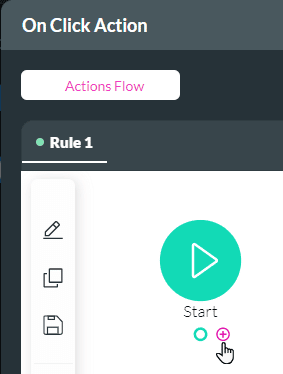
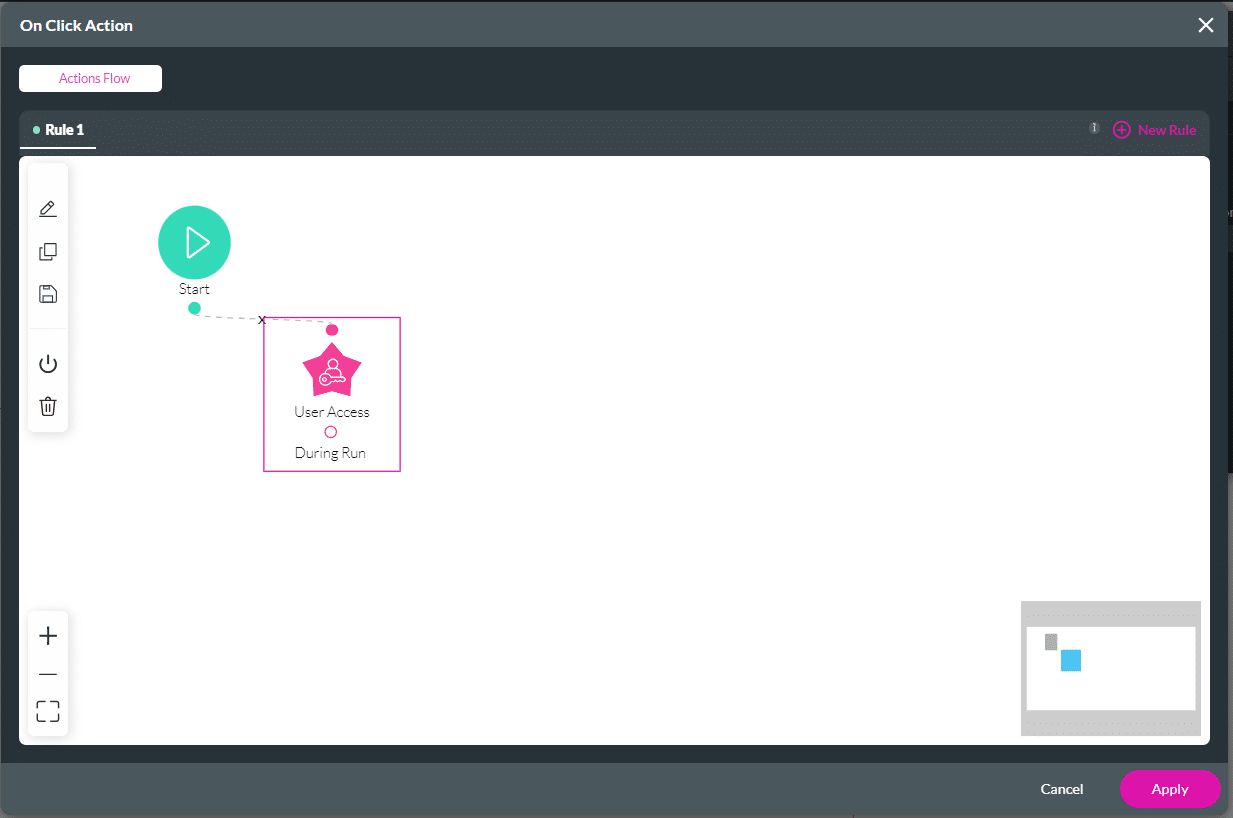
- On a button element, click the On Click Action icon. The On Click Action screen opens.
- Next to the Start node, click the + icon. The Add Node screen opens.
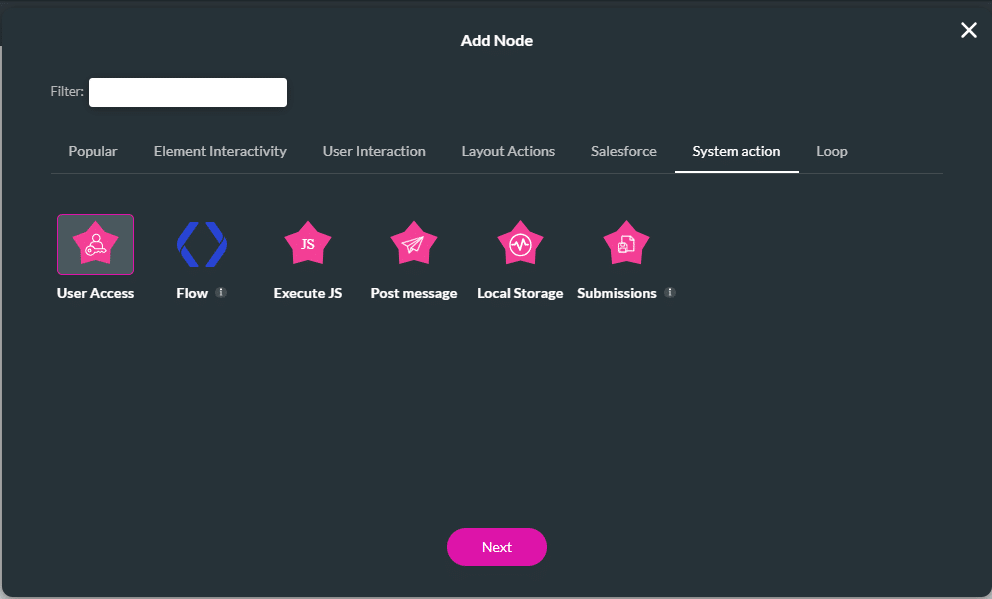
- Under System Actions, click the User Action option and then click the Next button.
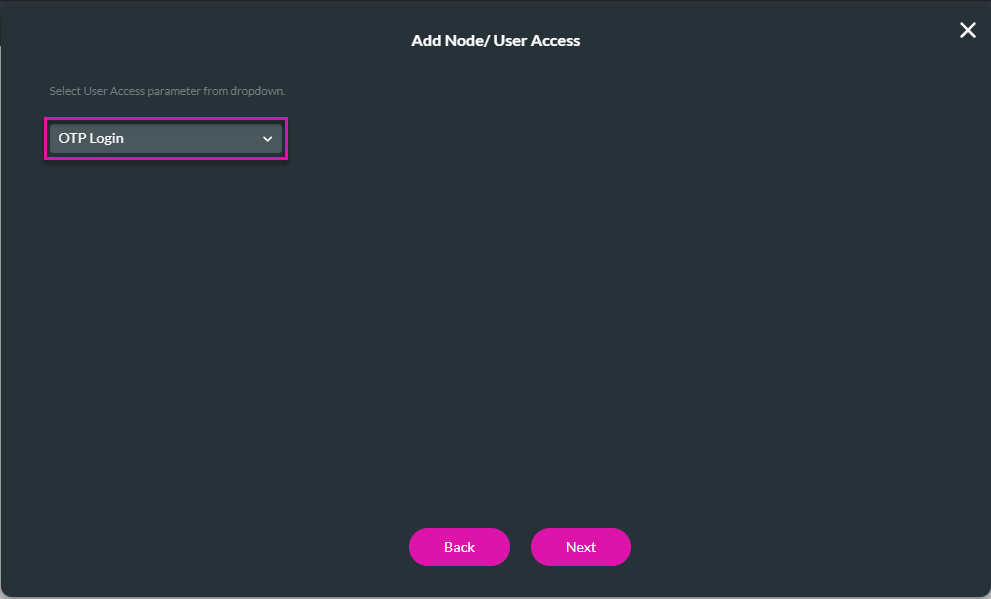
- Use the drop-down list and select the OTP Login user access parameters.
- Click the Next button.
- If necessary, change the tag and click the Insert button. The User Access node is added.

- Use the following options to add any actions on the User Access node as relevant:
- During Run
- On Fail Init
- On Success
- On Fail Login
- On Success Login
- On Fail Verify
- On Success Verify
- Click the Apply button.
Configure the Access Control node – Custom Verify action
You can configure a verify action on a custom button to run the Verify Apex.
- On a button element, click the On Click Action icon.
- Next to the Start node, click the + icon.
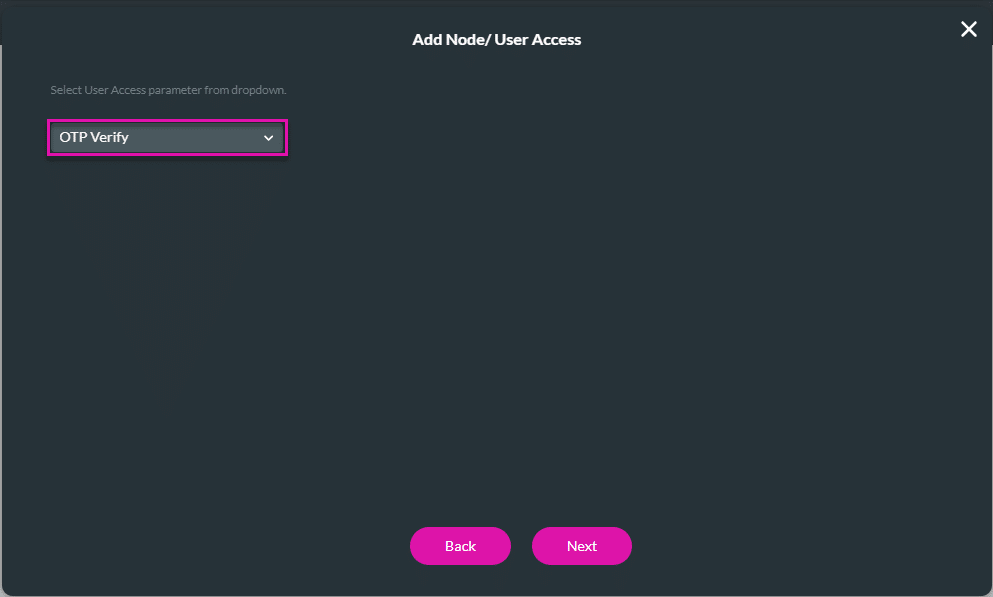
- Under System Actions, click the User Action option and then click the Next button.
- Use the drop-down list and select the OTP Verify user access parameters.
- Click the Next button.
- If necessary, change the tag and click the Insert button. The User Access node is added.
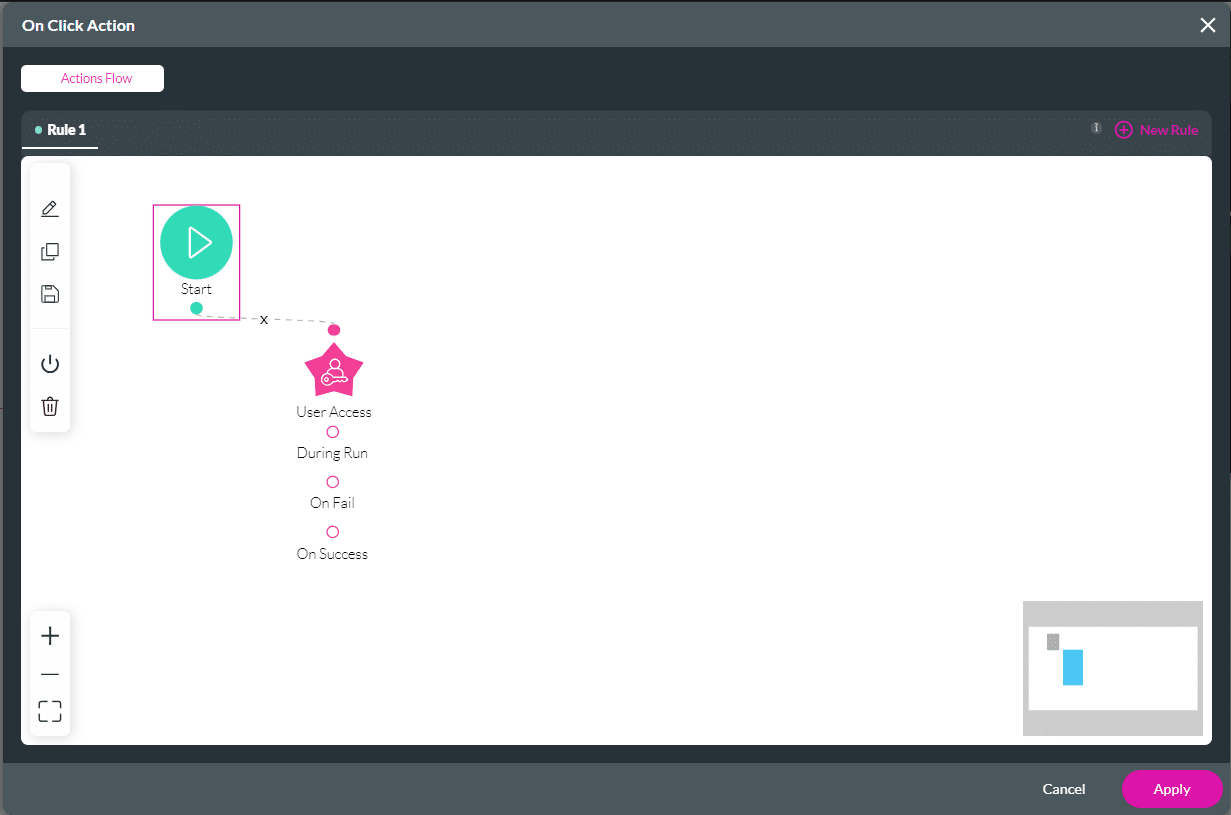
- Use the following options to add any actions on the User Access node as relevant:
- During Run
- On Fail
- On Success
- Click the Apply button.
Configure the Access Control node – Logout action
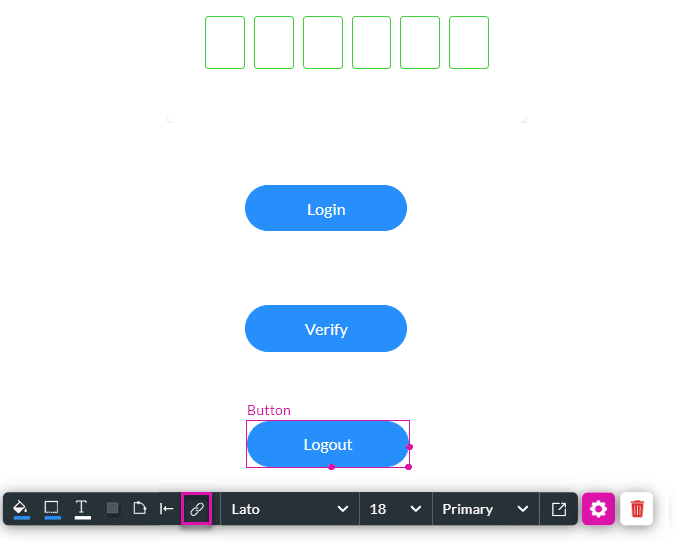
You can configure the action on a button to log out the client. The session ends when the client logs out.
- On a button element, click the On Click Action icon.
- Next to the Start node, click the + icon.
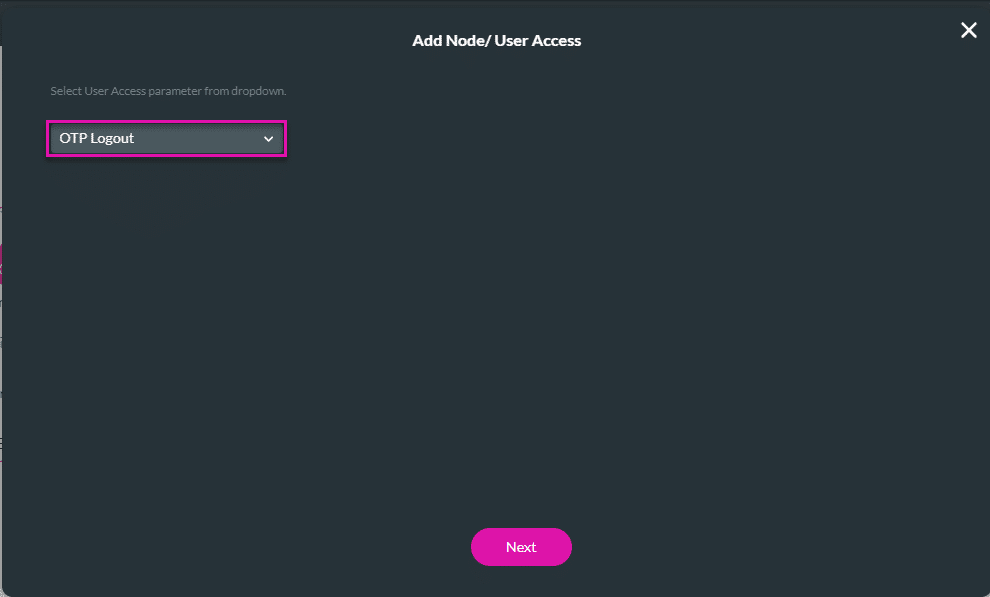
- Under System Actions, click the User Action option and then click the Next button.
- Use the drop-down list and select the OTP Logout user access parameters.
- Click the Next button.
- If necessary, change the tag and click the Insert button. The User Access node is added.
- Use the following option to add any actions on the User Access node as relevant:
- During Run
- Click the Apply button.
Learn more about Titan’s native integration with the Salesforce Experience Cloud.
Create custom Salesforce forms, collect data, and automate processes with our drag-and-drop form builder.
Easily design, deploy, and measure custom web applications directly from Salesforce using Titan’s drag-and-drop web page builder.