Configure Tracker Widget
Business Background
Show customers where the item is in your order process to reduce customer queries about their orders. With a few clicks and no code, you can inspire trust.
Titan Solution
Add the Titan Web tracker widget to your project to track a process, whether physical items or steps. The widget has groups and items (steps) in each group. As the process moves through all the items in each group and ultimately through all the groups, the tracker element gives users a visual representation of the progress they are making in the process.
How to Guide
The following is an example of the order tracking process. You will create groups with items in each group. As one item in the group is completed, the tracker shows the next item. When all the items in the group are completed, the tracker jumps to the next group’s first item, and so on, until the order is done.

Configure the Widget
- Click the + icon to open the list of elements.
- Select the Widget option from the list.
- Drag-and-drop the Tracker element to the canvas.
- Click the Tracker Gear icon to open the Tracker Settings screen.
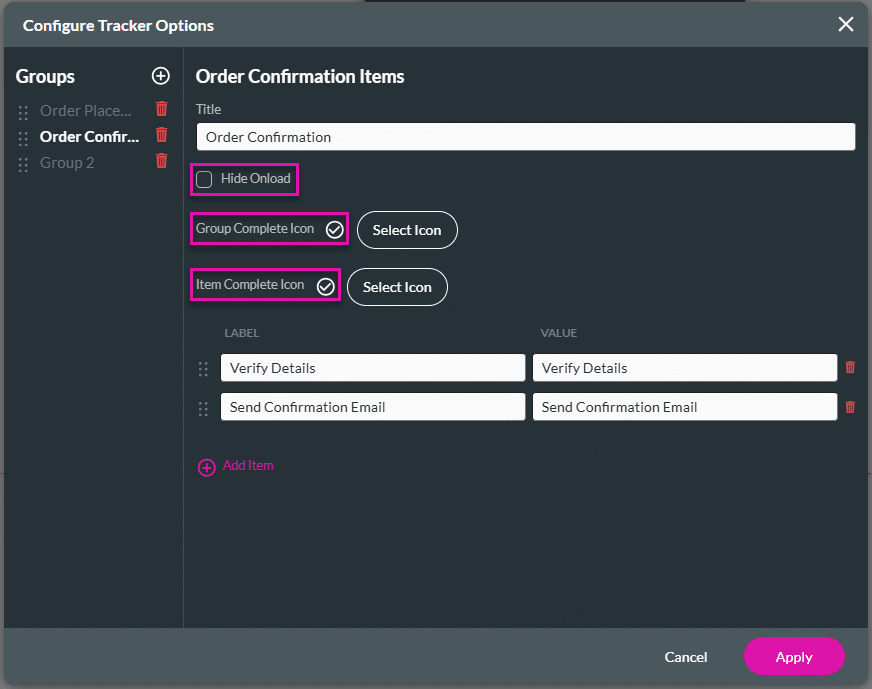
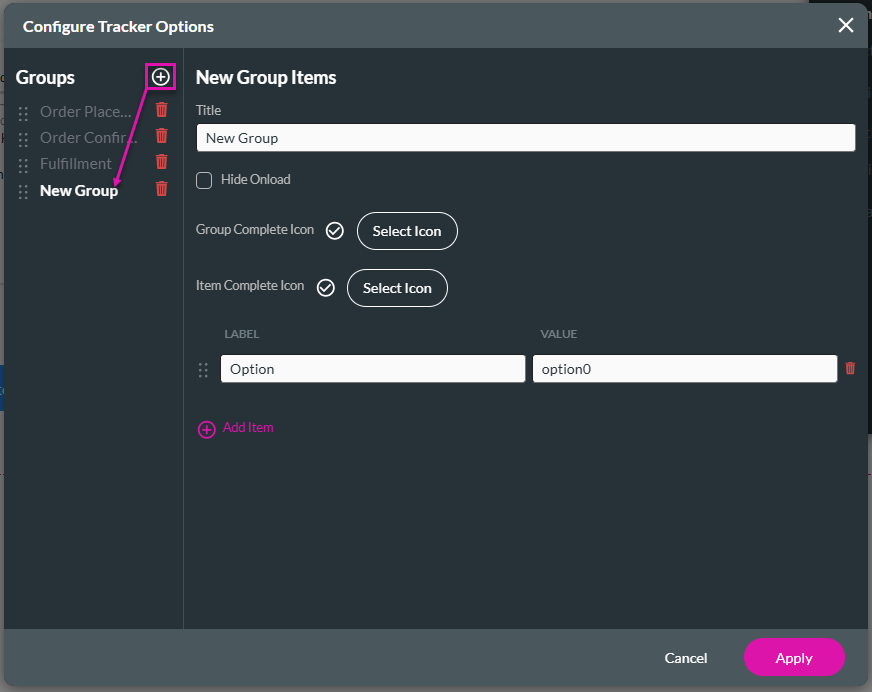
- Click the Edit Mapping button to add mapping for the static values. The Configure Tracker Options screen opens.
- Type a title. The group name will change accordingly.
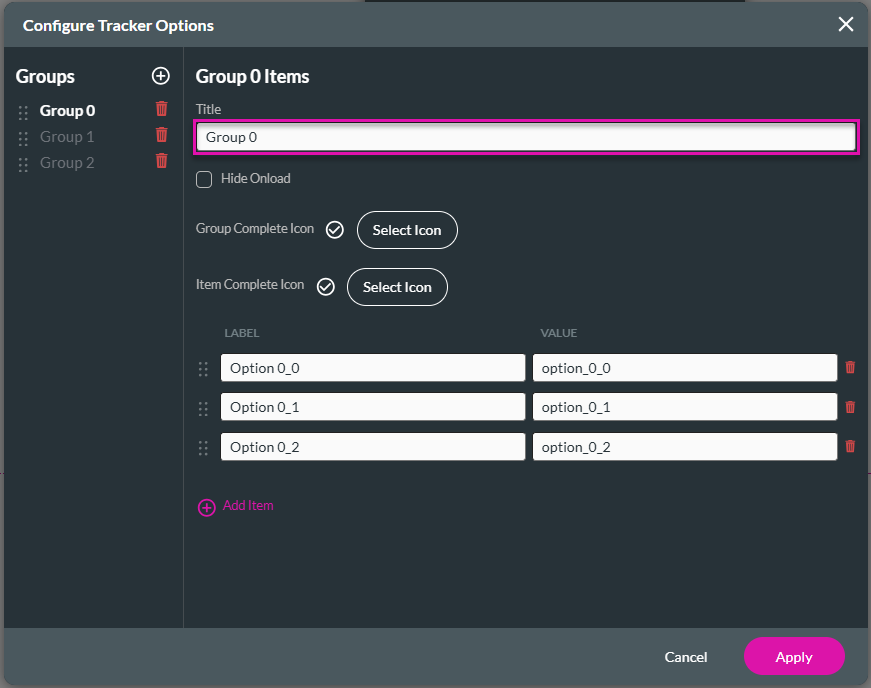
- Type the label and/or values in the corresponding fields.
- Click the Add Item option to add items, or click the Delete icon to remove items.

- Click the checkbox to hide the group when the webpage is loaded. It can be shown later using tracker interactivity.
- If necessary, change the Group Complete and/or Item Complete icons.
- The default icon is the checkmark.
- You can change the Group Complete and/or Item Complete icons on all the groups and items in the widget.
- Click the Select Icon button.
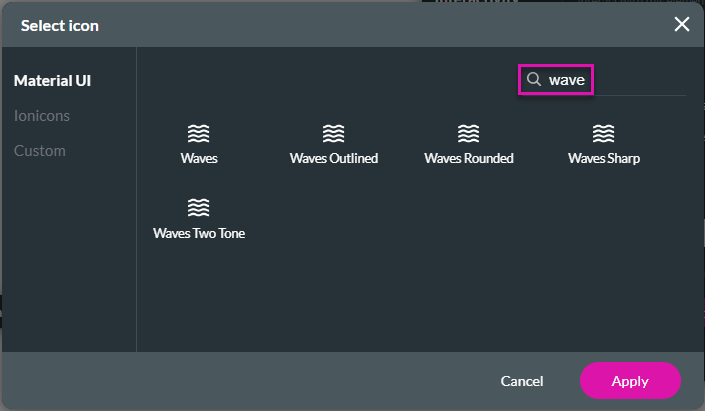
- Under the Material UI option, use the Search field, if necessary, and click an icon to select it.
- As an alternative, select the Ionicons option.
- Use the drop-down list to select an option:
- Filled
- Outline
- Sharp

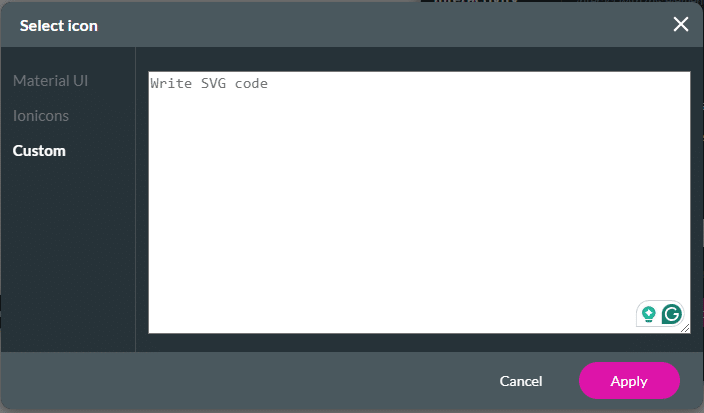
- As an alternative, select the Custom option.
- Add the SVG code to the field.
- Click the Apply button.
- Click the Group 1 option and add the title and items.
- Repeat the steps for Group 2.

- Alternatively, click the + icon next to Groups to add a new group.
- Repeat the steps for the new group until you have all the groups and items you need.
Click the Delete icon to remove groups or items in groups.
- Click the Apply button. The widget is updated with the added groups and items.
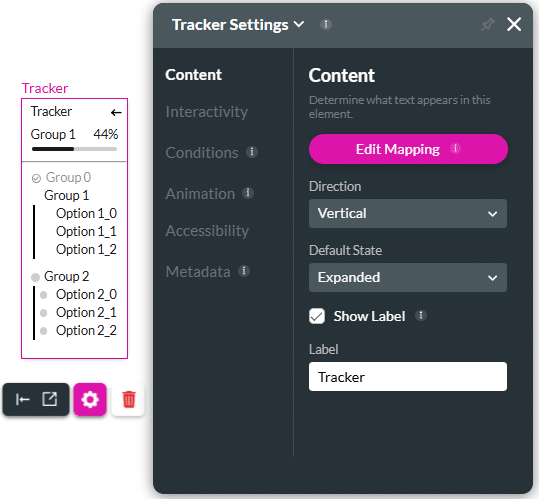
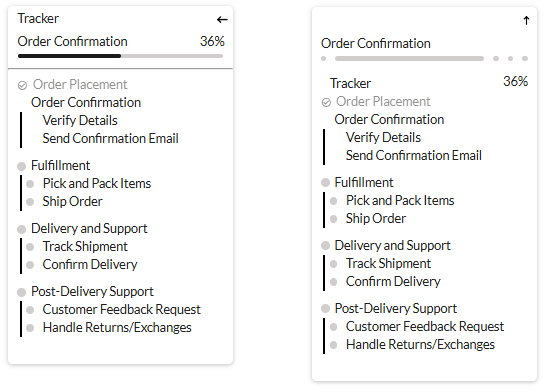
- Use the Direction drop-down list to change the direction of the items. The options are:
- Vertical. This is the default option.
- Horizontal

Compare the difference between vertical (left) and horizontal (right):
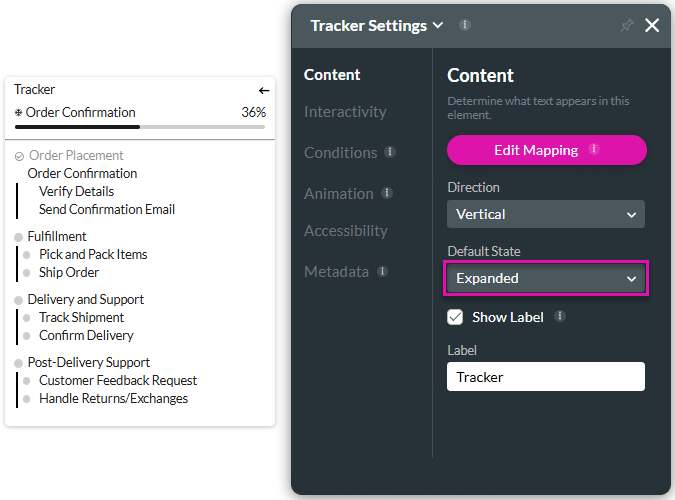
- Use the drop-down list to select the default state. This is how the widget will be shown by default once you view the previewed or published link. The options are:
- Expanded
- Collapsed
Compare the difference between expanded (left) and collapsed (right):

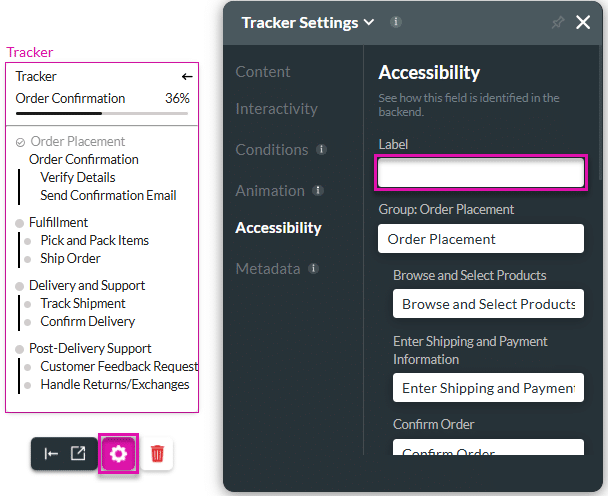
Add Accessibility
ARIA (Accessible Rich Internet Applications) accessibility refers to a set of specifications developed by the World Wide Web Consortium (W3C) to improve the accessibility of web content, especially dynamic content and user interface components. ARIA provides a way to make web applications and content more accessible to people with disabilities, particularly those who rely on assistive technologies such as screen readers. This markup is added to the HTML to communicate to users.
Accessibility for all the labels is added automatically but you can change it.
You can add a descriptive label for more information about the tracker widget.