

Map Apex Class to a Power Table
Business Background
Map the result of an Apex Class to a Power Table using Titan Web.
Titan Solution
- Using Titan Web, you can map the result of an Apex class to a power table.
- This option will allow to map an output data from a Apex class into a multiple columns in a table format.
How to Guide
Note:
Prerequisite:
- Click the + icon to open the list of elements.
- Under Table, drag a power table to the canvas. The Salesforce Configuration screen opens.
- Click the Your Apex button.
- Type the name of your Apex class in the Source in Salesforce field. This class will return a list of results to Titan.
- Click the Next button.

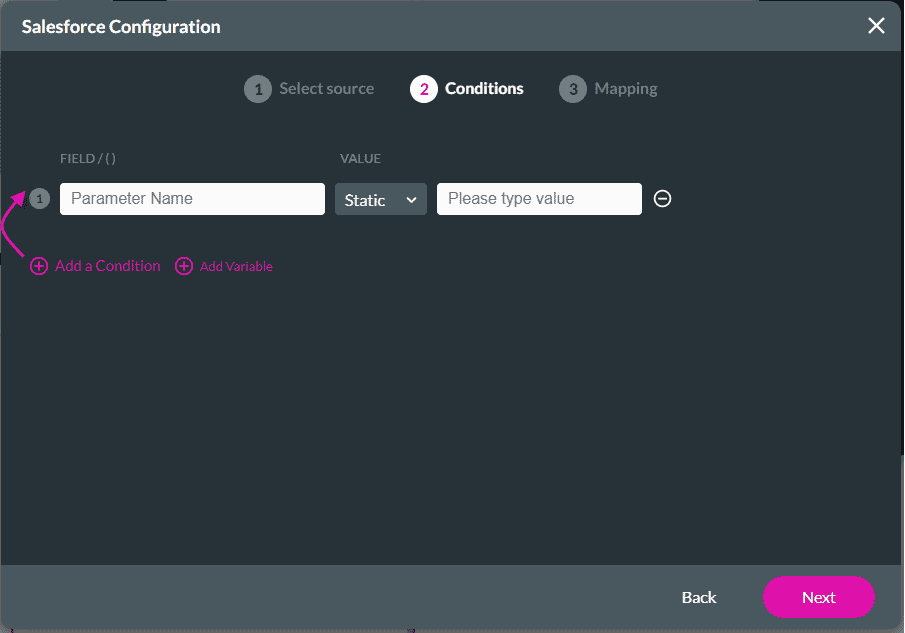
- If necessary, click the Add a Condition option and type the name of the input parameter received from the Apex class.
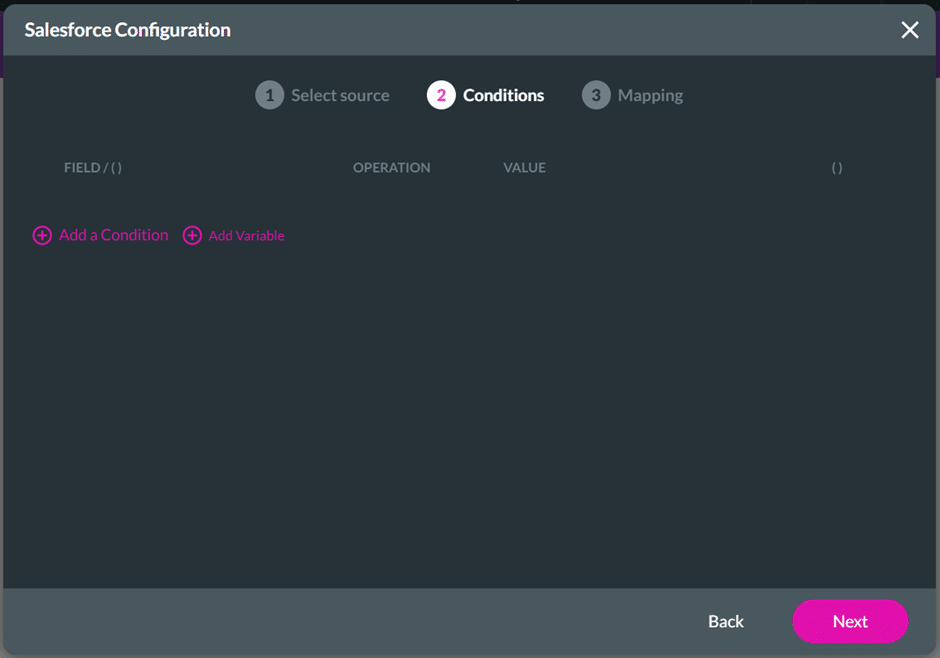
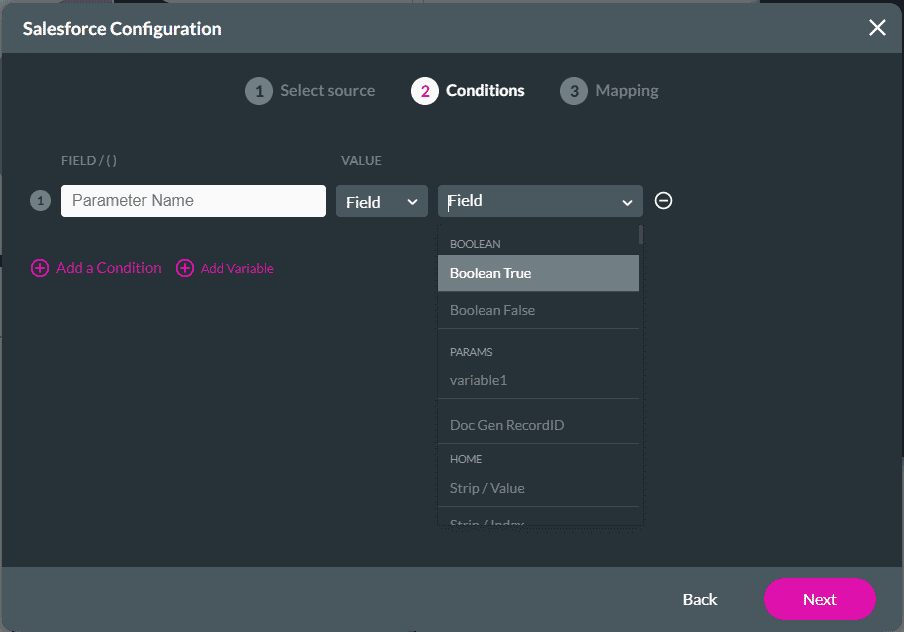
- Select Static or Field from the drop-down list.
- If you select Static, type the GET value.
- If you select Field, select the field from the drop-down list.
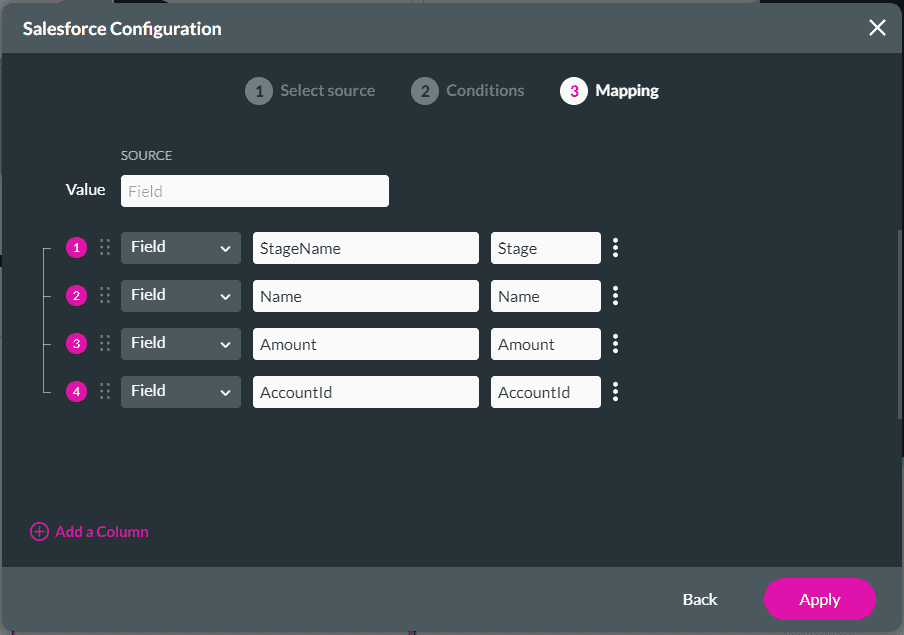
- Click the Next button. You must set the mapping.
- Type the value of the source in the Value field. This is the value for each table row you are setting up. It is the API name from Salesforce.
- Select the Add a Column option.
- Map the fields. These are the column names of the table that you are setting up. The fields are case sensitive.
- Type the heading name in the last field. This is the column heading you will see in the table.
Note:
These fields must come from the Apex query.
- Save and Preview the page.
You will see the table populated with the data from the Apex class.
- The data comes from the custom Apex class, with the specified conditions. These can be very complex.
- It doesn’t have to come from one object.
Hidden Title
Was this information helpful?
Let us know so we can improve!
Need more help?
Book Demo