

Environment Variables – Salesforce Integration
Business Background
Variables are integral when working with software and allow your business to store, reference accurately, and manipulate data in countless ways.
Environment variables help manage configuration differences among these environments. By changing environment variables, you can control which services and resources an application connects to, ensuring the correct environment-specific settings are used.
Titan Solution
The environment variables are shared across your Titan environment and can be accessed from any Titan Web project. They can be used to trigger a Salesforce Push or Get action.
How to Guide
Note:
Create a private static environment variable. Private variables can only be used for Salesforce Push and Get integrations and run on Titan servers.

- Open a Titan Web project.
- Drag a button from the element list to the canvas. In this example, the button was named “Salesforce Condition.”
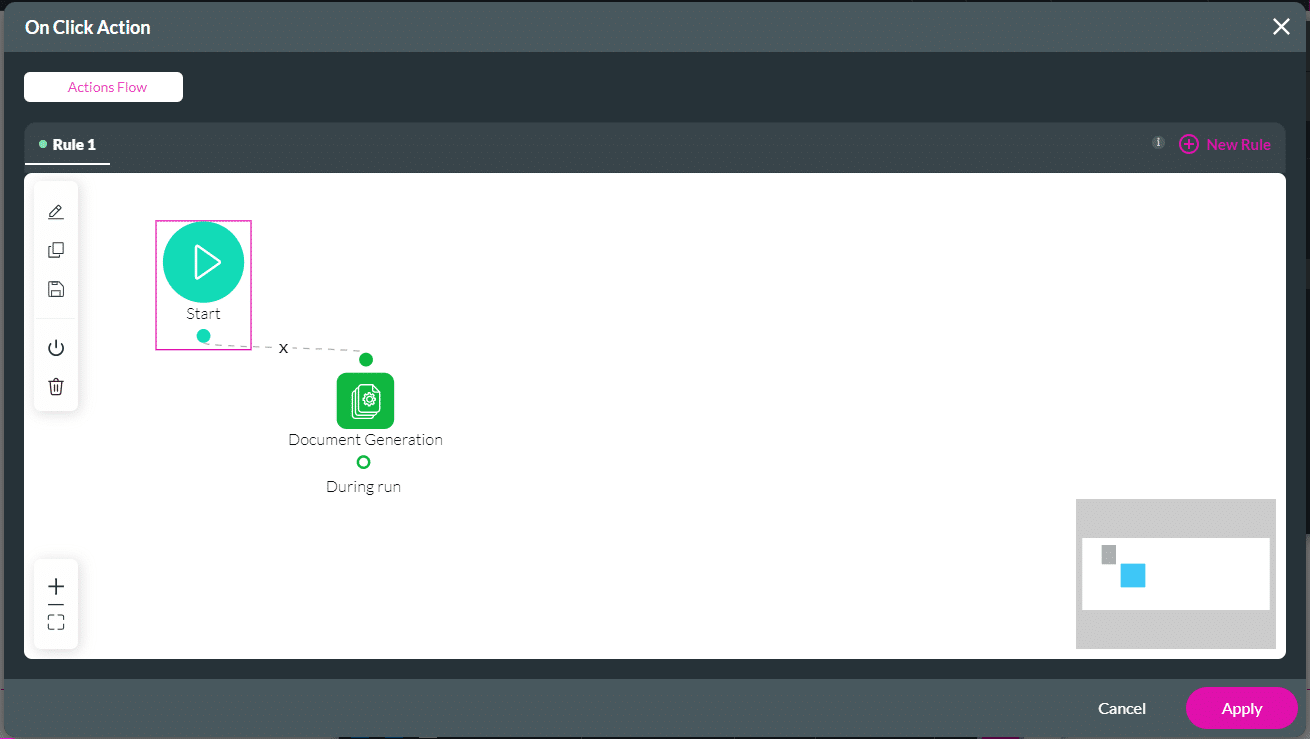
- Click the On Click Action icon.
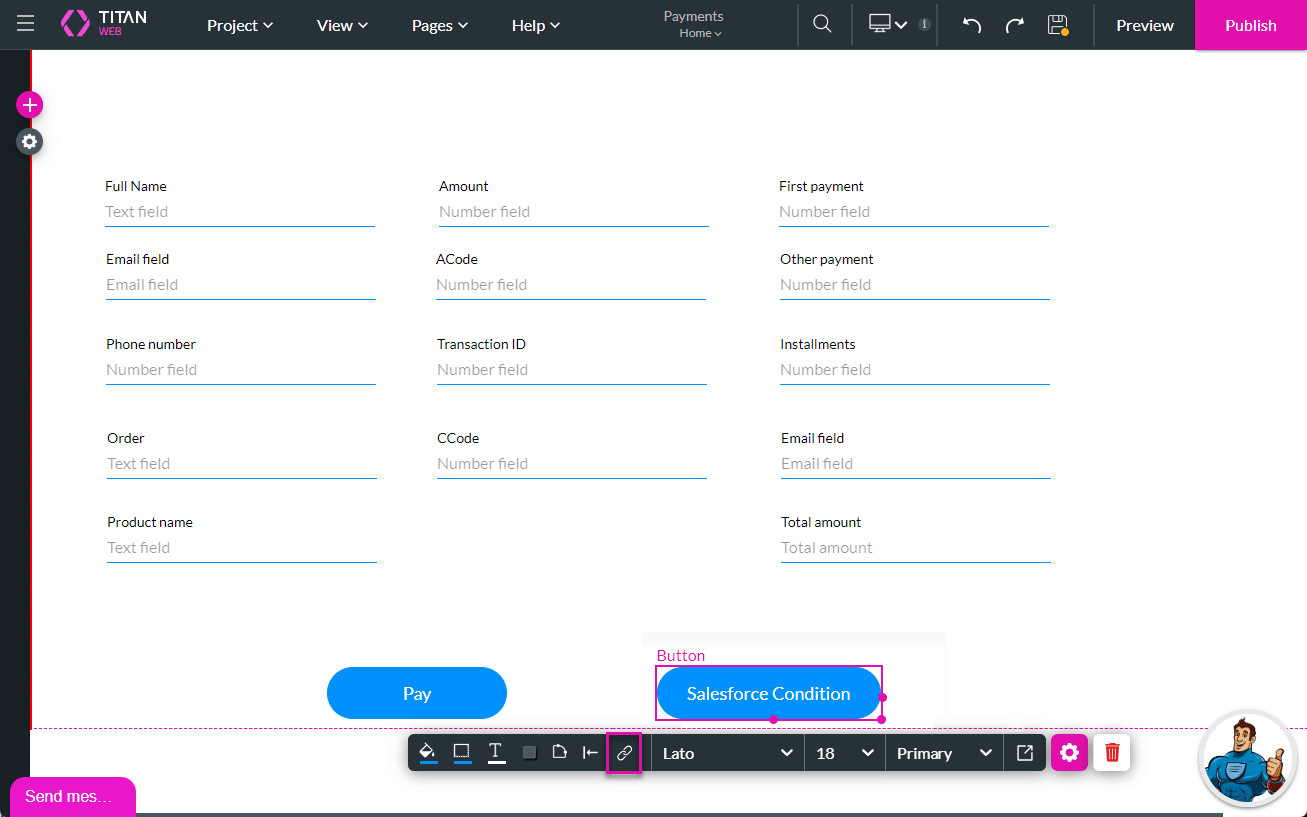
- Click the + icon next to the Start node.

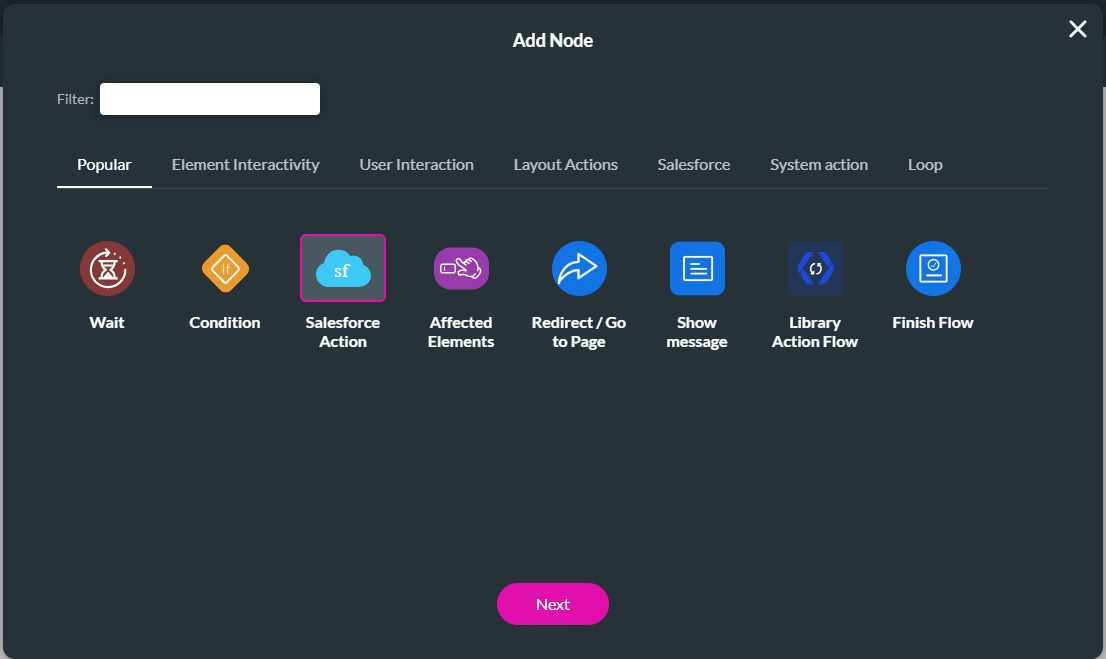
- Click the Salesforce Action node and click the Next button.
- Click the Salesforce Integration button.
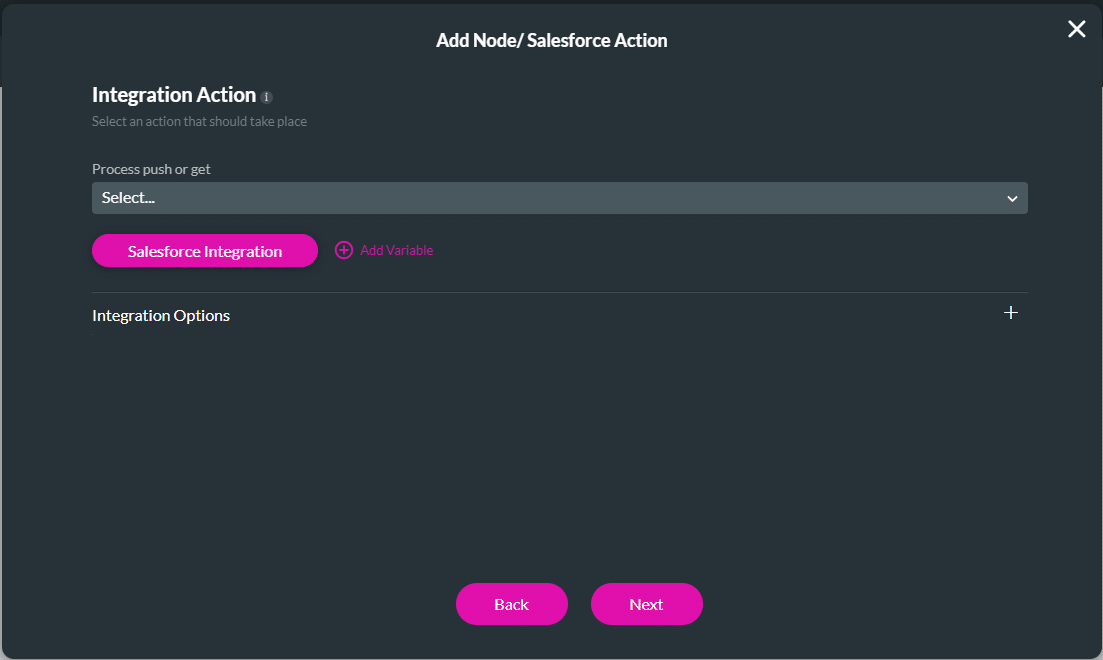
- Click the Create New button.
- You can configure a Salesforce Push or Get.
- You can also edit an existing Salesforce Push or Get.

- Use the drop-down list to select the object in Salesforce, for instance, Account.
- Use the drop-down list to select the trigger to execute the pull.
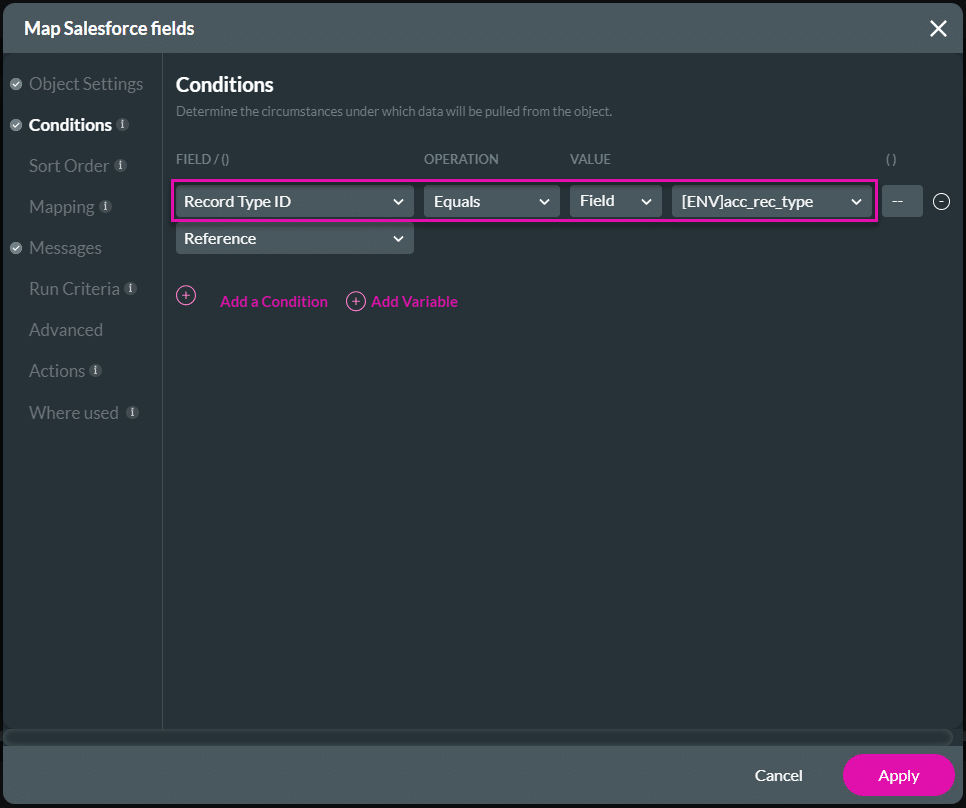
- Click the Conditions option.
- Use the drop-down lists to configure the condition using the static environment variable, for instance:
- Record Type ID Equals Field [ENV]acc_rec-type
- Click the Next button.
- Add a tag if necessary and click the Insert button. The Salesforce Action node is inserted.
- Click the Apply button.
- Save and Preview the project.
- Click the Salesforce Condition button. The account that is returned will be a specific record type that matches the condition.
Hidden Title
Was this information helpful?
Let us know so we can improve!
Need more help?
Book Demo