

Sign Wizard in Flow
Business Background
Configure and design the Sign Wizard and launch it from a Salesforce screen flow.
Titan Solution
Use Titan Flow to auto-populate all signers from a Salesforce flow. The flow uses a file that exists in Salesforce in a .docx format. After the flow is triggered, the sign wizard screen displays on Salesforce, and the user can launch the re-defined Sign process. The flow is important to set predefined signers.
How to Video
- 0:02 Introduction to Sign Wizard in Flow.
- 0:19 We show you how to add the Titan Sign Wizard Action.
- 1:13 Learn about the value of adding a Flow.
- 4:30 Saving the flow.
- 5:46 We show you how to populate resources.
- 6:52 Dive into creating get records.
How to Guide
Note:
Use a single .DOCX file.
The Titan Flow will work with files that exist in Salesforce.
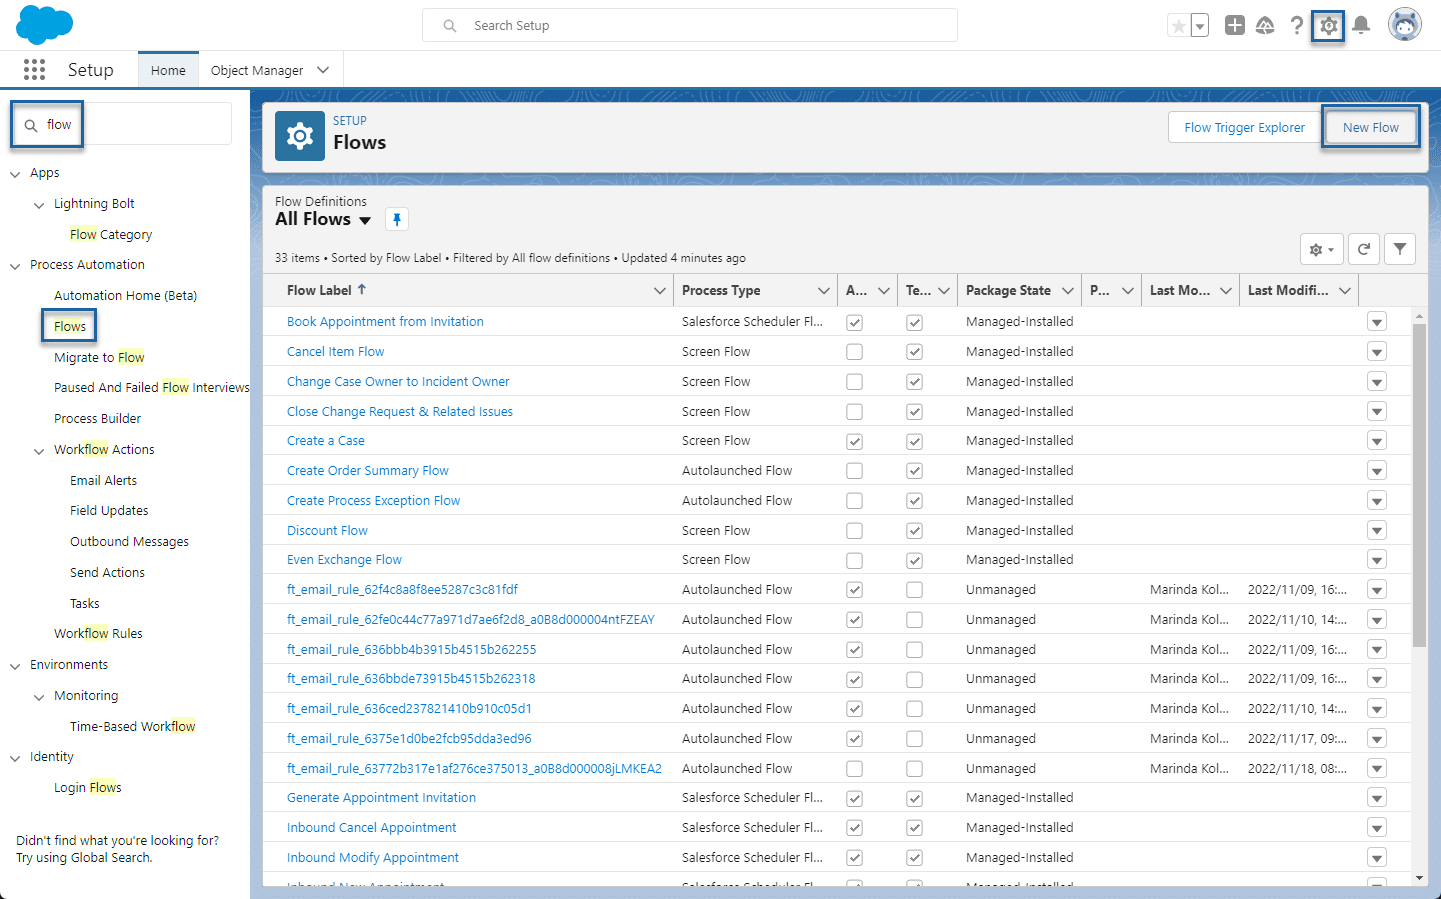
- Use the Gear icon in Salesforce to open Setup.
- Search for “flow” and click on the Flows option.
- Click the New Flow button.
- Click the Screen Flow option and click the Create button.

- Click the + icon on the Flow Builder.

- Select the Action element from the Add Element list.

- Search for “sign” and click the TITAN Sign Wizard option from the Action list.

- Add the variables:
- recordid (Text)fileids (Text, collection)
- The record ID stores the ID of ContentVersion / attachment, which can be a single DOCX FILE.
- Signers (Apex-Defined, collection, Class: Form_Builder__TitanSignWizardUserStructure)
- Signer (Apex-Defined, Class: Form_Builder__TitanSignWizardUserStructure)
- recordid (Text)fileids (Text, collection)
- Define the signers in Apex Defined variables:
| Variable | Remarks |
| signer > Email | Mandatory |
| signer > FirstName | |
| signer > LastName |
- Type a Label. The Flow API Name is automatically completed based on the Label.
- Type Sign in the Wizard Type field.
- Use the toggle switches to switch on and populate the following:
- files or attachment ids: these are the files that will be added as part of the process.
- Record Id: this is the record ID from where the document will be triggered.
- signers: these are the people who must sign the document.
- Click the Done button. The action is added to the Flow Builder.
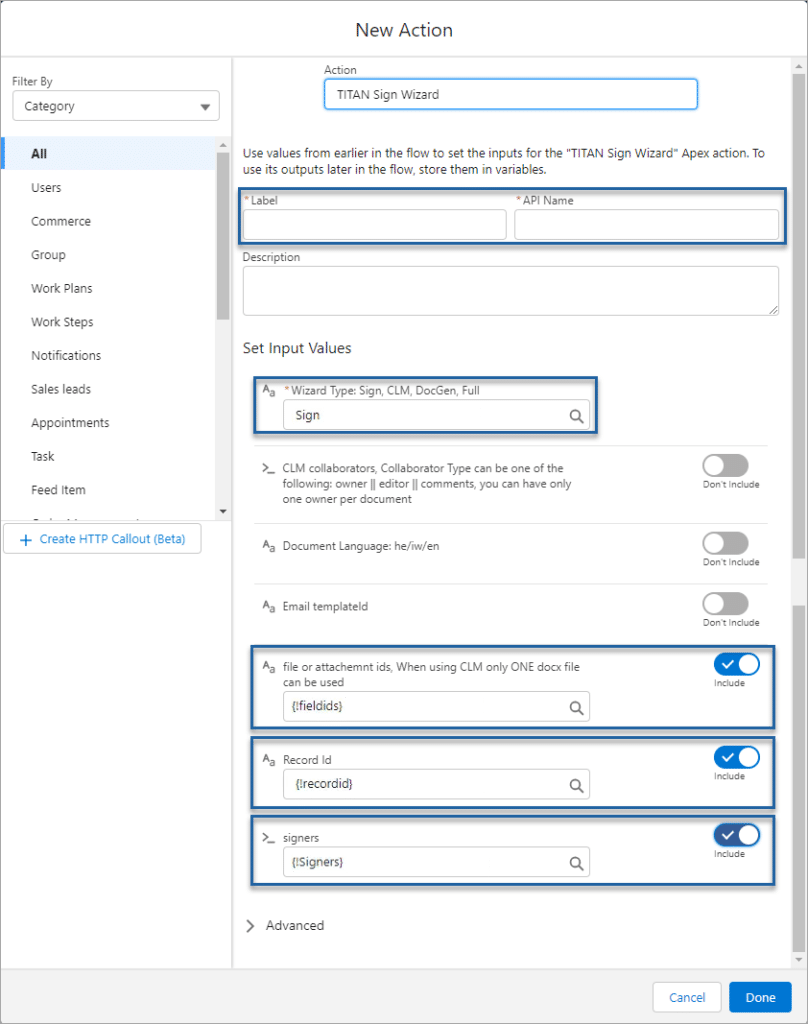
Note:
Use the toggle switch to switch on the Email templateid if you want use your own email template and not the default email.
- Click the Save button. The Save the flow screen opens.

- Type a Flow Label. The Flow API Name is automatically completed based on the Flow Label.
- Click the Save button.

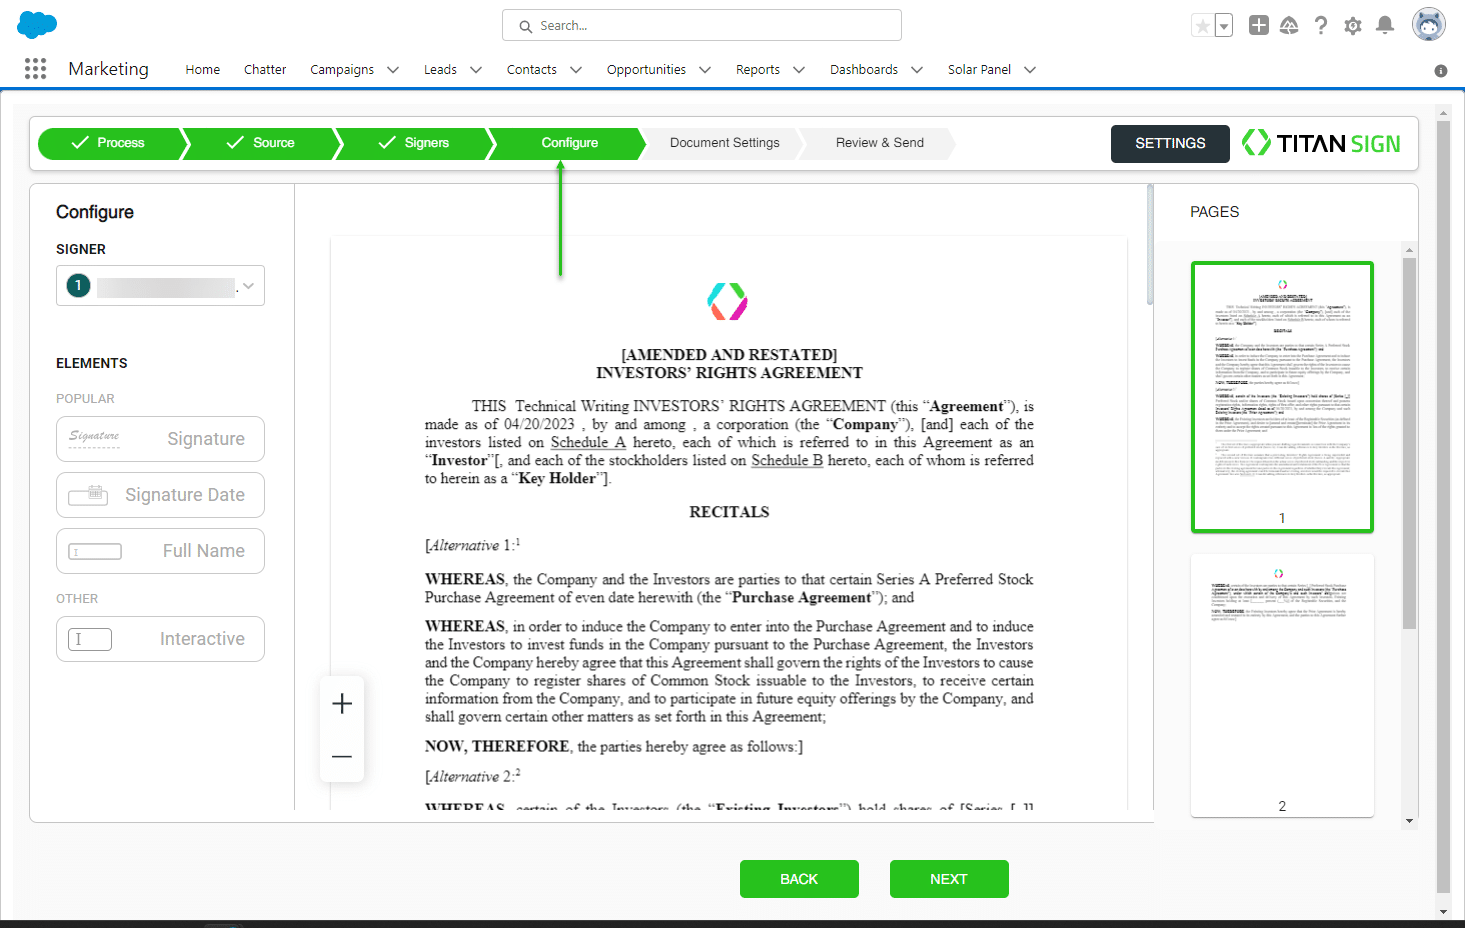
When the Screen Flow is triggered, the Titan Sign Wizard will skip to the Configure step.
Hidden Title
Was this information helpful?
Let us know so we can improve!
Need more help?
Book Demo