

Image Watermark
Business Background
Add a watermark to your documents.
Titan Solution
You can add a watermark to an image using Titan Flow.
How to Guide
Note:
Prerequisite:
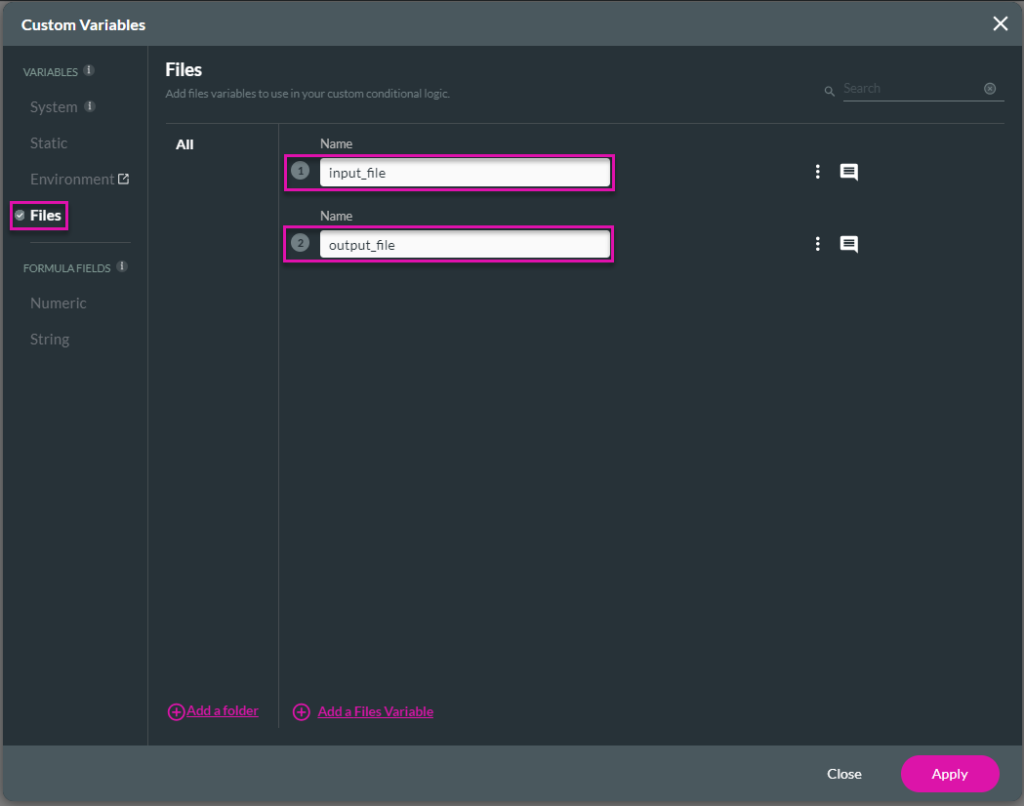
Create custom file variables for that refer to the input and output files, for example:
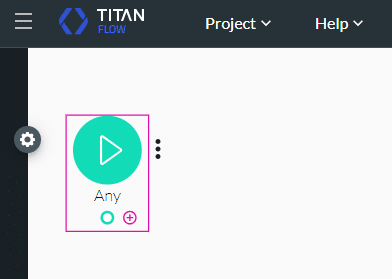
- Click the + icon to add a node. The Add Node screen opens.
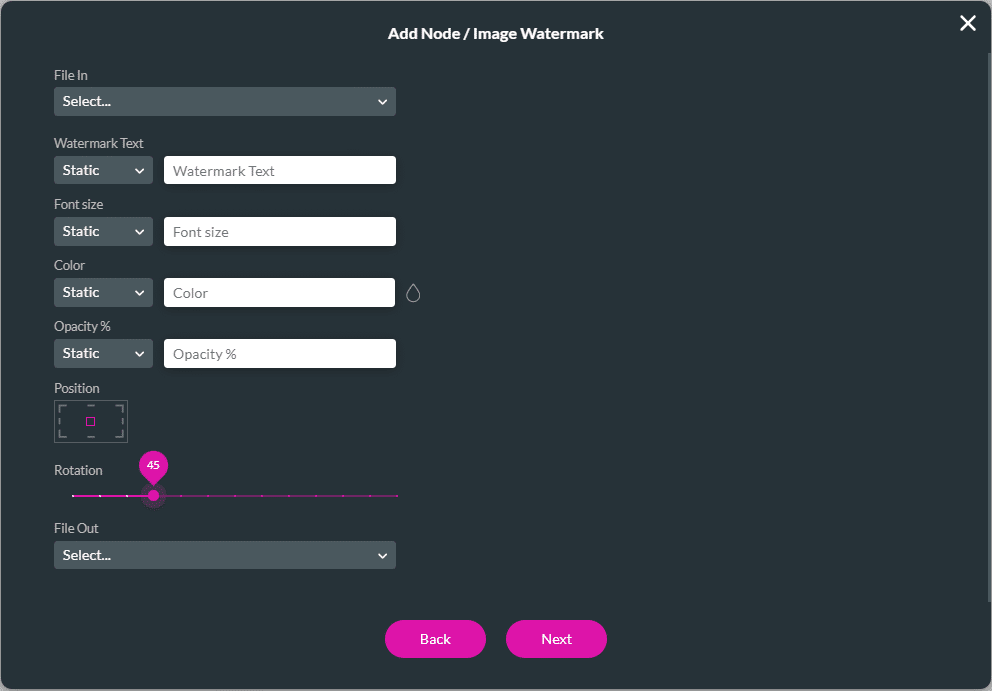
- Under Images, select the Watermark option and click the Next button. The Add Node/Image Watermark screen opens.

Note:
The following fields are mandatory:
- File In
- Watermark Text
- Font Size
- Color
- File Out
- Use the drop-down list to select the file in variable.
- Use the Watermark Text drop-down list to select one of the options:
- Static: Type a static width in the field.
- Field: Use the drop-down list to select a variable.
- Use the Font Size drop-down list to select one of the options:
- Static: Type a static width in the field.
- Field: Use the drop-down list to select a variable.
- Use the Color drop-down list to select one of the options:
- Static: Type a static width in the field.
- Field: Use the drop-down list to select a variable.
- Use the Opacity drop-down list to select one of the options:
- Static: Type a static width in the field.
- Field: Use the drop-down list to select a variable.
- Click in the block to select the position.
- Use the Rotation slider to set the rotation.
- Use the drop-down list to select the file out variable.
- Click the Next button.
- Type a tag name if necessary and click the Insert button. The node is added.
Hidden Title
Was this information helpful?
Let us know so we can improve!
Need more help?
Book Demo