

External Flow
Business Background
Collaborate with another company to share information using a Titan Flow.
Titan Solution
With Titan, you can invoke a flow from a different environment with different permissions.
How to Guide
In this example, the following Titan projects are used:
- A Flow project in environment A (the source environment), where the external flow option has been activated.
- A Flow project in environment B (the target environment), from where the external flow is triggered.
- A Web project in environment B, with input fields to create a contact. This project has a button that triggers the Flow project in environment B.
Create an External Flow in Environment A
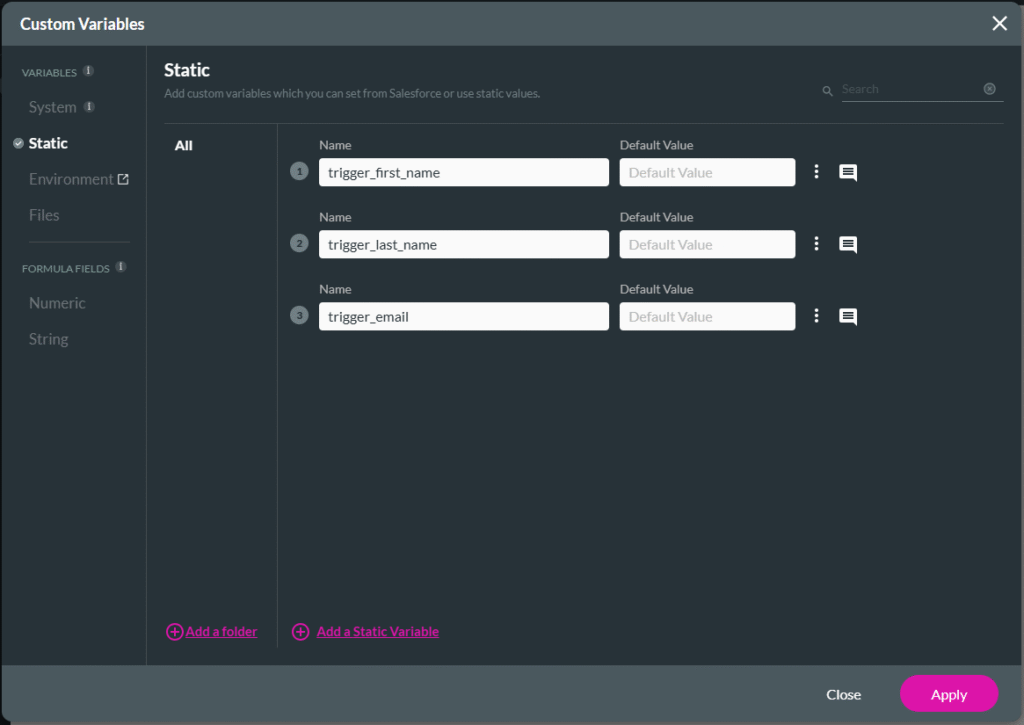
- Add variables to the project.
Path:
Project settings > Tools > Custom Variables > Gear icon

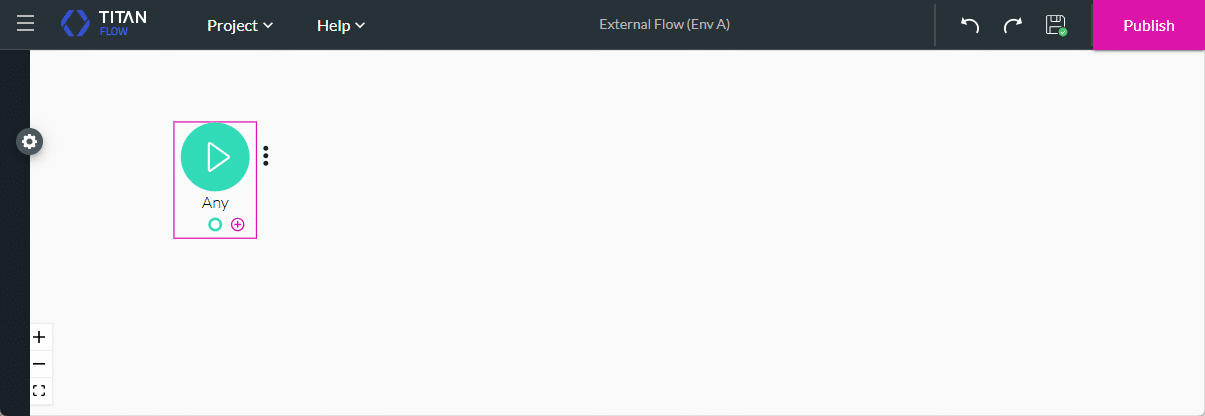
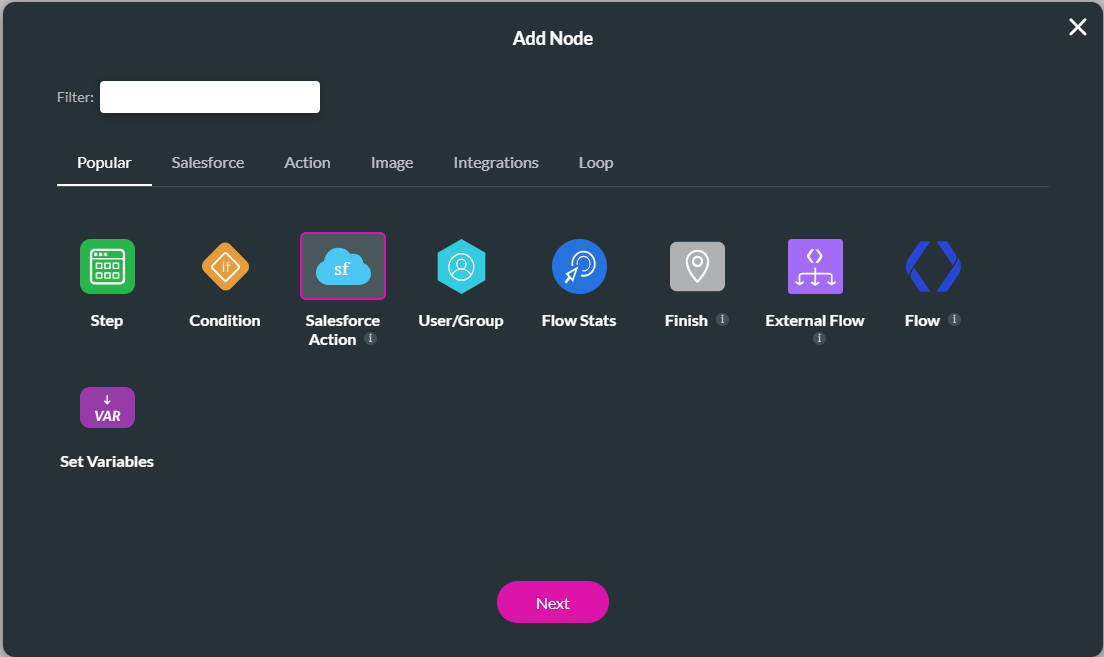
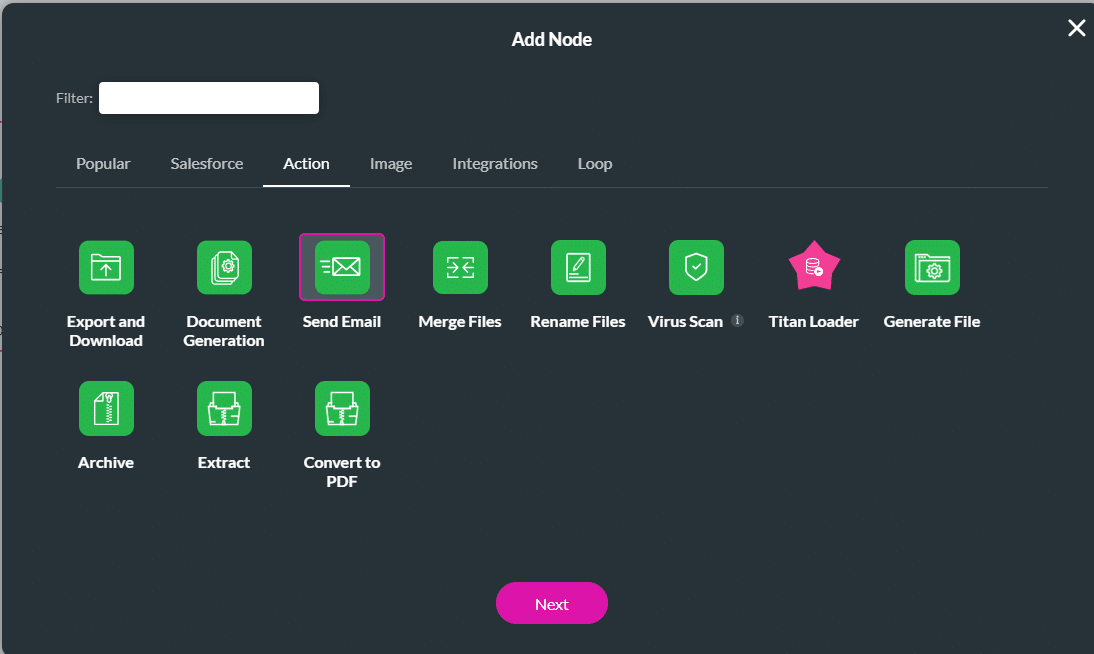
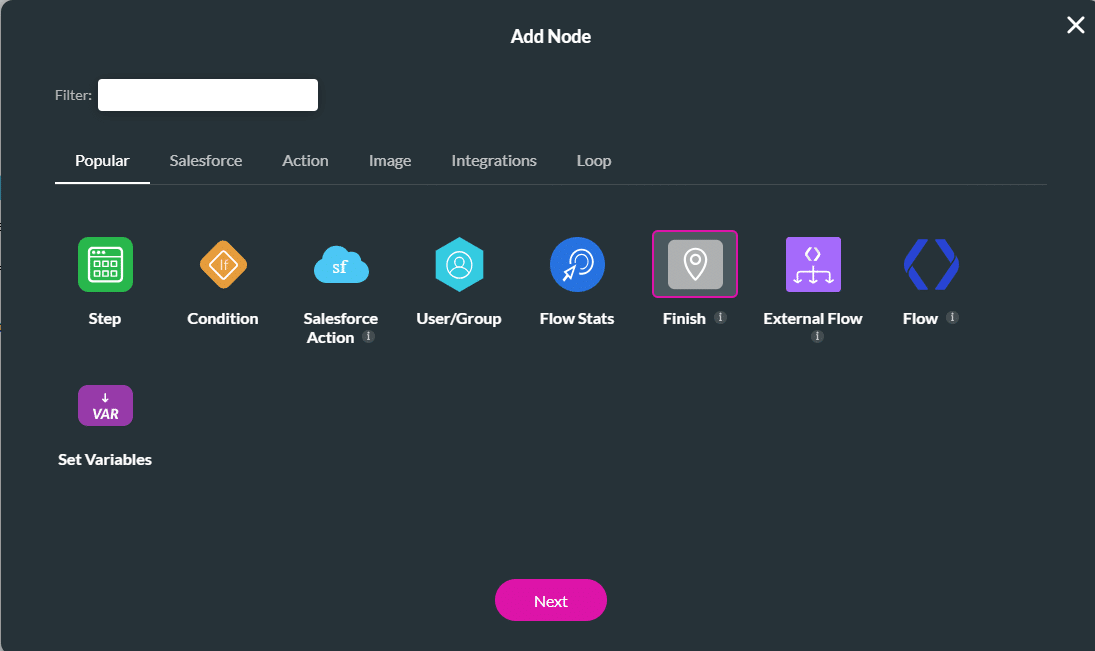
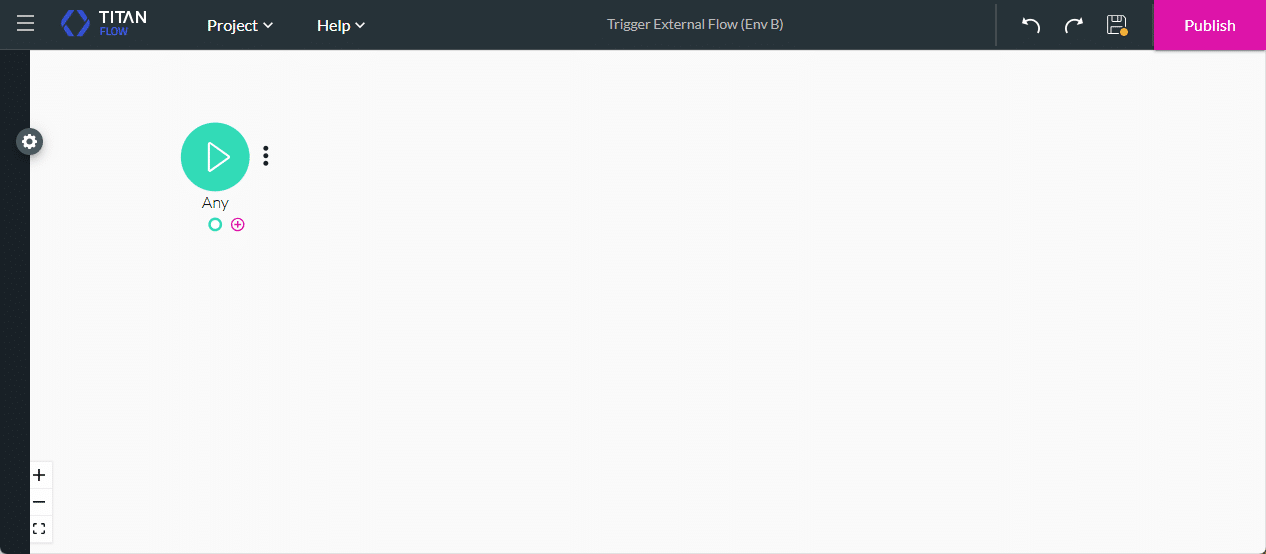
- Click the + icon. The Add Node screen opens.
- Click the Salesforce option and click the Next button.
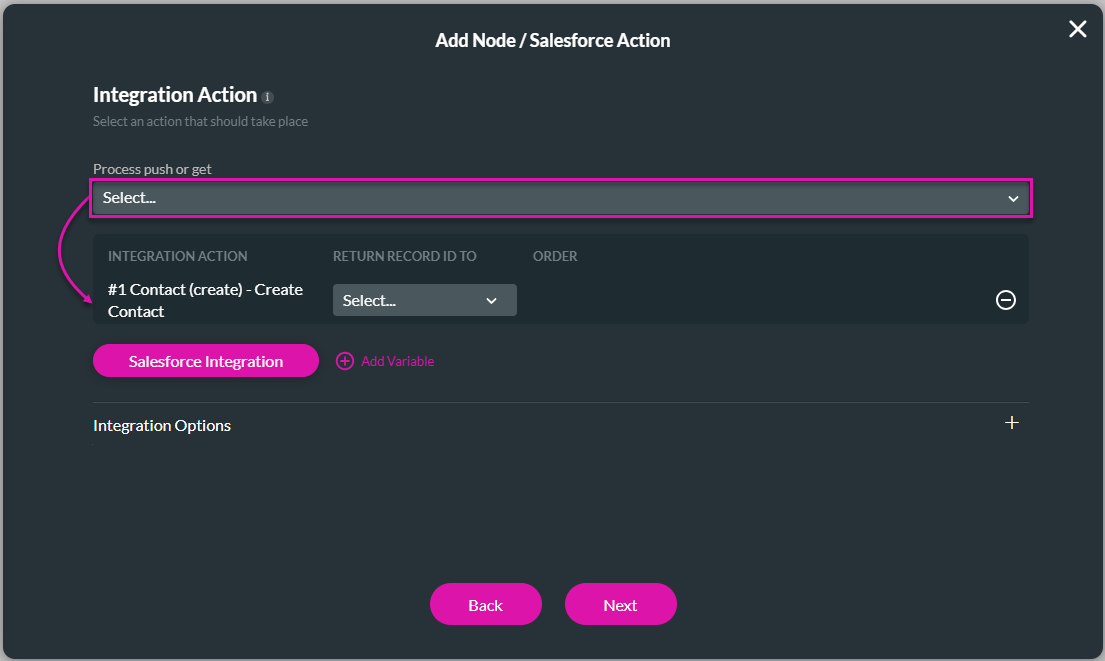
- Click the Salesforce Integration button.
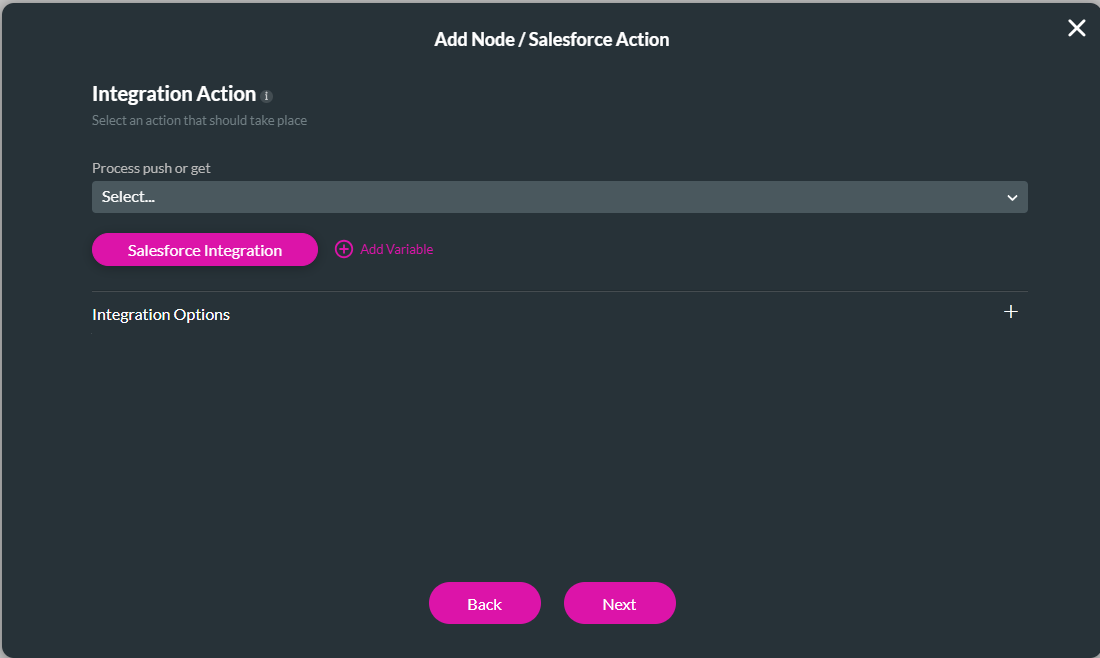
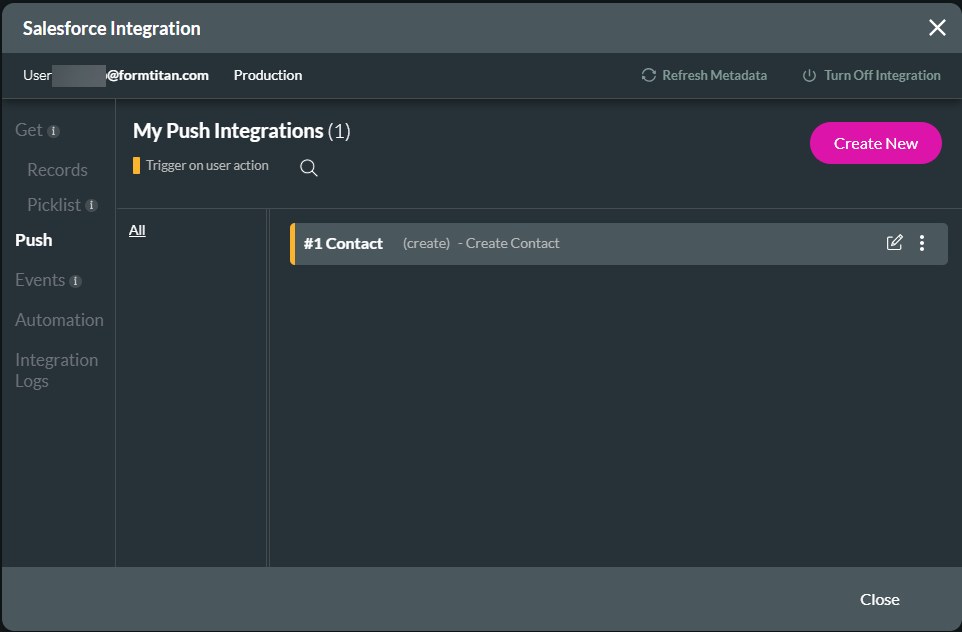
- Click the Push option and click the Create New button.

- Use the drop-down lists to select the following:
- Salesforce object. In this example, the Contact object is selected.
- Action: In this example, the Create action is selected.
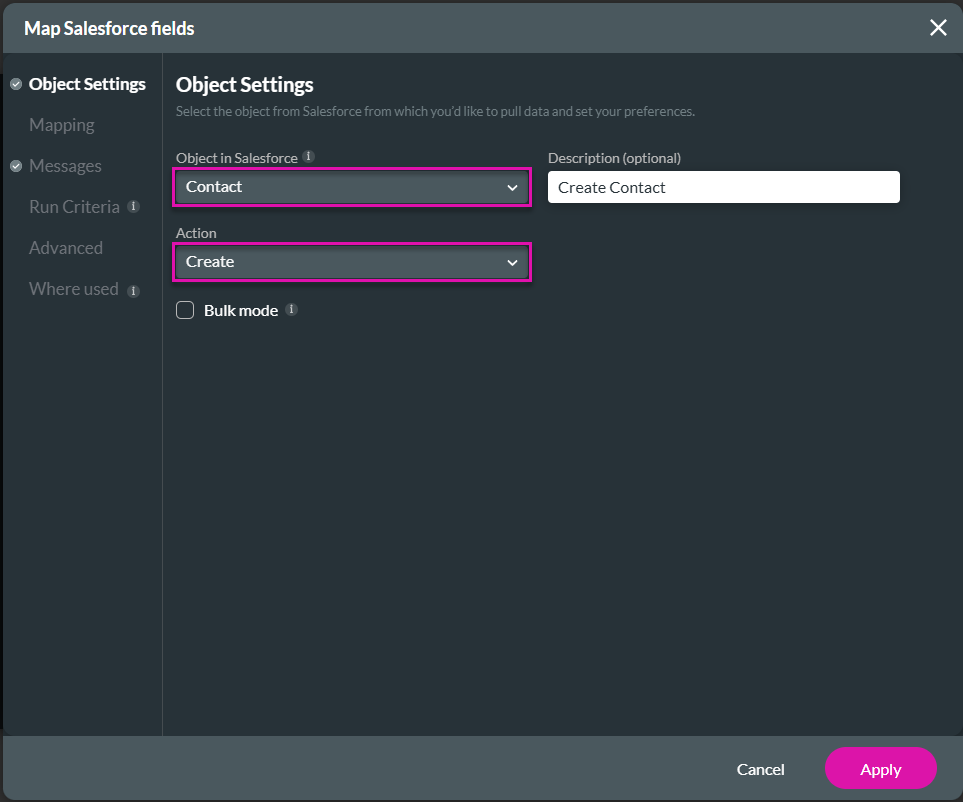
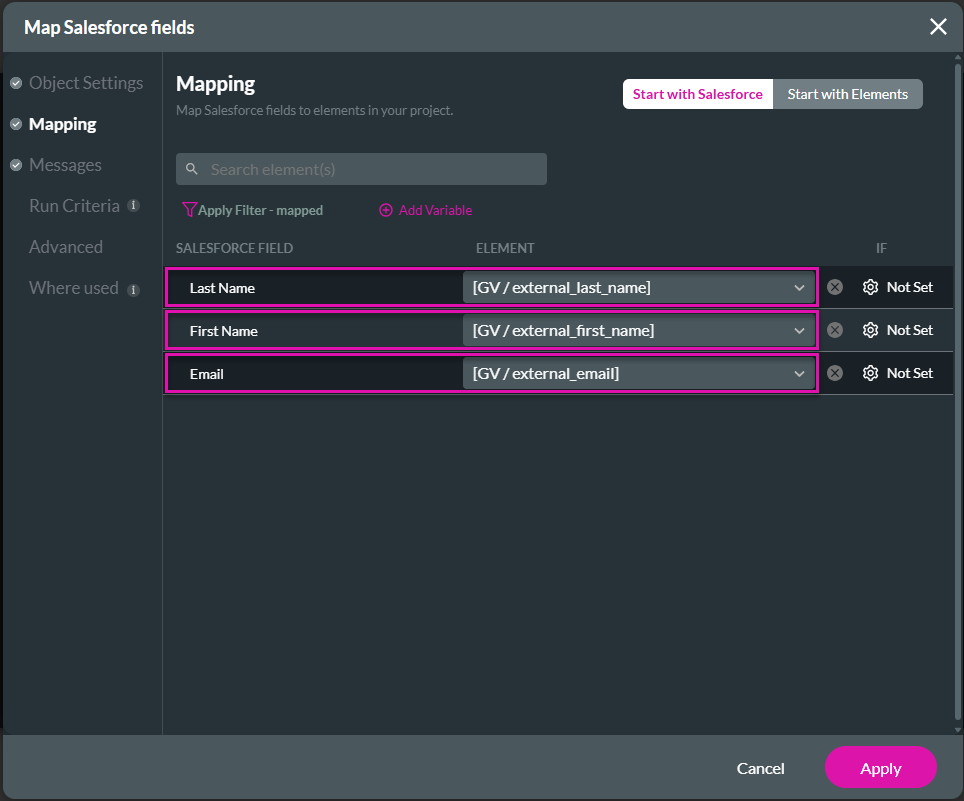
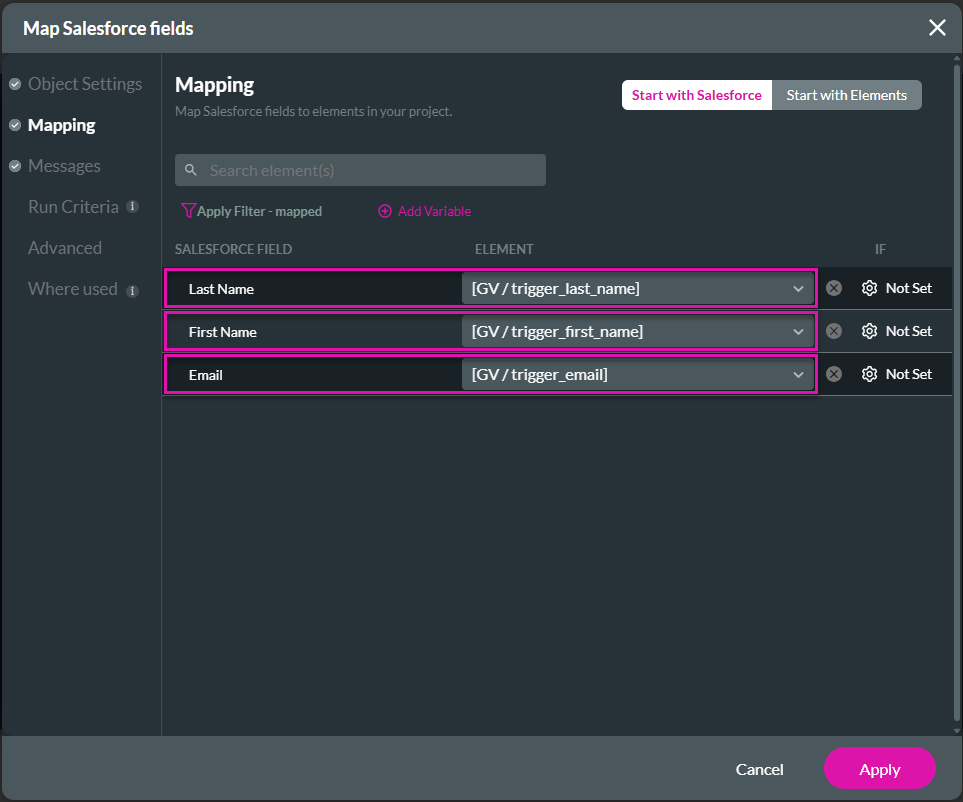
- Under Mapping, map the variables to the relevant Salesforce fields and click the Apply button. The Salesforce integration is added to the screen.
- Click the Close button.
- Use the drop-down list to select the Salesforce Push and click the Next button..
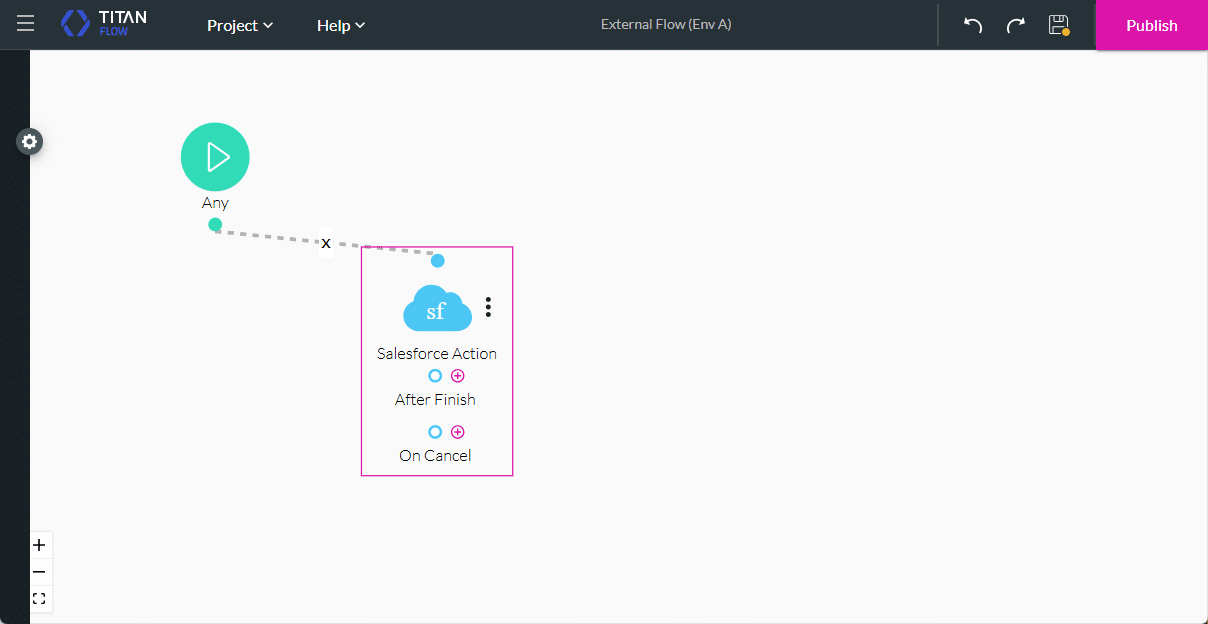
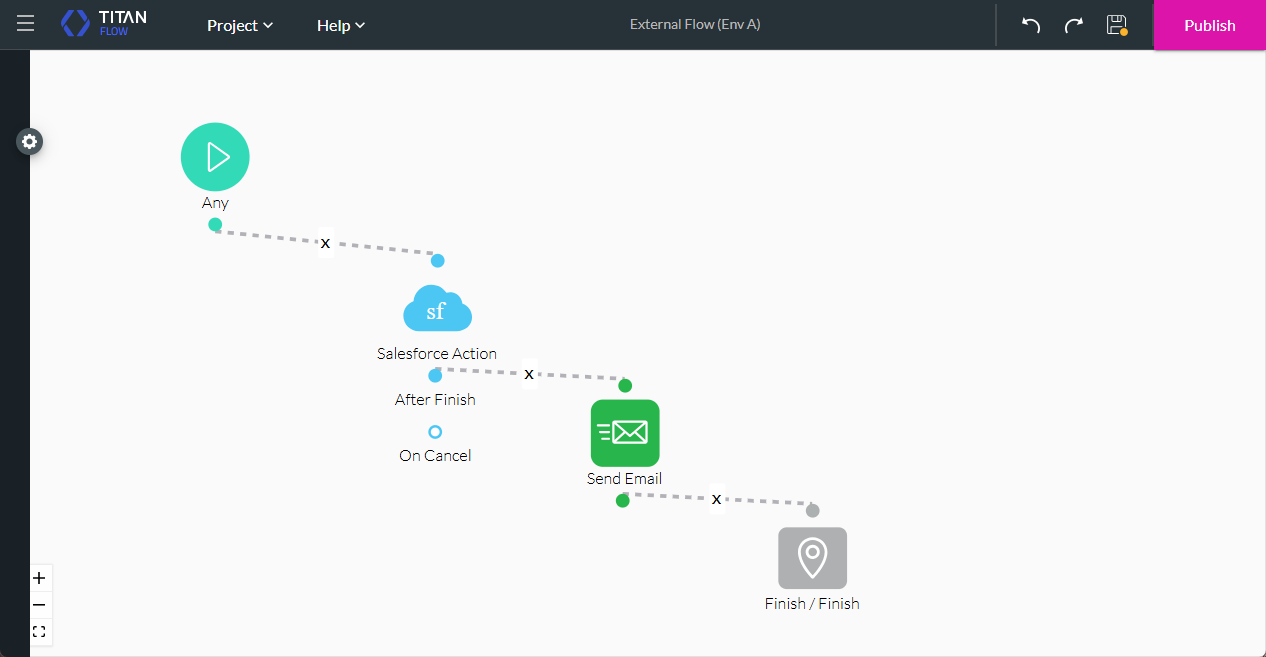
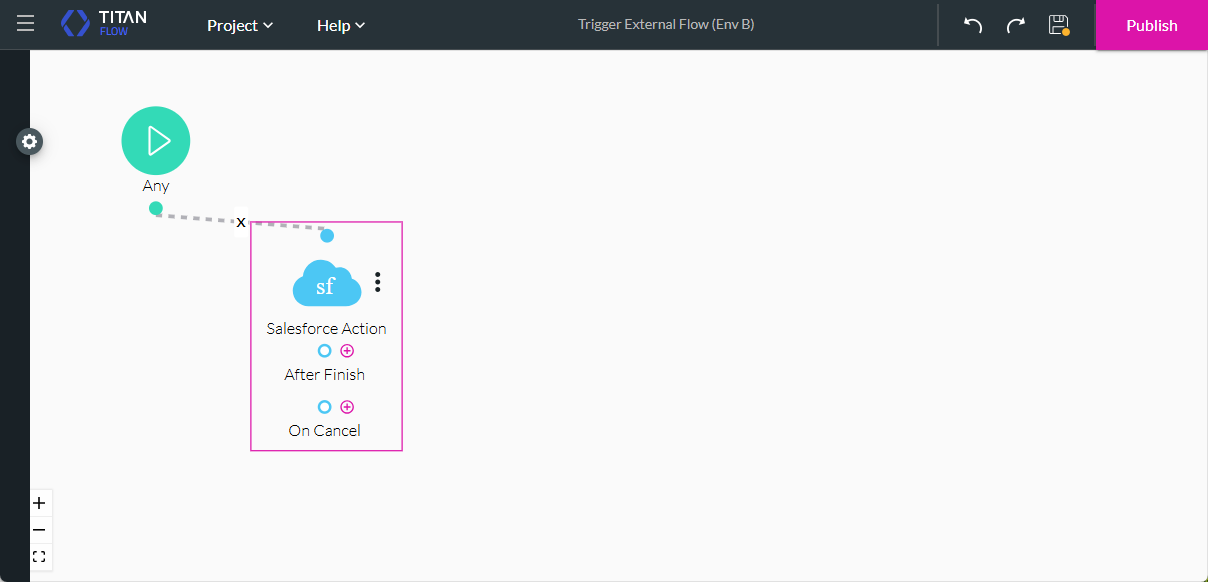
- If necessary, type a tag and click the Insert button. The Salesforce action node is added to the Flow.
- Click the + icon next to the Salesforce action node.
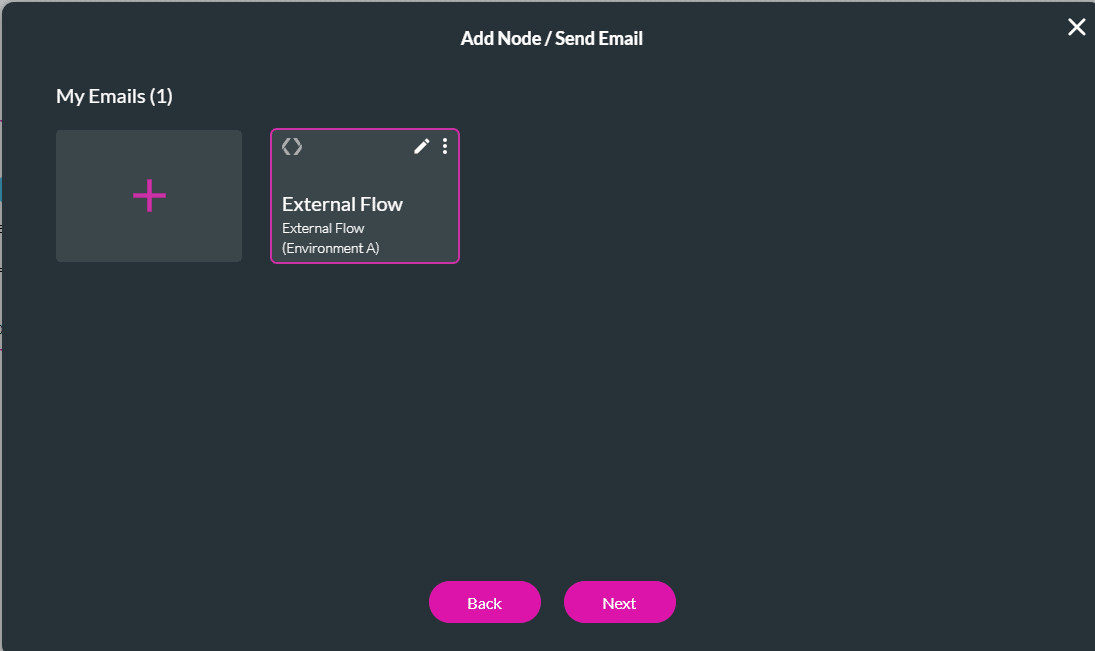
- Under Action, click the Send Email option and click the Next button.
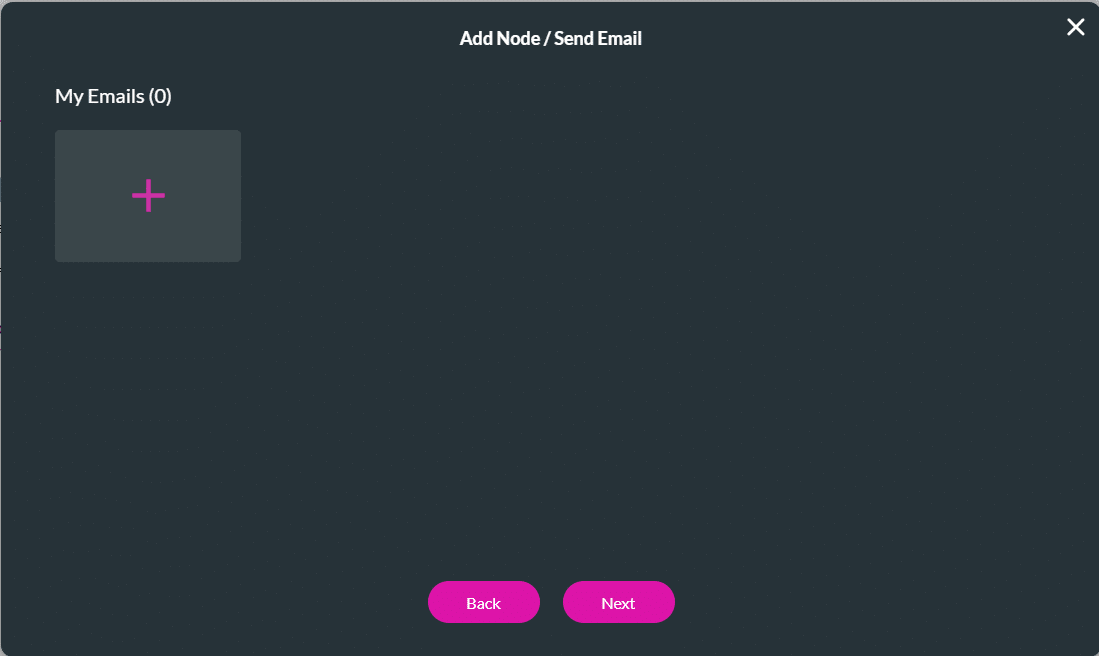
- Click the + icon and click the Next button.

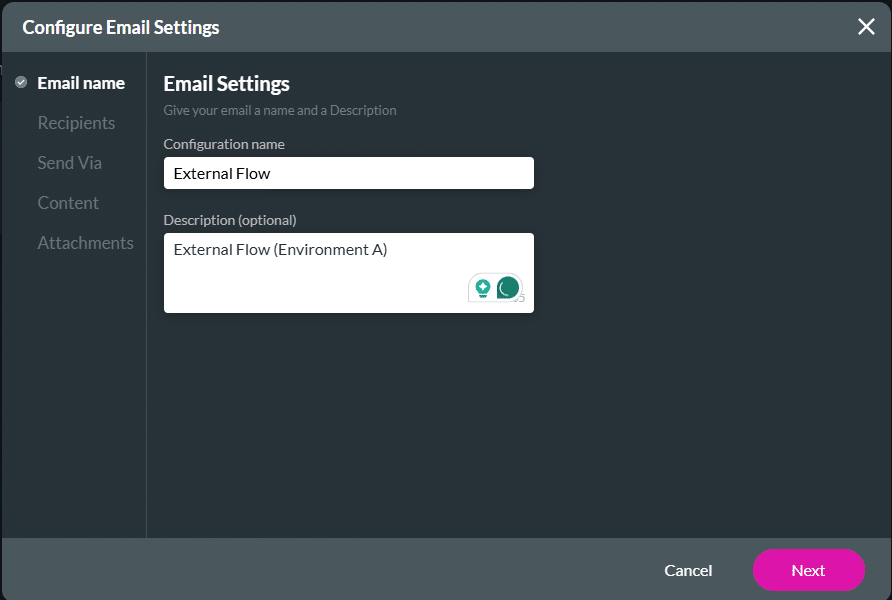
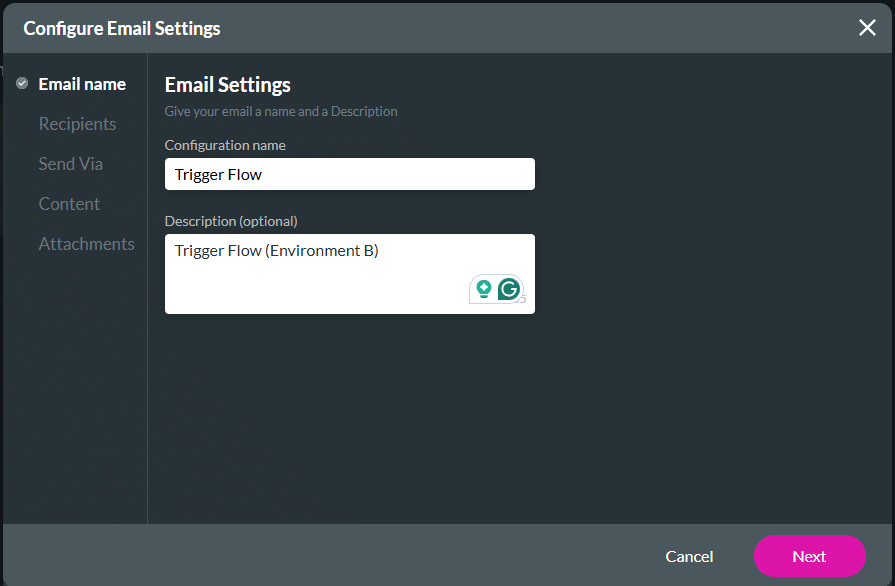
- Add a configuration name and, if necessary, a description.
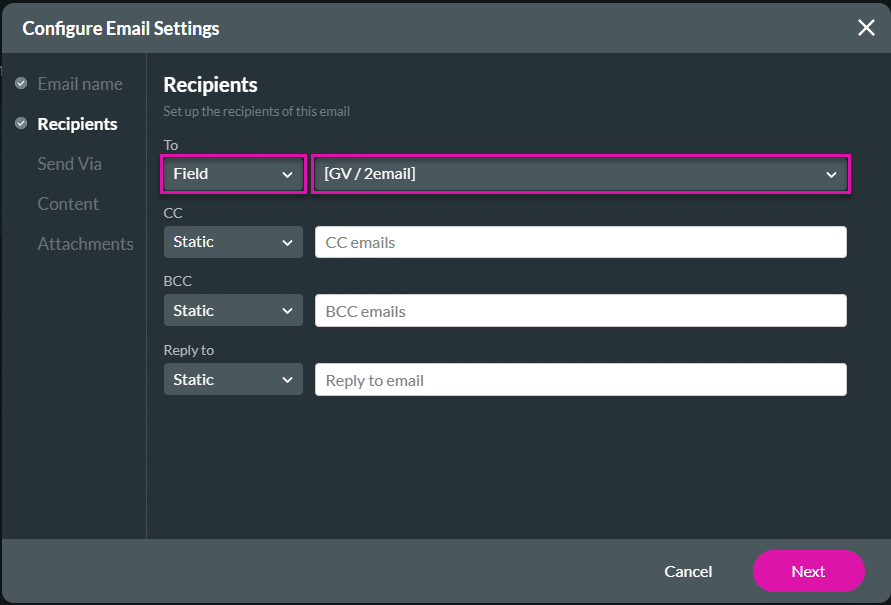
- Use the drop-down lists to select the following:
- Field
- Email variable
- Click the Next button.
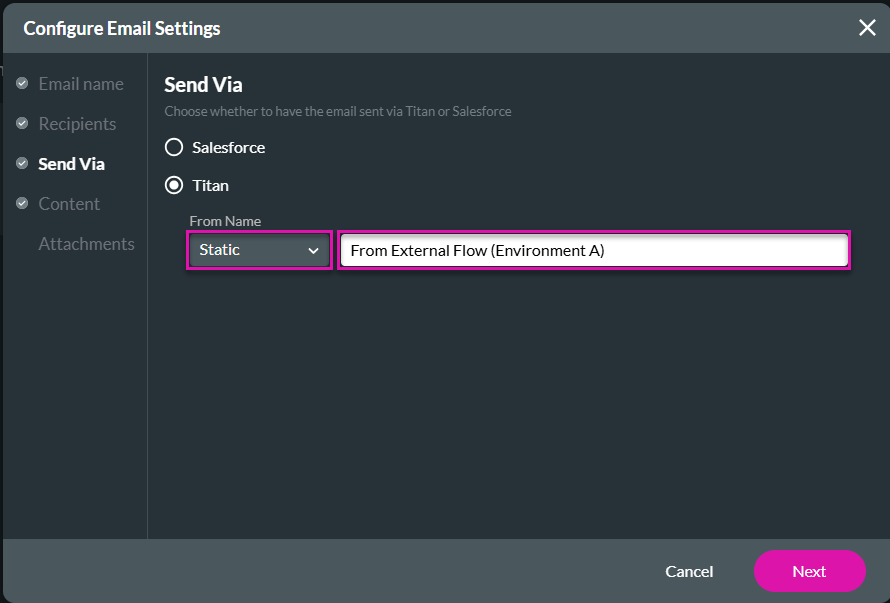
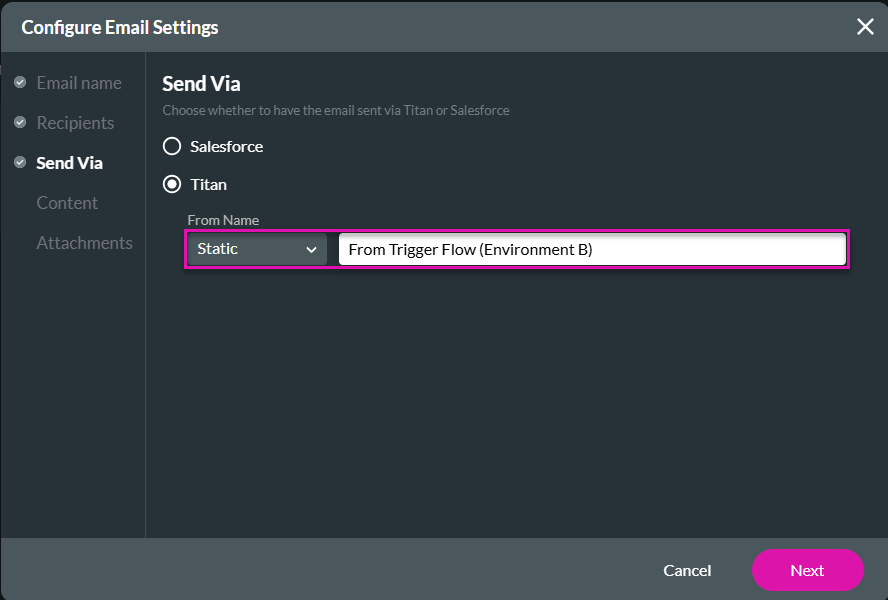
- Select an option to send the email.
- Salesforce (default)
- Titan. In this example, Titan is used.
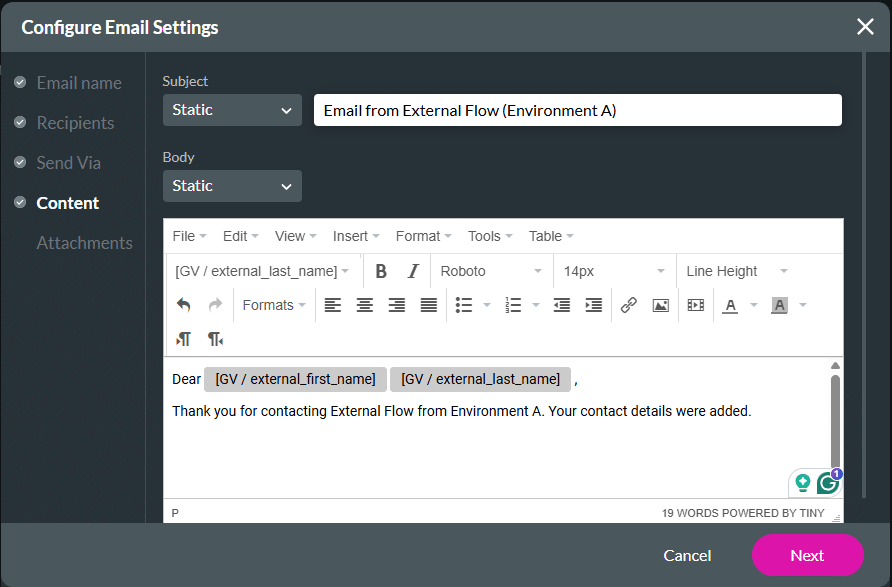
- Configure the contents for the email.
- Salesforce (default)
- Titan. In this example, Titan is used.
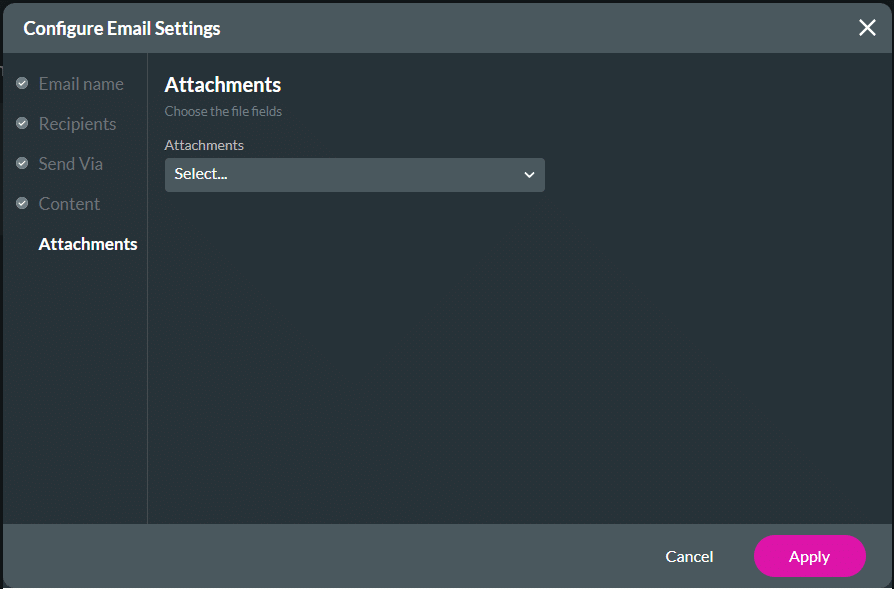
- Click the Next button. You can add attachments if necessary
- Click the Apply button.
- Click the Next button.
- If necessary, add a tag and click the Insert button. The Send Email node is added to the Flow.
- Click the Save button to save the project.
- Click the + icon next to the Send Email node.

- Click the Finish option and click the Next button.
- Click the Next button.
- If necessary, add a tag and click the Insert button. The Finish node is added to the Flow.
- Click the Save button to save the project.
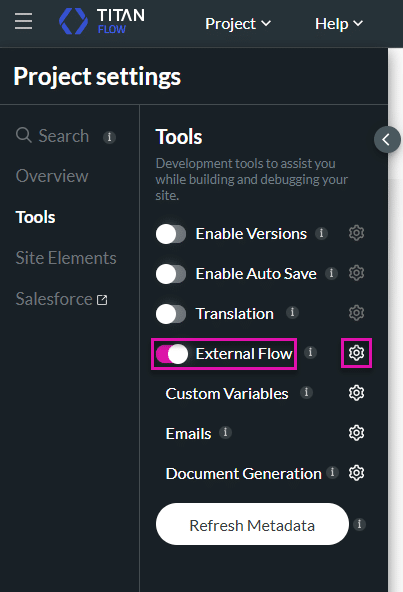
- Open the Project settings and click the Tools option.
- Use the toggle switch to enable the External Flow option.
- Click the Gear icon.
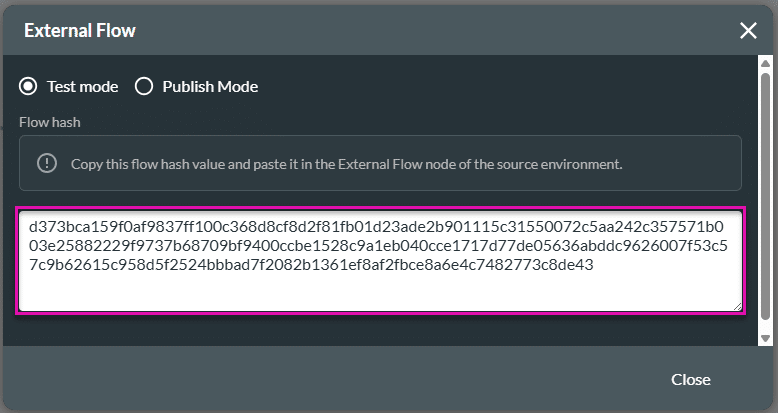
- Copy this flow hash value. You must paste it in the External Flow node of the source environment (in this example, environment B).
- Click the Close button.
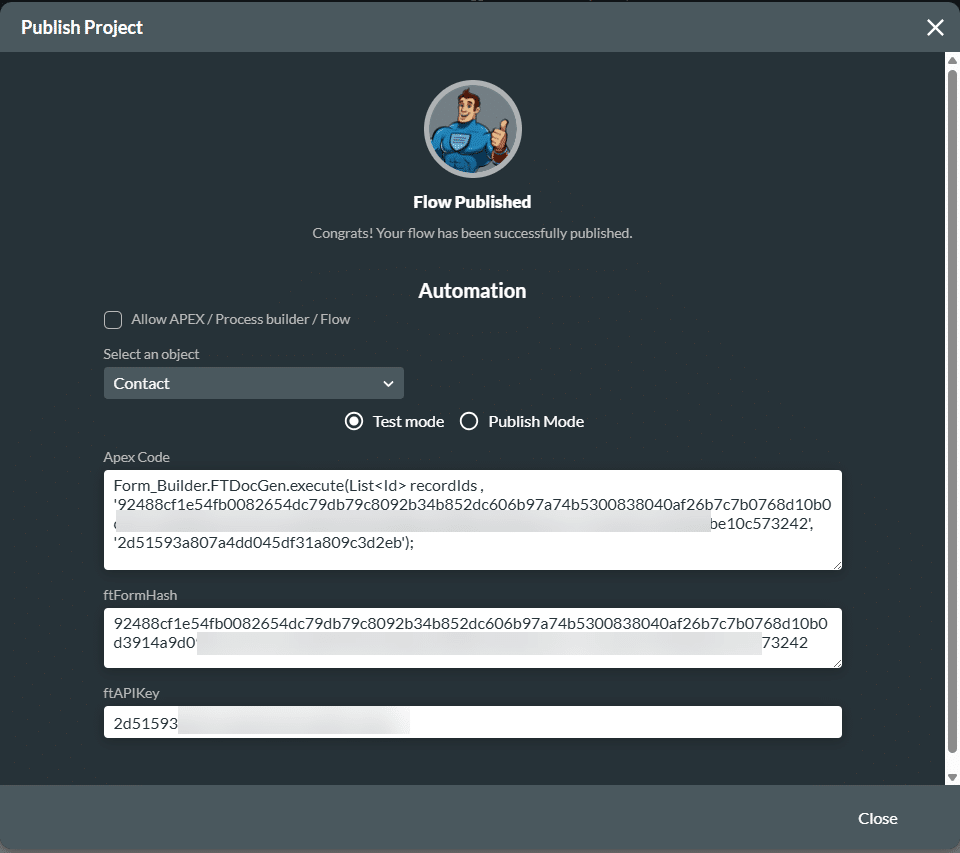
- Click the Publish button to publish the Flow project.
Create a Triggering Flow in Environment B
- Add variables to the project.
Note:
Project settings > Tools > Custom Variables > Gear icon
- Click the + icon. The Add Node screen opens.
- Click the Salesforce option and click the Next button.
- Click the Salesforce Integration button.
- Click the Push option and click the Create New button.
- Use the drop-down lists to select the following:
- Salesforce object. In this example, the Contact object is selected.
- Action. In this example, the Create action is selected.
- Under Mapping, map the variables to the relevant Salesforce fields and click the Apply button. The Salesforce integration is added to the screen.
- Click the Close button.
- Use the drop-down list to select the Salesforce Push and click the Next button..
- If necessary, type a tag and click the Insert button. The Salesforce action node is added to the Flow.
- Click the + icon next to the Salesforce action node.
- Under Action, click the Send Email option and click the Next button.
- Click the + icon and click the Next button.
- Add a configuration name and, if necessary, a description.
- Use the drop-down lists to select the following:
- Field
- Email variable
- Click the Next button.

- Select an option to send the email.
- Salesforce (default)
- Titan. In this example, Titan is used.
- Configure the contents for the email.
- Salesforce (default)
- Titan. In this example, Titan is used.
- Click the Next button. You can add attachments if necessary

- Click the Apply button.
- Click the Next button.
- If necessary, add a tab and click the Insert button. The Send Email node is added to the Flow.

- Click the Save button to save the project.
- Click the + icon next to the Send Email node.
- Click the External Flow option and click the Next button.

- Paste the flow hash value from the external environment here.
Note:
- Browse to the external Flow project in the target environment (in this example, environment A).
- Open the Project Settings and, under Tools, use the toggle switch to enable the External Flow.
- Click the Gear icon and copy the Test Mode or Publish Mode flow hash.
- Click the Verify Hash button.
- Click the Next button.

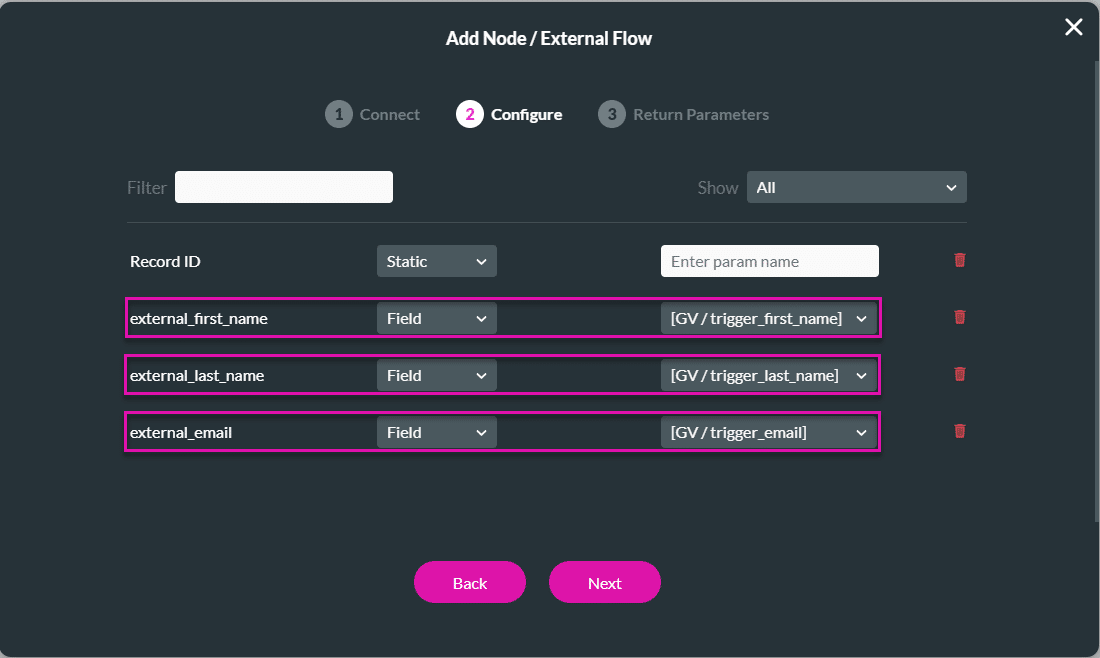
- Map the fields from environment A to the variables in environment B and click the Next button.
- Click the Next button.
- If necessary, add a tag and click the Insert button. The External Flow node is added to the Flow.
- Click the + icon next to the External Flow node.

- Click the Finish option and click the Next button.
- Click the Next button.
- If necessary, add a tag and click the Insert button. The Finish node is added to the Flow.
- Click the Save button.

- Click the Publish button to publish the Flow project.

Create a Web Project
Make sure that you create the web project in the same environment as the project that will trigger the external flow.
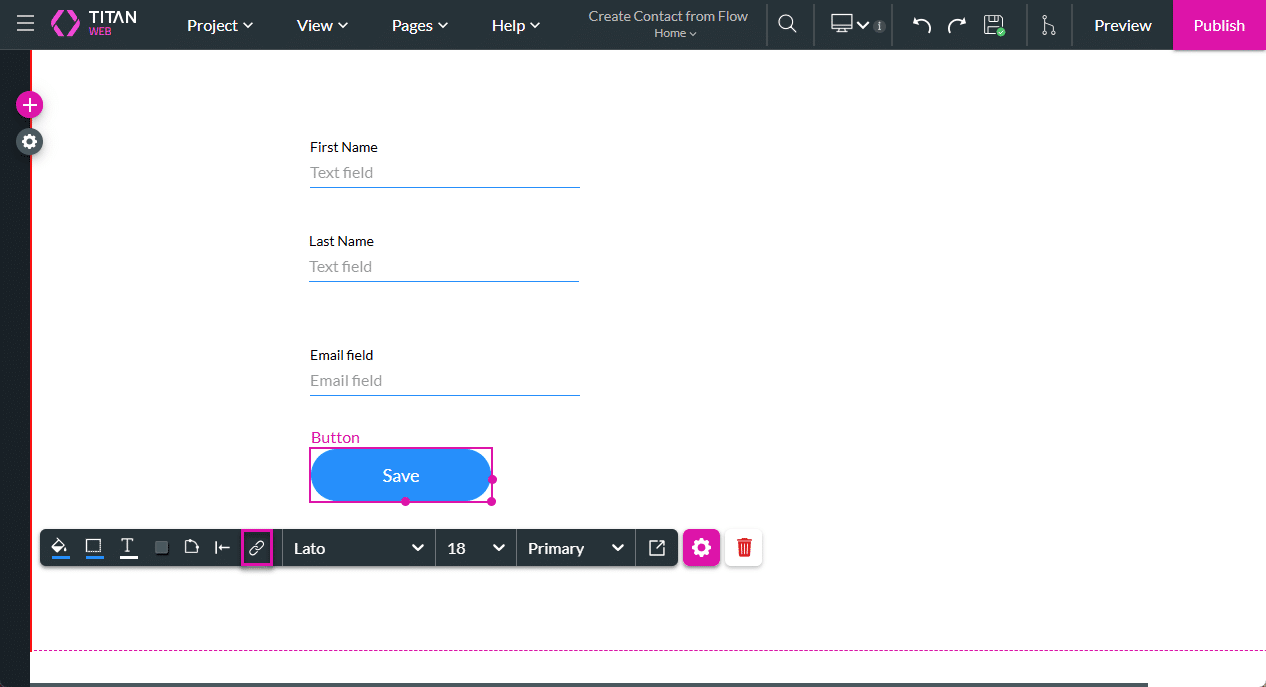
- Add input elements with the necessary fields to create a contact.
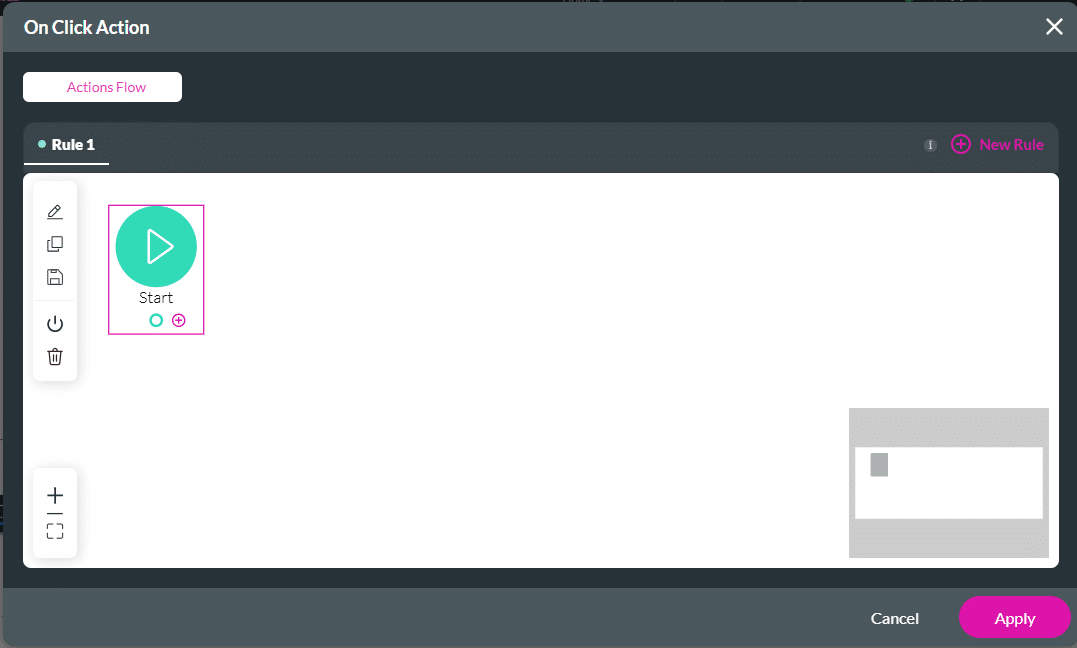
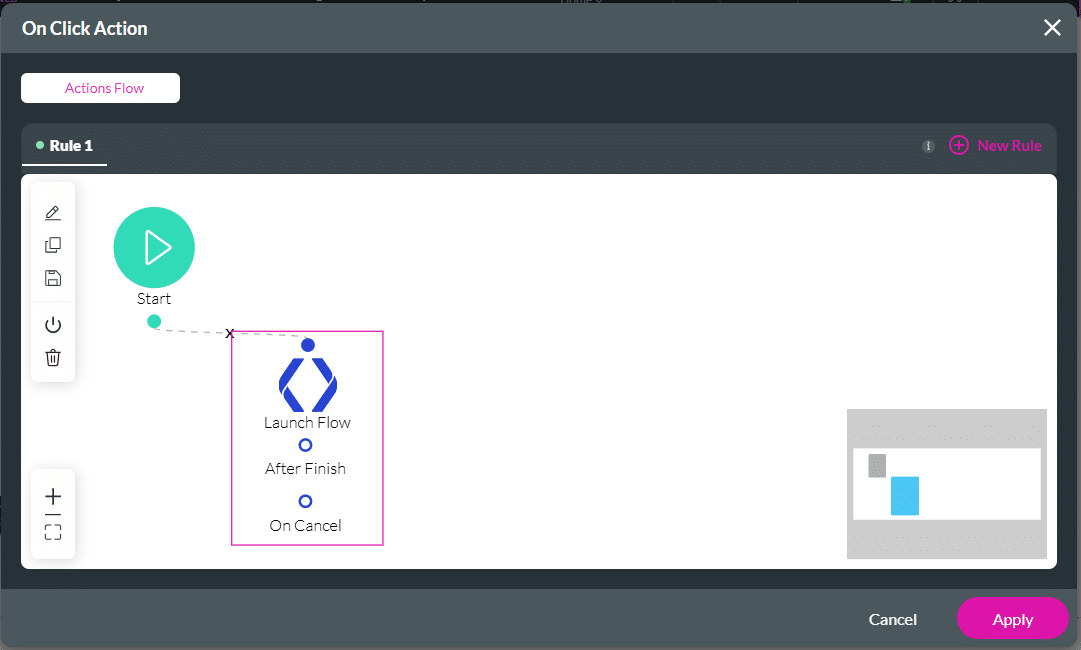
- Add a button element and click the On Click Action icon.
- Click the + icon next to the Start node.
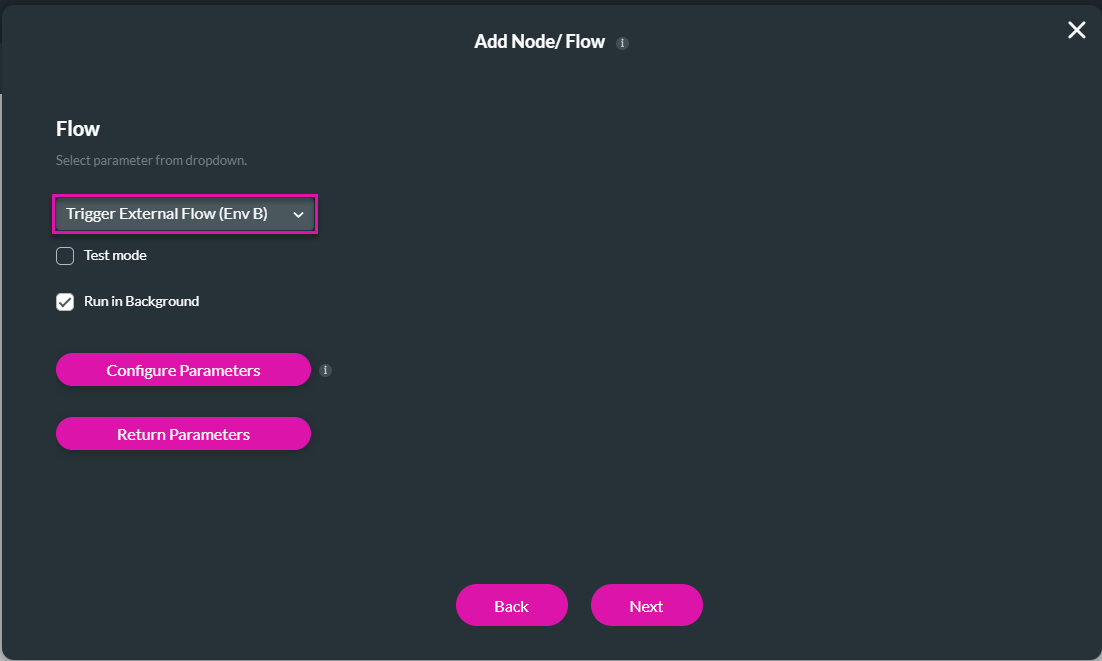
- Under System Actions, click the Flow option and click the Next button.
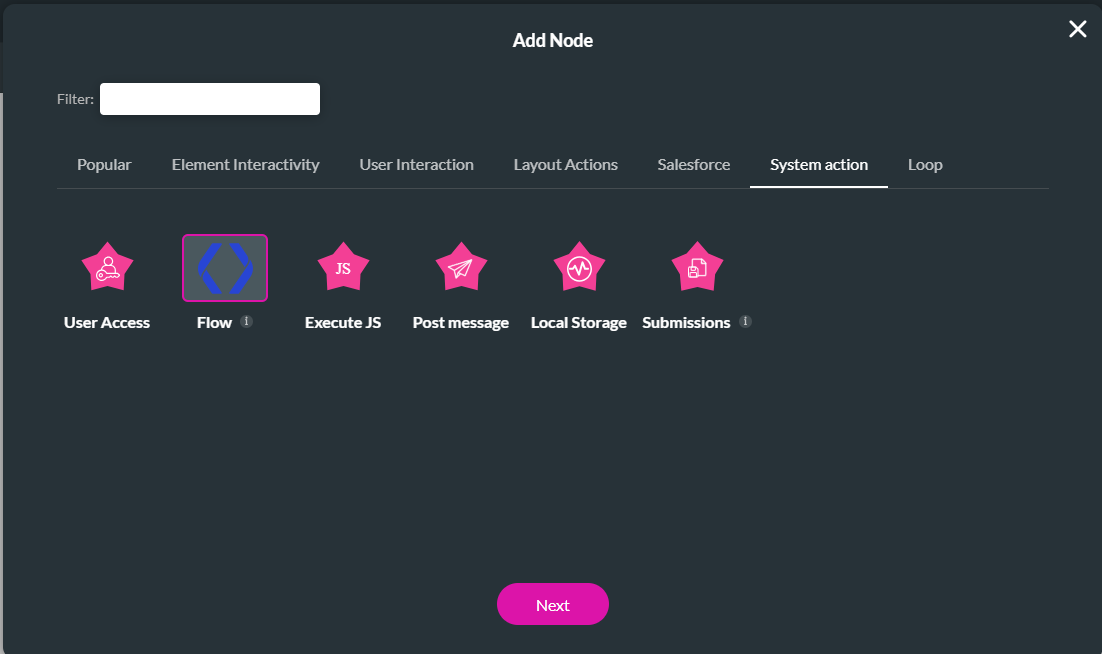
- Use the drop-down list and select the project that will trigger the external flow (in this example, it is the project in environment B).
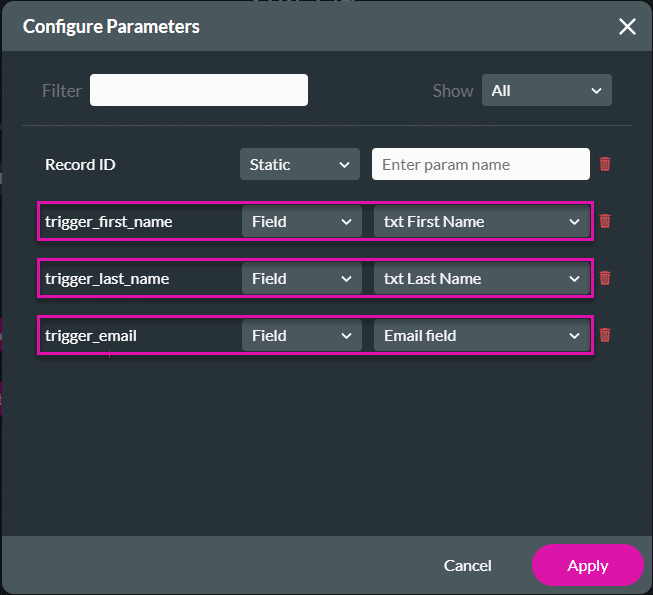
- Click the Configure Parameters button.
- Map the input fields to the variables and click the Apply button.
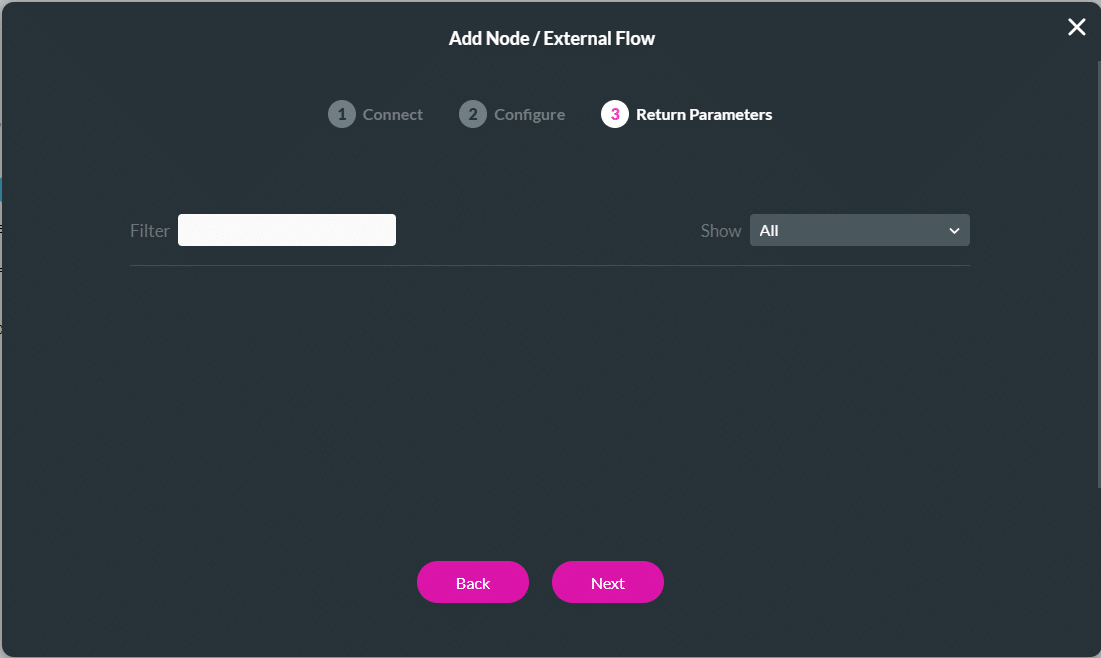
- Click the Next button.
- If necessary, add a tag and click the Insert button. The Flow node is added to the On Click Action screen.
- Click the Apply button.
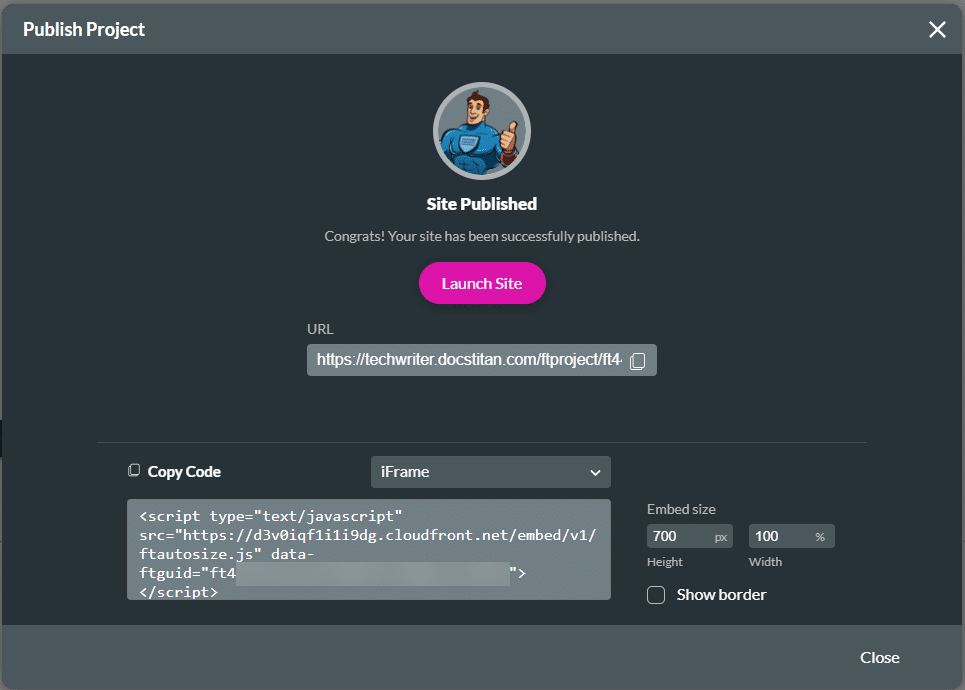
- Click the Publish button to publish the Web project. The webpage opens in a new tab.
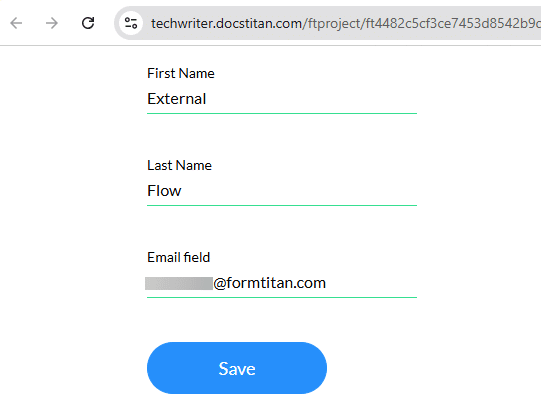
Trigger the External Flow from Web
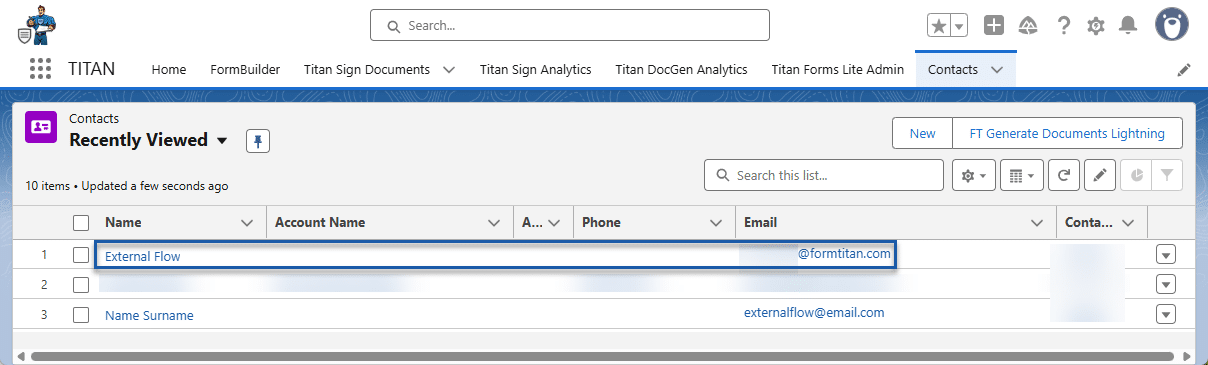
When the user completes the fields on the webpage and clicks the Save button, the following happens:
- A new contact is created in Salesforce.
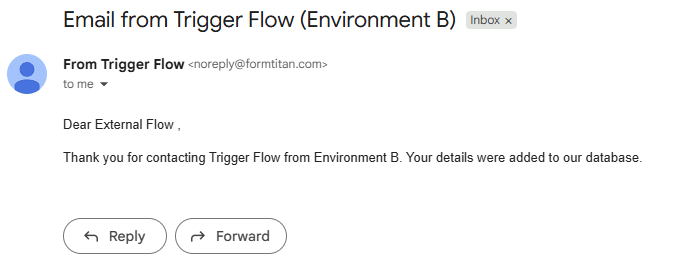
- The user receives an email from environment A.

- The user also receives an email from environment B.
Hidden Title
Was this information helpful?
Let us know so we can improve!
Need more help?
Book Demo