

Titan Files Wizard
Business Background
The Titan Files Wizard gets you up and running with Titan Files so you can enjoy advanced file management for Salesforce Flows.
Titan Solution
Titan Files for Salesforce Flows is our dedicated file automation tool that enables seamless file management. Using this product, you can perform several powerful actions, such as scanning files for viruses, uploading files to cloud-based storage, or converting a Word document into PDF. With Titan Files, you can perform advanced file management tasks using zero code. The Titan Files Wizard introduces you to Titan Files and makes the setup process seamless.
How to Video
- Coming soon!
How to Guide
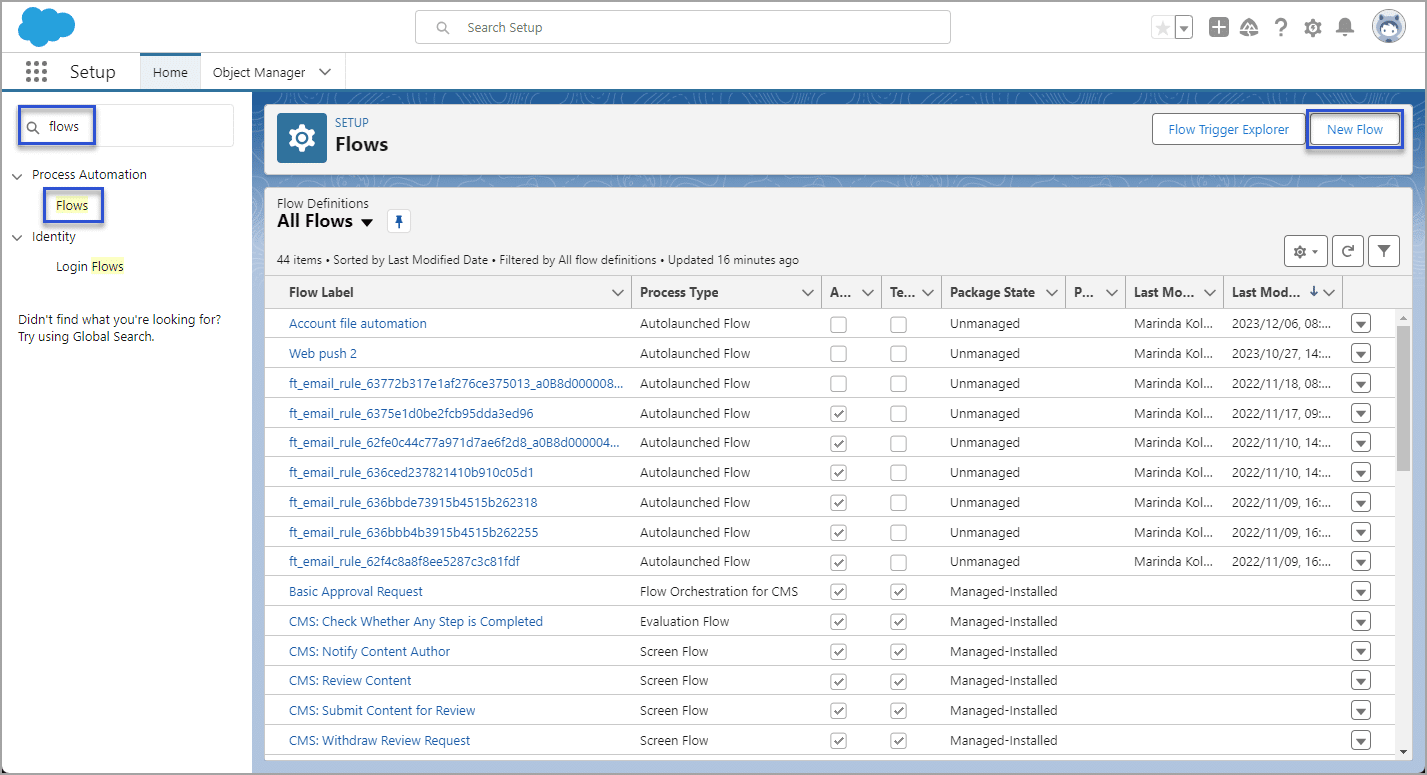
- Click on the Gear icon in Salesforce and click the Setup option.

- Search for “flows” and click on the Flows option.
- Click on the New Flow button at the top right of the page.
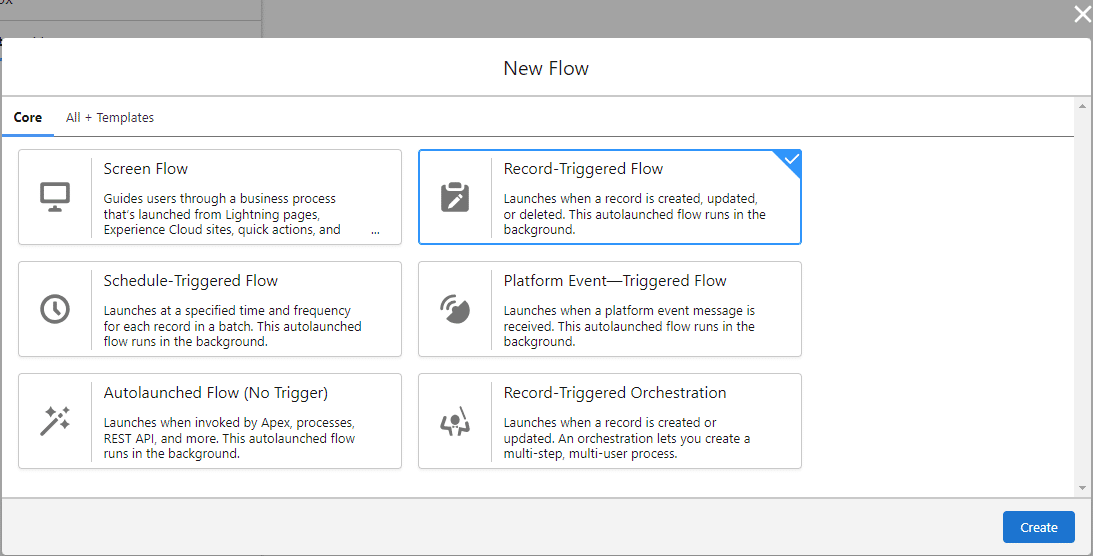
- Select the Record-Triggered Flow option and click the Create button.
- Select the TFile object from the drop-down list.
A TFile record is created whenever you upload a document to any object that is configured with Titan Files. You can see important information about the TFile Object by navigating to your object manager and selecting TFile. In the Fields & Relationships tab, there are the following labels:
- ContentDocumentid – This is the ID of the file you uploaded. You can use this to delete the uploaded file.
- ContentVersionid – This can be used to retrieve the content of an uploaded file.
- Created By – This is the name of who created the file.
- File Extension – This holds the file extension and can be used to filter files in your flow.
- File Name – This is the file name and can be used to filter files in your flow.
- Last Modified By – This is the name of the last user to modify the file.
- Owner – This is the user that owns the file.
- Parent Object – This is the object that the file was uploaded to. This can be used when creating separate flows for files that were uploaded to different objects such as contacts or accounts.
- Parent Recordid – Allows you to interact with the record where the file was uploaded.
- TFile Name – This is the name of the TFile Object.
- Do the following as necessary:
- Select an option to trigger the flow.
- Configure the condition requirements. It is recommended to configure conditions that will trigger the flow. For instance:
- to handle certain file extensions, or
- files that are uploaded to a case.
- Optimize the flow and click the checkbox if you want to include a Run Asynchronously path to access an external system after the original transaction for the triggering record is successfully committed.
- Click the Save button at the top right of the page. The Flow ID is generated and can be seen in the URL.

- Save the Flow with a unique name in the Flow Label field. The Flow API name is added automatically.
- Add a description, if necessary, and click the Save button.
- Click the + icon to add an element.

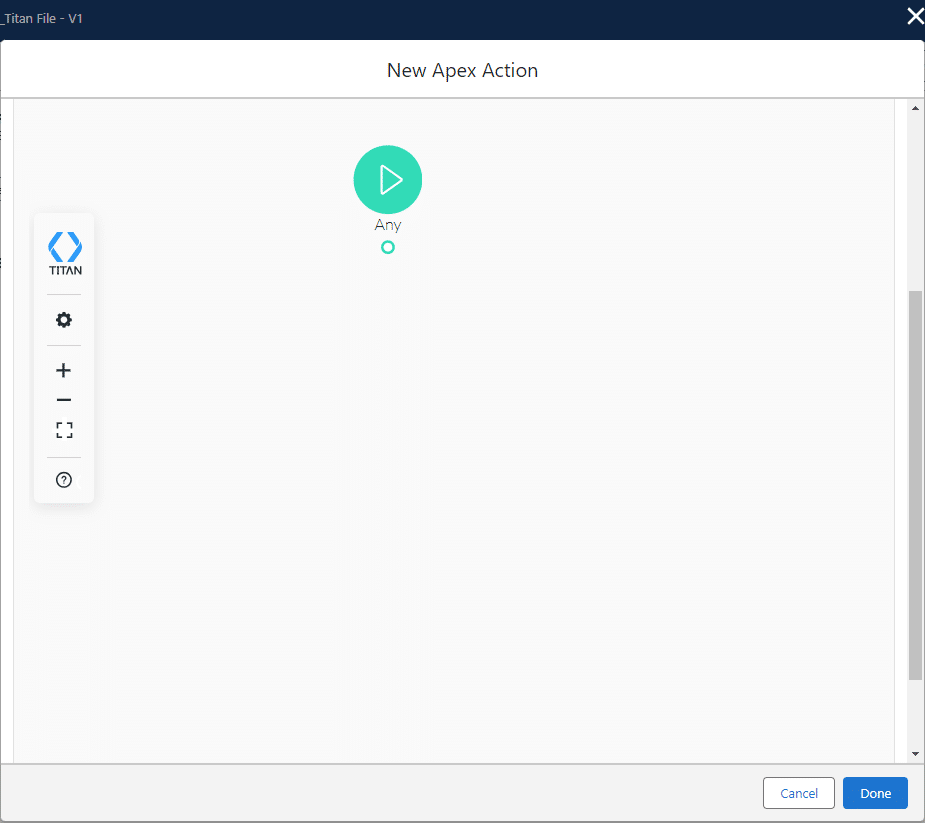
- Search for “file” and select the File Action option from the drop-down list. The New Apex Action screen opens.

- Type a unique name in the Label field. The Flow API name is added automatically.
- Add a description, if necessary, and select the parent object from the drop-down list. You may need to scroll down to see the Titan Files Wizard.

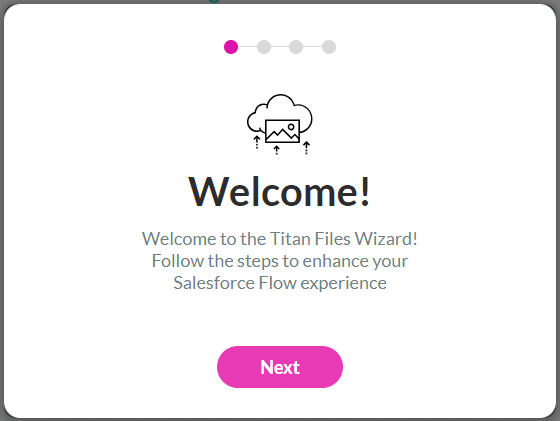
- Click the Next button on the Titan Files Wizard.
- Please review our terms of service and privacy policy and then click the checkbox if you agree.
- Click the Next button.

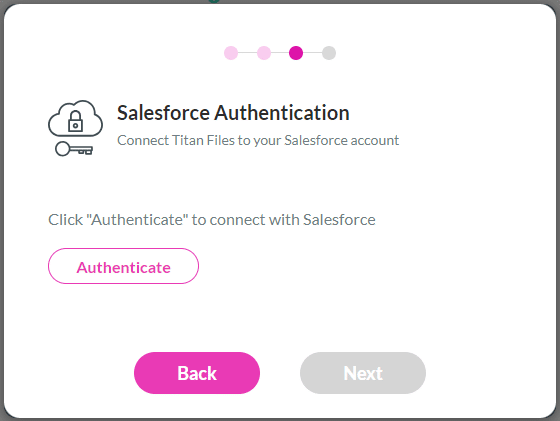
- Click the Authenticate button to connect with Salesforce, and then click the Next button.
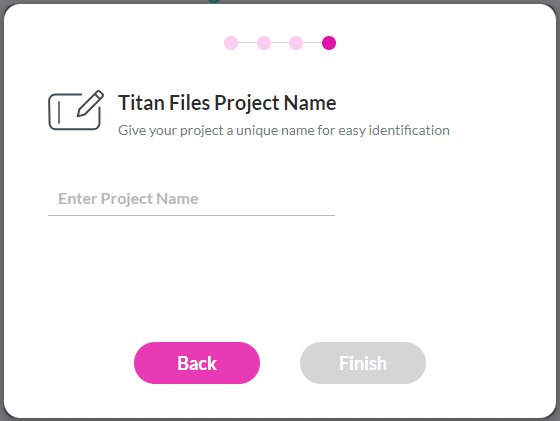
- Type a unique project name and click the Finish button.
- Click the Let’s begin button.
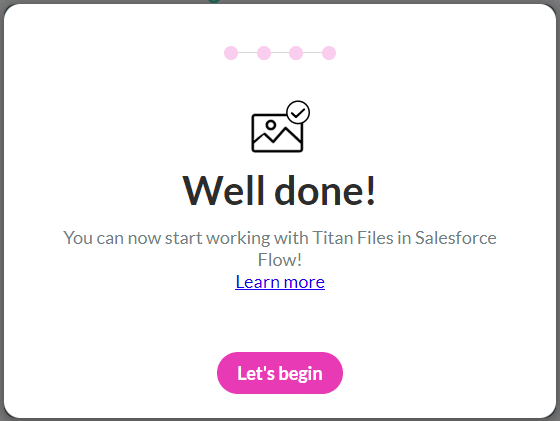
You will receive an email notification that you have successfully installed Titan Files. You can now start working with Titan Files for Salesforce Flow.
Check out our Academy for more information on Titan Files.