

Tag
Business Background
Use the Tag function to provide a unique name to any Titan Web element. The tag is not visible to end users in the published project. It helps you to uniquely identify an element. This is especially useful when you have many elements and, for instance, you have to configure interactivity for an element.
How to Video
- 0:02 An introduction to the different Metadata.
- 0:12 Navigate to the Index Settings.
- 0:40 Learn more about the Tag field.
- 4:28 Preview the updated project.
How to Guide
The Tag option is available for different types of elements.
- Click the + icon to open the list of elements.
- Select the Input option from the list.
- Click-and-drag an element to the canvas.
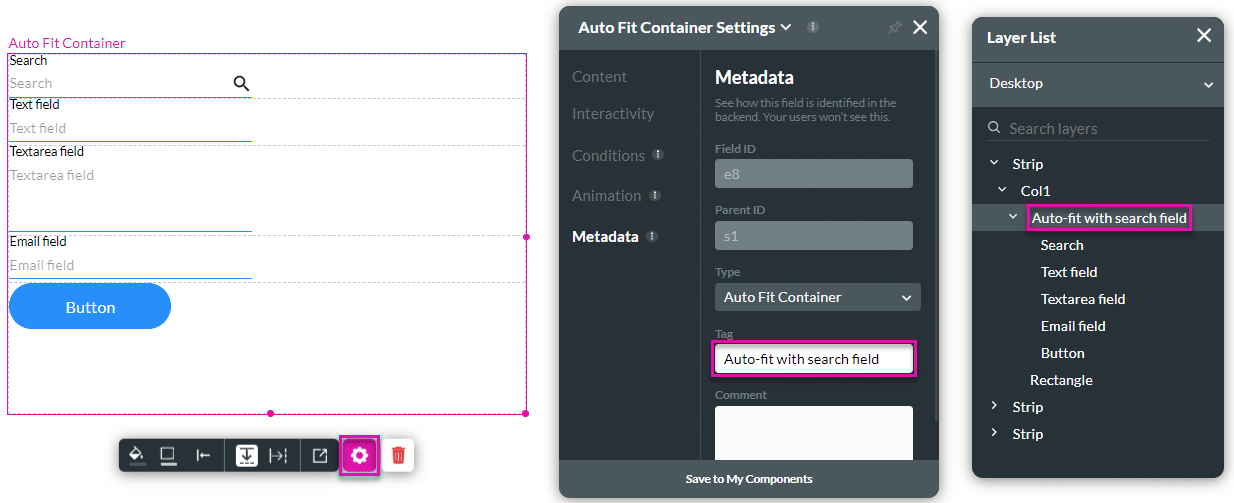
- Click the element settings Gear icon to open the Element Settings screen.
- Select the Metadata option from the list.
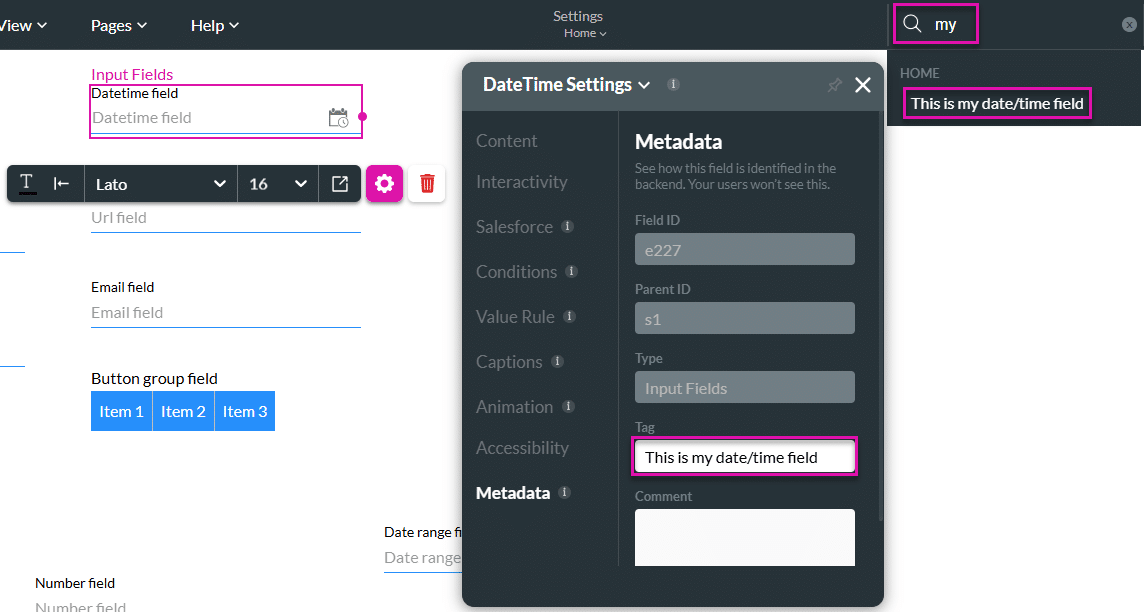
- Use the Tag field to add a unique label to identify different elements. When you label the Tag field, the change will also occur on the Layer List.
- As an alternative, right-click the element on the Layer List and click the Rename option.

- Type a tag in the Tag Name field and click the Save icon.

Note:
It might be challenging to identify a specific element when you have many elements in a project. For this reason, we suggest to label your elements when working with fields in Conditional Logic or Mapping of Salesforce Integrations.
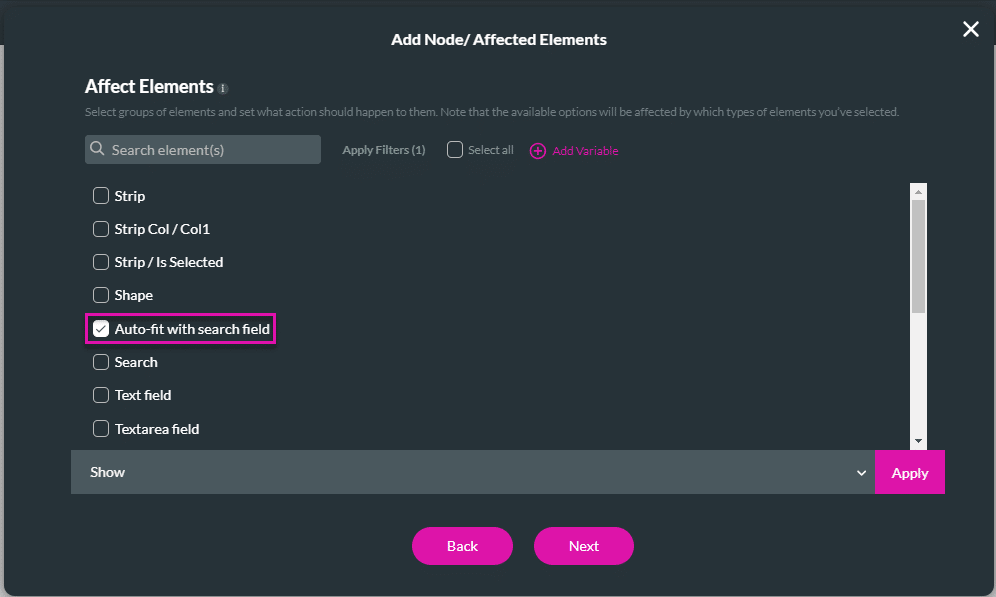
You can use the tag to search for an element.
Hidden Title
Was this information helpful?
Let us know so we can improve!
Need more help?
Book Demo