

Manage Users’ Permission
Learn How to Grant Users Permission to Access Projects
Setting user permission is a great way to ensure that certain projects are confidential. Control how much access users should have in a project; for instance, you can set users to read-only, create, or edit projects.
Note:
You must have an admin or power user role to make changes or assign users.
- Click the My Account tab and select the Users subtab.
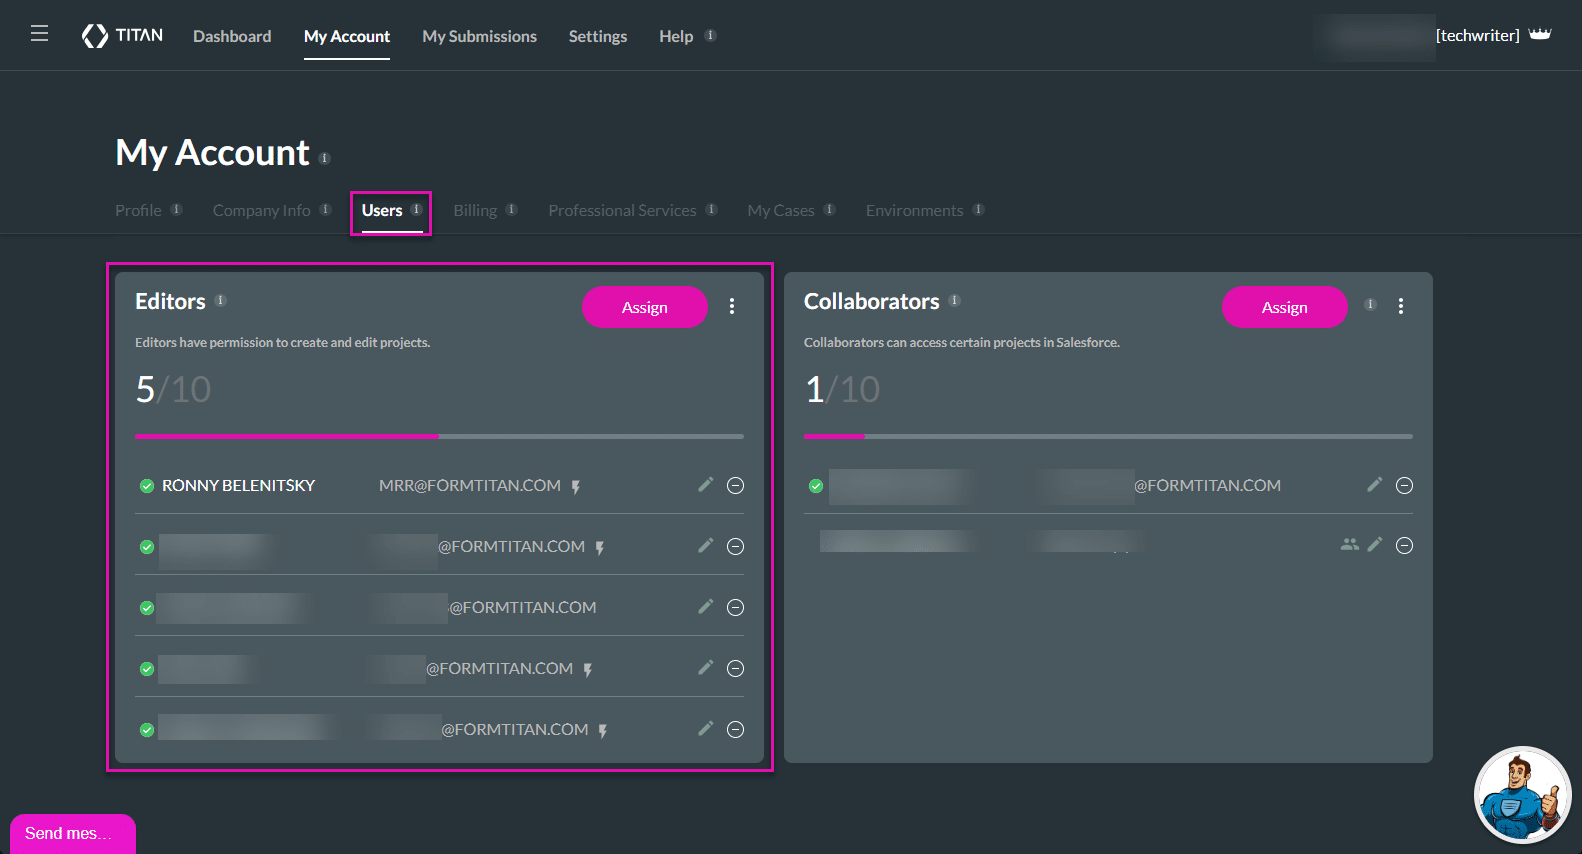
- Click the Assign button on the Editors option to assign Editors. The Add Editor screen opens.
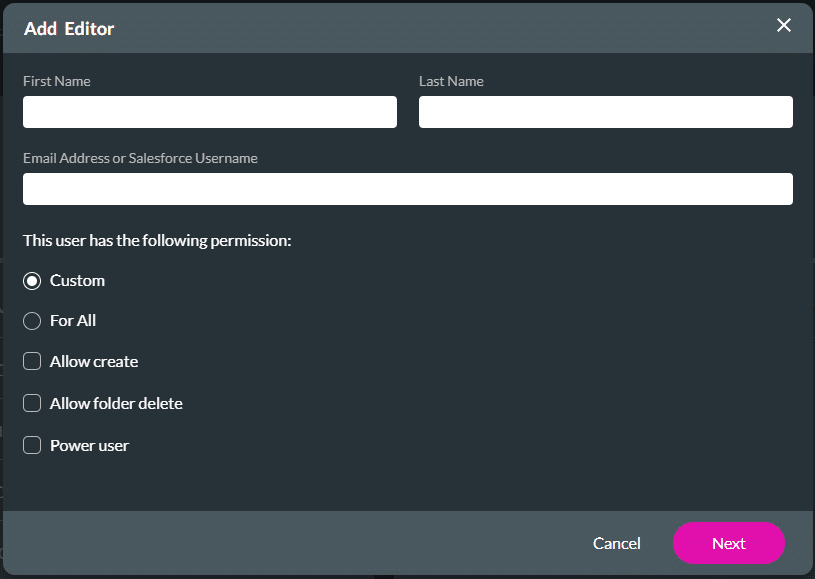
- Use the user’s first and last names and email address to add an Editor. The email address is mandatory. You can select the following permission:
- Select the For All radio button to give the user permission to access all projects and folders. When this option is selected, you cannot customize permissions on projects.
- Select the Allow create checkbox to give the user permission to create projects.
- Select the Allow folder delete checkbox to give the user permission to delete folders.
Warning:
Please note: All the projects in a folder are also deleted when the folder is deleted.
- Select the Power user checkbox to give the user advance permission rights, such as revoke or authenticate other applications.
- These rights grant complete control of the account, for example, managing billing items, changing settings, assigning and deleting users, and more.
- This article shows the Custom radio button permissions.
Note:
Refer to these comprehensive summaries of the following permission options:
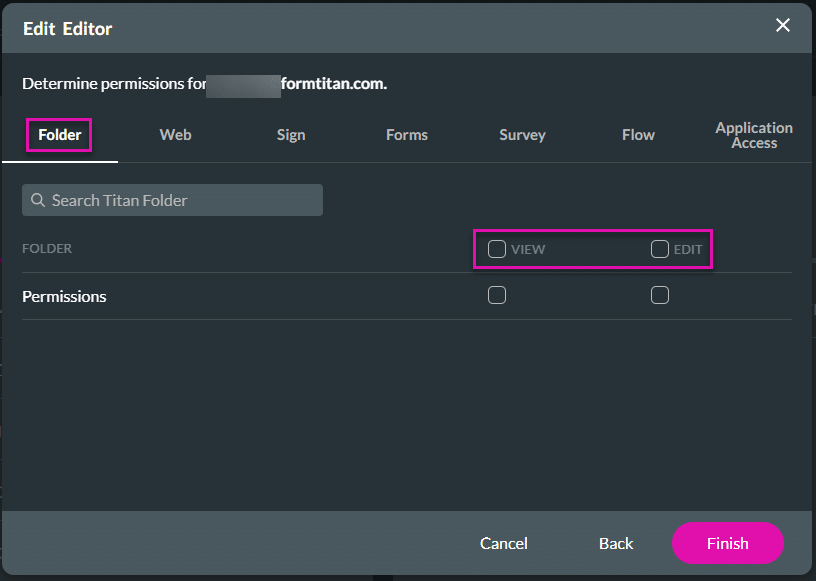
- Click the Next button. The Edit Editor screen opens.
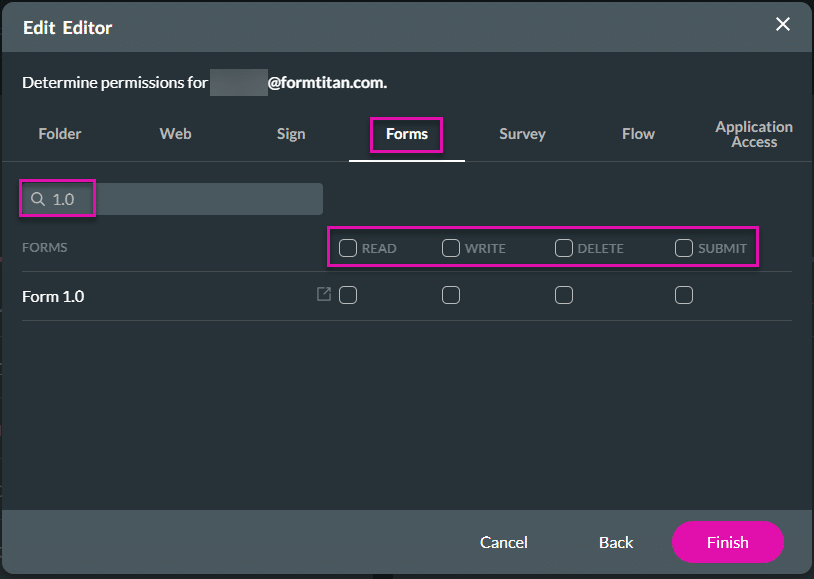
- Type the name of the project in the Search field to search for a project, if necessary.
- Give editor permissions as follows:
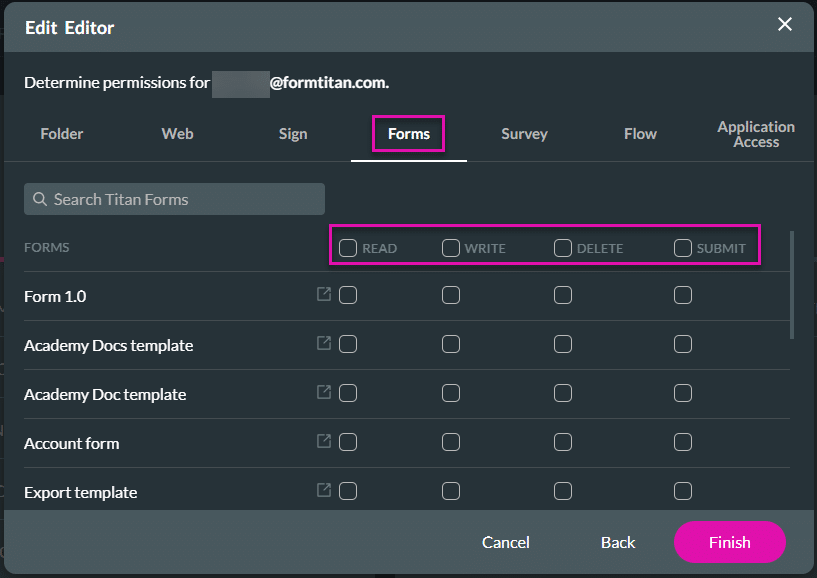
- Select the Forms option to give permissions for Forms.
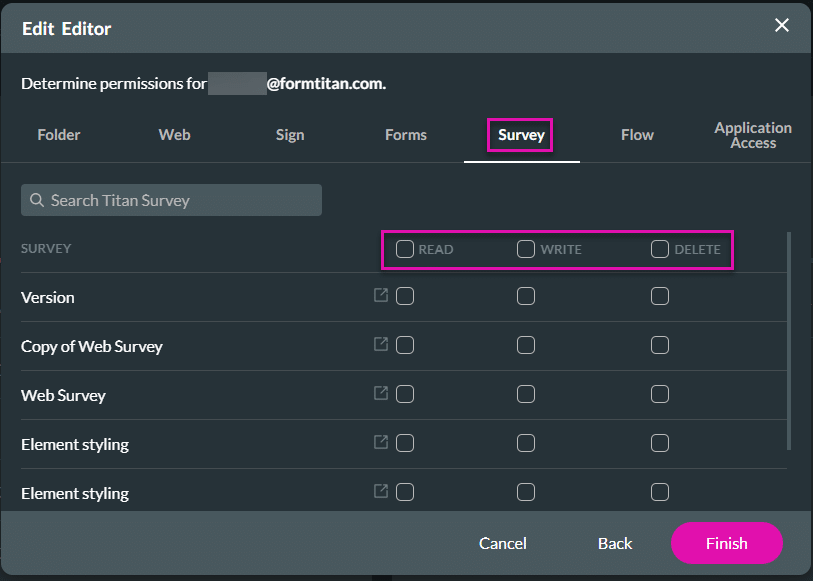
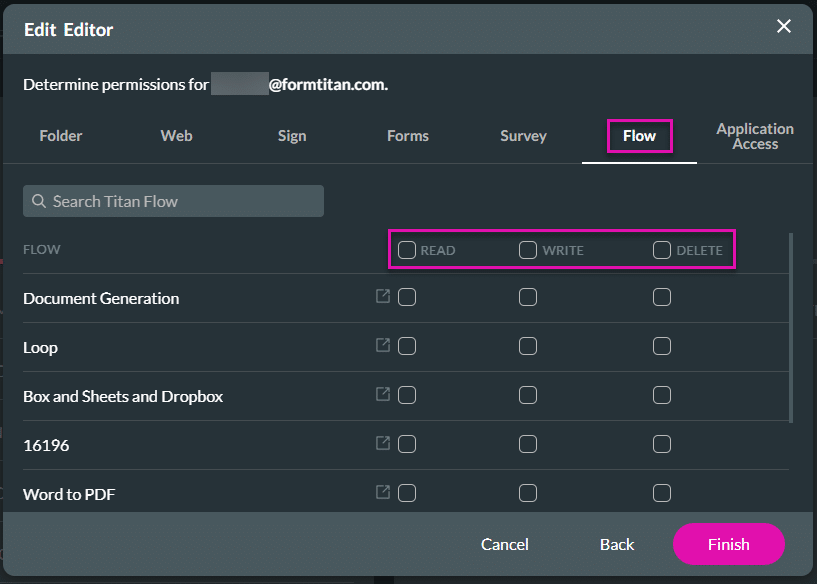
- Use the checkboxes to set the user permissions as follows per project:
- Read
- Write
- Delete
- Submit
- Use the checkbox next to the word (for example, Read or Write) to set the permissions for all the projects.
- Use the checkboxes to set the user permissions as follows per project:
- Select the Forms option to give permissions for Forms.
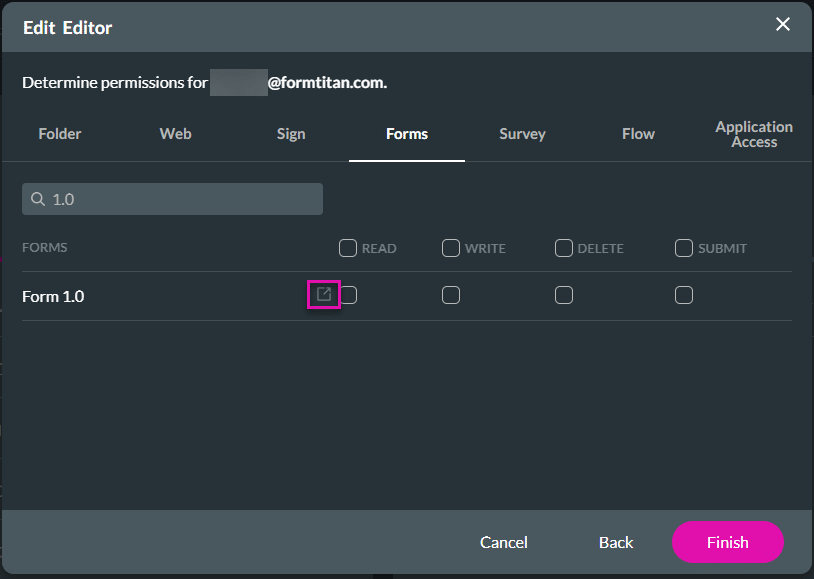
- Where applicable, click the Expand icon to open and view a project.
- Click the Finish button.
The permission types differ for each option:
Folder
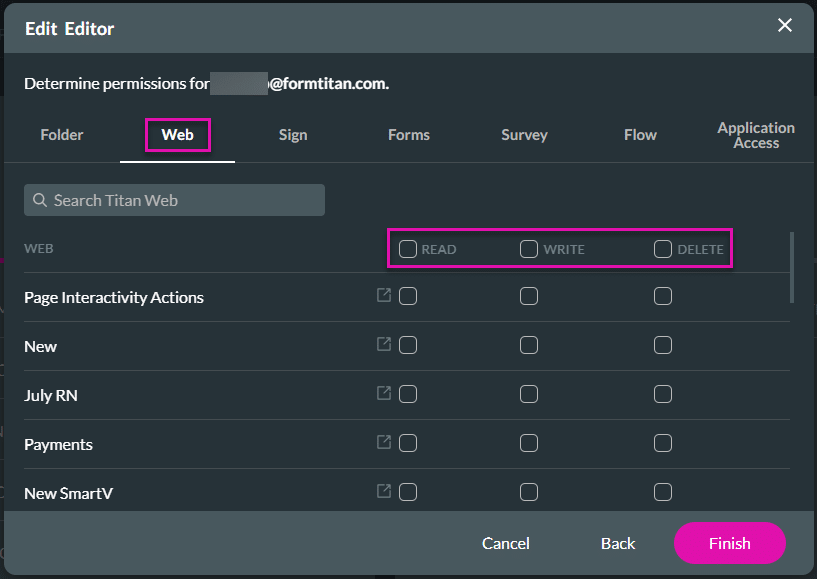
Web
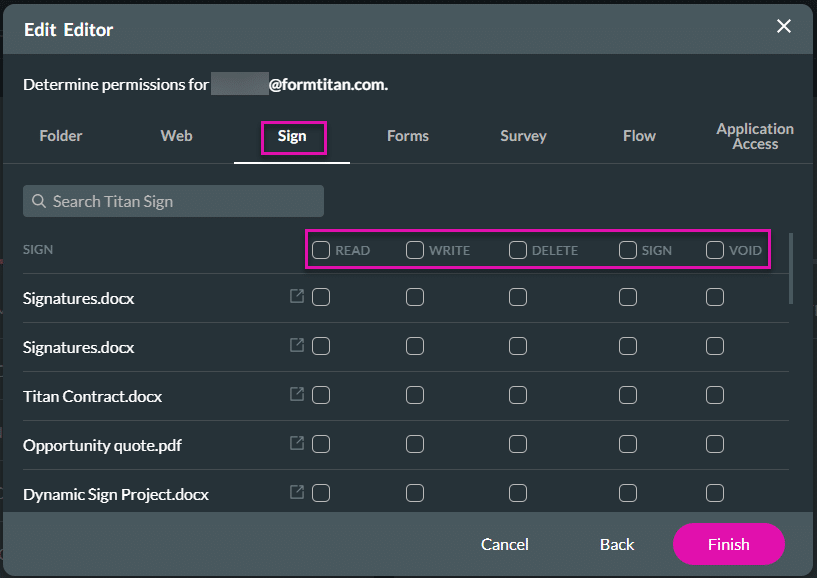
Sign
Forms
Survey
Flow
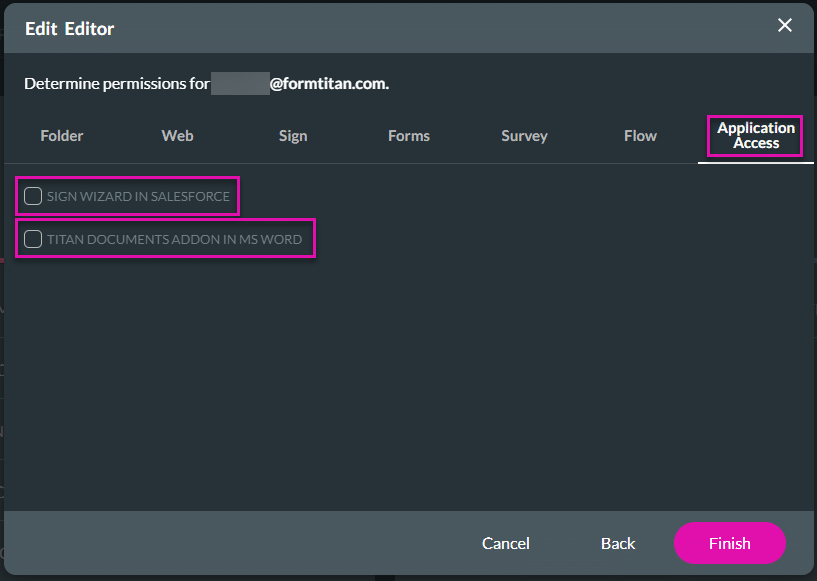
Application Access
Check out these articles for more information on Editors:
Hidden Title
Was this information helpful?
Let us know so we can improve!
Need more help?
Book Demo