

Customize the Actions on Document Download
Business Background
The On download action from Titan provides a business the advantage of downloading a document from Salesforce for personal use outside of the system.
Titan Solution
Titan offers to customize the process of downloading a generated document. With this feature, you can set custom actions that will take effect when a Salesforce user downloads a document. For example: update a field on the record, create an audit log or even send an email!
How to Video
- 0:00 A quick introduction on how to set actions post document download via a Salesforce list view.
- 0:07 Learn how to download your list view with an updated status in Salesforce with Titan.
- 0:31 We have an important note on setting up your document generation.
- 1:08 Watch how to map your Salesforce fields.
- 2:17 See how to configure the on download action.
- 2:41 Grasp how to download and process your document.
- 3:13 Master how to preview Salesforce to verify your document has been downloaded.
How to Guide
Note:
Prerequisites:
- Create a form in Word using the Titan add-in. In this example, the form is called Doc 3.
- Publish the form (upload the template) to Form.
- Open the project in Titan Forms.
Enable Word mapping
- Click on Document Generation on the right of the screen. The options list opens.
- Click on Word mapping. The options list opens.
- Click on the Configure button. The Word mapping screen opens.

- Make sure the Enable Word mapping checkbox is checked.
- Click on the Salesforce button. The options list opens.
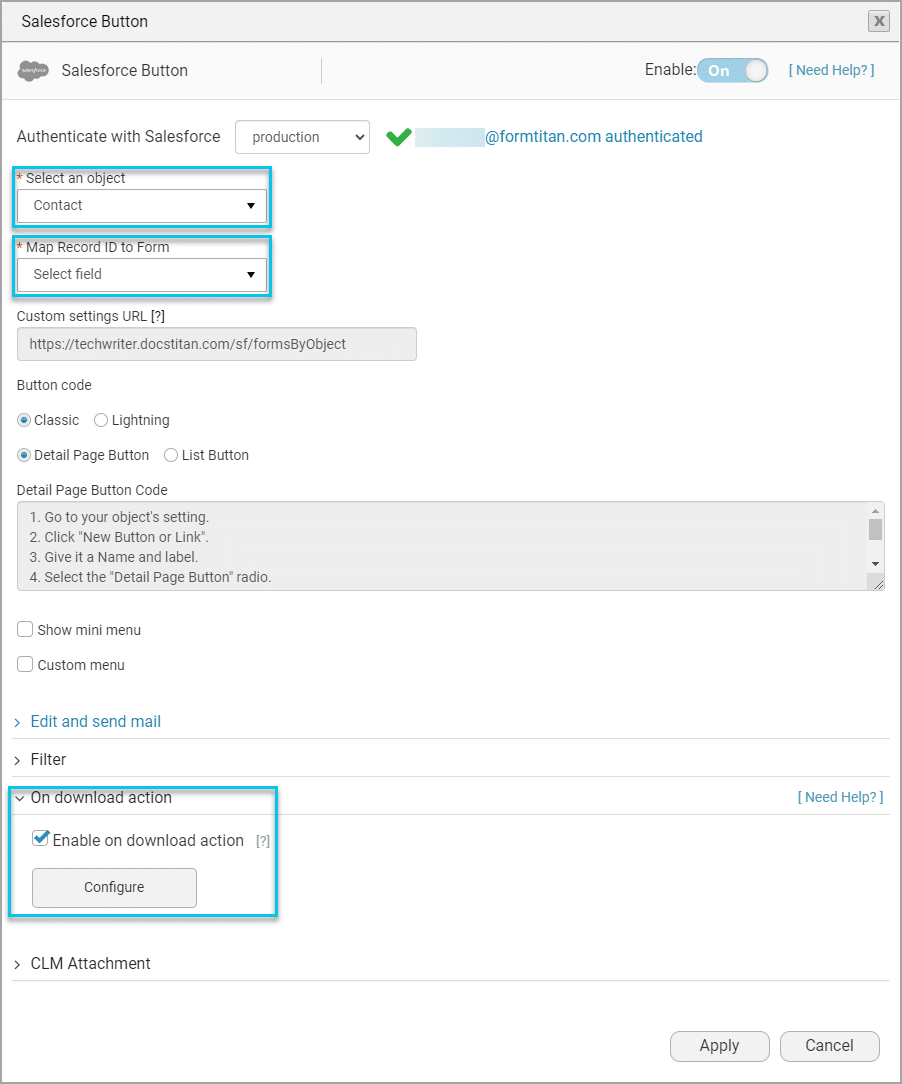
- Click on the Configure button. The Salesforce Button screen opens.

- Make sure that you selected the object (for instance, Contact) and the Map Record ID to Form fields from the drop-down lists.
- Click the On download action option. The options list opens.
- Click in the Enable on download action checkbox to enable the option.
- Click on the Configure button. The Set Salesforce Action screen opens.
- Select the push or get action from the Process push or get drop-down list.
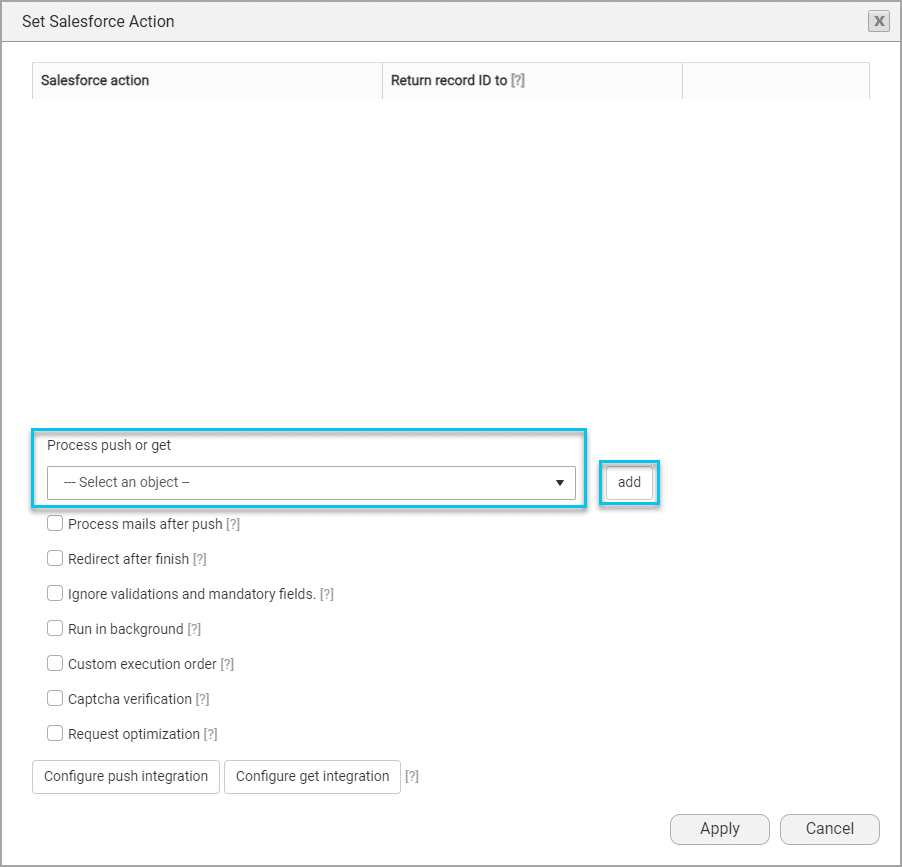
- Click on the Add button. The action is added to the top of the screen underneath the Salesforce action.

- Click on the Apply button. You will see the Salesforce Button screen.
- Click on the Apply button. You will see the Word mapping screen.
- Click on the Apply button.
- Click on the Save icon in Forms.
Hidden Title
Was this information helpful?
Let us know so we can improve!
Need more help?
Book Demo